

Full Stack Development Articles
k6 Load Testing Tutorial: Beginner’s Step-by-Step Guide
Vitest Unit Testing Tutorial: A Complete 2026 Guide
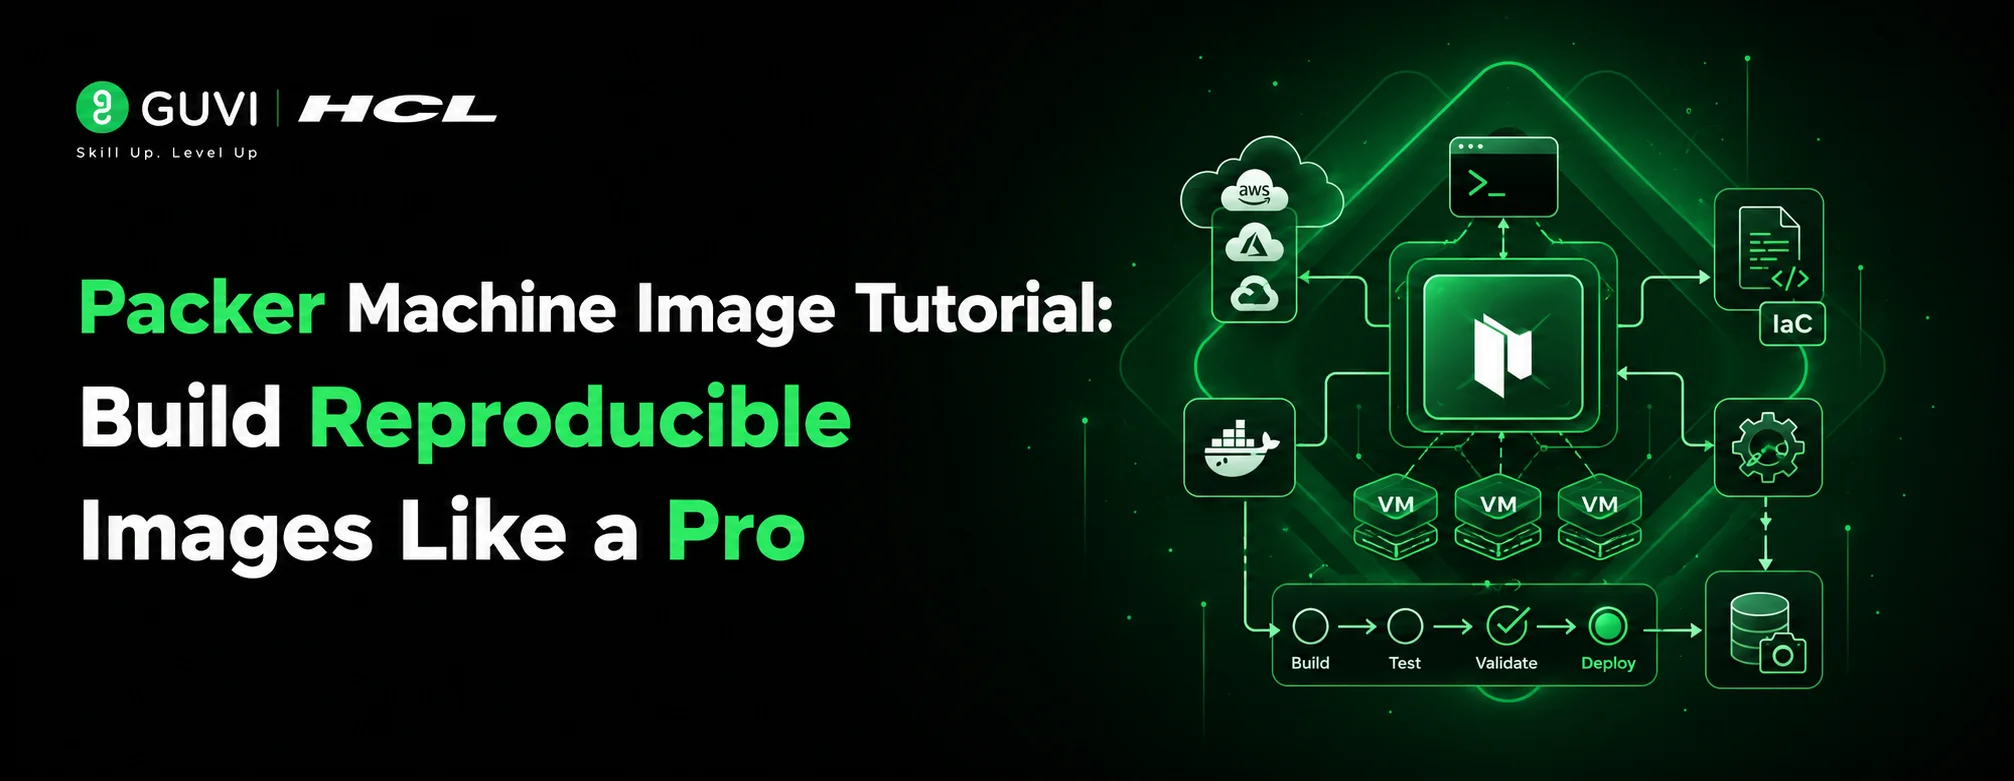
Packer Machine Image Tutorial: Build Reproducible Images Like a Pro


Get In Touch For Details! Request More Information
How to Install ExpressJS on Windows? A Simplified 6-Step Guide.
Jan 06, 2026 6 Min Read 9520 Views
(Last Updated)
With the abundant information overload and tutorials for almost everything, it is easy to get confused at times especially when you are installing software or a tool.
If you are a developer, you can understand this pain as you have to install thousands of frameworks to get started and one of those important frameworks is ExpressJS. If you don’t have the right tutorial, then it would be hard to install ExpressJS on Windows.
That’s where this easy guide to install ExpressJS on Windows comes to the rescue. Why we call this an easy guide because there won’t be room for any doubt and we make sure to explain every step so you just have to follow, copy some codes, and paste them to install ExpressJS on Windows.
So, let us get started on our journey to install ExpressJS on Windows.
Table of contents
- What is ExpressJS?
- How to Install ExpressJS on Windows?
- Step 1: Install NodeJS
- Step 2: Open Command Prompt
- Step 3: Create a New Directory
- Step 4: Initialize Your Project with npm
- Step 5: Install ExpressJS on Windows
- Step 6: Verify Installation
- Conclusion
- FAQs
- What is the purpose of initializing a project with npm?
- Can I customize the port number for my ExpressJS application?
- What are the advantages of using ExpressJS in full-stack development?
- Are there any alternatives to ExpressJS for building web applications with NodeJS?
What is ExpressJS?

Before heading out to see how to install ExpressJS on Windows, let us first understand what this framework is and why is it famous in the full-stack world.
ExpressJS, commonly known as Express, is a flexible and lightweight web application framework for NodeJS, a runtime environment for executing JavaScript code outside of a web browser.
Think of Express as a tool that simplifies the process of building web applications and APIs by providing a set of features and functionalities.
It allows you to create robust and scalable server-side applications with ease, handling tasks like routing, middleware integration, and request handling.
ExpressJS follows a minimalist approach, meaning it provides essential tools to get started while allowing developers the flexibility to add additional features as needed.
Let us now see how to install ExpressJS on Windows.
Read More: Best JavaScript Frameworks.
How to Install ExpressJS on Windows?

With a 6-step process, you can easily install ExpressJS on Windows. These steps will guide you throughout and cover every nook and corner so even if you are just a beginner, you don’t have to worry a bit.
But before we go further, it is important that you know the basics of full-stack development. If not, consider enrolling for a professionally certified online Full-stack Development Course that teaches you everything about backend frameworks and helps you get started as a developer.
Know About The Ultimate Guide to Real-World Full-Stack Development Applications
Here’s a step-by-step guide on how to install ExpressJS on Windows:
Step 1: Install NodeJS
You may wonder why we are installing NodeJS first, but it is an essential step before we install ExpressJS on Windows.
NodeJS serves as the foundation for running JavaScript code outside of a web browser, making it essential for working with ExpressJS.

- Visit the Official NodeJS Website: Open your web browser and navigate to the official NodeJS website.
- Download NodeJS for Windows: Once on the website, you’ll see a prominent “Downloads” button. Click on it, and it will automatically detect your operating system as Windows. You’ll be presented with two options: LTS (Long-Term Support) and Current. For most users, the LTS version is recommended as it offers stability and long-term support. Click on the LTS version to begin downloading the installer.
- Run the Installer: Once the download is complete, locate the downloaded file (typically in your Downloads folder) and double-click on it to run the installer.
- Follow Installation Instructions: The NodeJS installer will guide you through the installation process with a series of prompts. Click “Next” to proceed through the steps, reviewing and accepting the license agreement along the way.
- Choose Installation Options: During the installation, you may be presented with optional features to install. Unless you have specific requirements, it’s generally safe to accept the default options by clicking “Next”.
- Complete Installation: Once you’ve reviewed the installation settings, click “Install” to begin the installation process. NodeJS will be installed in the default location on your system.
- Verify Installation: Once the installation is complete, you can verify that NodeJS has been successfully installed by opening Command Prompt (you can search for it in the Start menu) and typing the following command:
node -vPress Enter. If Node.js has been installed correctly, you should see the version number displayed in the Command Prompt window.

Congratulations! You’ve successfully installed NodeJS on your Windows machine. With NodeJS in place, we’re ready to move on to the next step and start to install ExpressJS on Windows.
Explore: Best NodeJS Course Online with Certification

Step 2: Open Command Prompt
Now that you have NodeJS installed on your Windows machine, let’s open Command Prompt to install ExpressJS on Windows.. Command Prompt is a powerful tool that allows you to interact with your computer through text-based commands.
Here’s how you can open it:
- Search for “Command Prompt”: In the Start Menu, type “Command Prompt” in the search bar located at the bottom of the Start Menu. As you type, you should see “Command Prompt” appear in the list of search results.
- Open Command Prompt: Once “Command Prompt” appears in the search results, click on it to open the Command Prompt window.
Also Know About Functions in JavaScript: Important Things To Know
Step 3: Create a New Directory
Before we delve further into the process of installing ExpressJS on Windows, let’s consider organizing your projects by creating a new directory.
While this step is optional, it’s a recommended practice to keep your projects neatly organized. Here’s how you can create a new directory:
- Choose a Location: First, think about where you’d like to store your ExpressJS project. You might want to create a dedicated folder for your web development projects or choose an existing directory where you keep similar files.
- Open Command Prompt: If you haven’t already done so, open Command Prompt by following the steps outlined in Step 2.
- Navigate to the Desired Location (Optional): If you’ve already decided on the location for your project directory and it’s different from the current directory in Command Prompt, you can use the
cdcommand to navigate to it. For example, if you want to create the directory within your Documents folder, you can type:
cd DocumentsPress Enter to navigate to the Documents directory. You can replace “Documents” with the name of the directory where you want to create your project.
- Create the New Directory: Now, it’s time to create the directory for your ExpressJS project. You can do this using the
mkdircommand followed by the desired name for your directory. For instance, if you want to name your directory “my-express-project”, you can type:
mkdir my-express-projectPress Enter to create the directory. You can replace “my-express-project” with any name you prefer for your project.

- Verify Directory Creation (Optional): To verify that the directory has been created successfully, you can use the
dircommand to list the contents of the current directory. Look for the directory you just created in the list.
By following these steps, you’ve successfully created a new directory for your ExpressJS project. This step isn’t mandatory, but it’s a good habit to adopt for keeping your projects organized.
If you’ve opted to create a new directory, you’re now ready to proceed to the next step in the installation process. If not, you can continue with your existing directory.
Must Explore: Variables and Data Types in JavaScript: A Complete Guide
Step 4: Initialize Your Project with npm
Now that you’ve set up your directory structure, it’s time to initialize your project using npm (Node Package Manager) which lets you install ExpressJS on Windows.
This step will create a package.json file, which is essential for managing dependencies and scripts in your project. Here’s how you can initialize your project:
- Open Command Prompt: Open Command Prompt as outlined in Step 2.
- Navigate to Your Project Directory: Before initializing your project, ensure that you’re in the correct directory where you want to create your ExpressJS project. If you followed Step 3 and created a new directory, you might already be in the right location. If not, use the
cdcommand to navigate to your project directory. - Initialize Your Project: With Command Prompt open and your project directory set, it’s time to initialize your project using npm. Simply run the following command:
npm init -y
This command initializes a new npm project in your current directory with default settings, automatically accepting all defaults using the -y flag.
- Review
package.json(Optional): After running thenpm initcommand, npm will generate apackage.jsonfile in your project directory. This file contains metadata about your project, including its name, version, description, entry point, dependencies, and more. You can open thepackage.jsonfile in a text editor to review and modify these settings if necessary. - Confirm Initialization: Once the
package.jsonfile has been created, you’ll see a message in Command Prompt indicating that the initialization was successful. You’re now ready to install ExpressJS on Windows and any other dependencies your project may require.
By following these steps, you’ve successfully initialized your project using npm. The package.json file serves as the foundation for managing your project’s dependencies and configuration. With your project initialized, you’re now prepared to install ExpressJS on Windows in the next step.
Learn More: PHP or NodeJS: Which Framework is Better For Backend?
Step 5: Install ExpressJS on Windows
Now that you’ve initialized your project, the next step is to install ExpressJS on Windows. Installing ExpressJS will allow you to start building powerful web applications and APIs.
Here’s how you can install ExpressJS on Windows:
- Open Command Prompt: Open Command Prompt and navigate to your project directory as described in previous steps.
- Install ExpressJS: With Command Prompt open and your project directory set, you can now install ExpressJS on Windows using npm. Simply run the following command:
npm install expressPress Enter to execute the command. npm will download and install ExpressJS on Windows and its dependencies into your project directory.
- Verify Installation: Once the installation process is complete, you can verify that ExpressJS has been successfully installed by checking your
package.jsonfile. Open thepackage.jsonfile in a text editor, and you should see “express” listed under the “dependencies” section.
Here’s what you should see in your package.json file:

The version number may vary depending on the latest version available at the time of installation.
By following these steps, you can install ExpressJS on Windows. With ExpressJS installed, you’re now ready to start building web applications and APIs using this powerful framework. In the next step, we’ll verify the installation by creating a simple “Hello World” application.
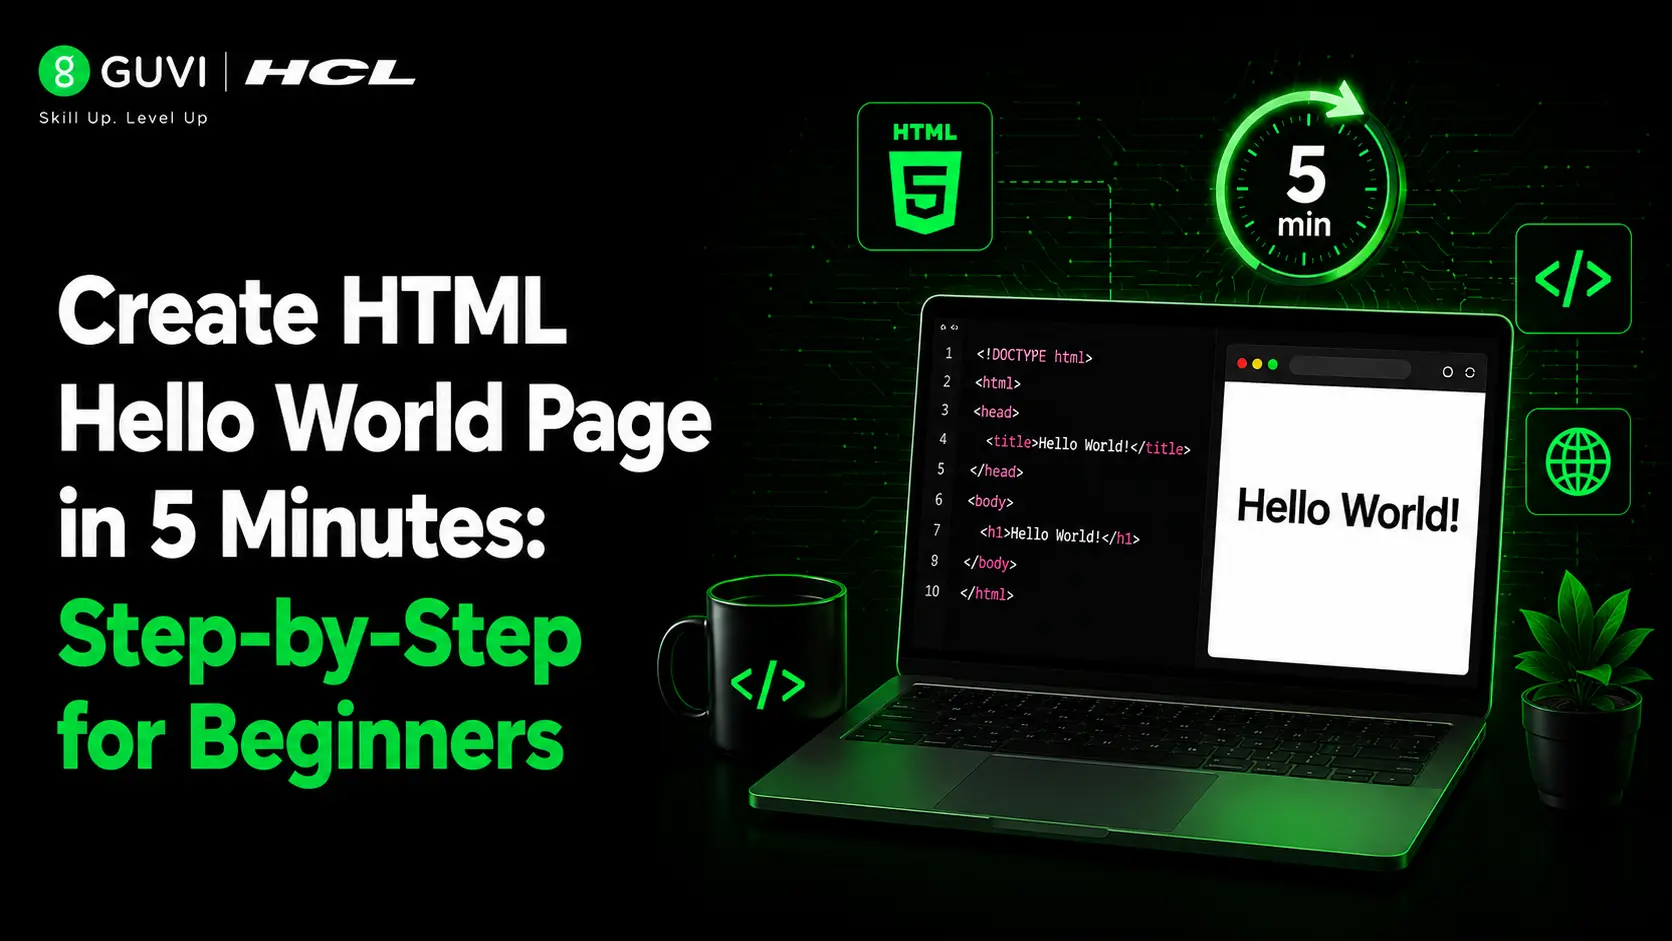
Also, Explore How to Create a Simple “Hello World” Page Using HTML?
Step 6: Verify Installation
Now that you’ve installed ExpressJS, it’s essential to verify that the installation was successful before proceeding further.
Verifying the installation ensures that ExpressJS is ready to use in your project. Here’s how you can verify the installation:
- Create a Simple ExpressJS Application: Using a text editor of your choice, create a new file within your project directory and name it
app.js[JavaScript File]. This file will serve as the entry point for your Express.js application. - Write the Code: Open the
app.jsfile in your text editor and add the following code:
const express = require('express');
const app = express();

app.get('/', (req, res) => {
  res.send('Hello World!');
});

app.listen(3000, () => {
  console.log('Server is running on http://localhost:3000');
});
This code sets up a basic ExpressJS application that listens for HTTP GET requests on the root URL (/) and responds with “Hello World!”.
- Save the File: After adding the code to
app.js, save the file in your project directory. - Run the Application: Return to Command Prompt, navigate to your project directory if you’re not already there, and run the following command to start your Express.js server:
node app.jsPress Enter to execute the command. You should see a message in the Command Prompt indicating that the server is running on http://localhost:3000.

- Open Your Web Browser: Open your web browser of choice and navigate to
http://localhost:3000. If ExpressJS has been installed and configured correctly, you should see “Hello World!” displayed in the browser window

By following these steps, you’ve verified that ExpressJS has been successfully installed and is working as expected in your project. You can now proceed with confidence, knowing that ExpressJS is ready to power your web applications and APIs.
If you want to learn more about NodeJS and ExpressJS in full-stack development, then consider enrolling in HCL GUVI’s Certified Full Stack Development Course which not only gives you theoretical knowledge but also practical knowledge with the help of real-world projects.
Also Read: Top Technologies to Learn for a JavaScript Backend Developer
Conclusion
In conclusion, it is an easy process to install ExpressJS on Windows that empowers developers to leverage the power of NodeJS for building dynamic web applications and APIs.
By following the step-by-step guide outlined in this article, you’ve learned how to set up NodeJS, open Command Prompt, initialize your project with npm, and install ExpressJS on Windows.
Verifying the installation with a simple “Hello World” application confirms that ExpressJS is ready for use in your projects. With ExpressJS installed, you’re now equipped to start your full-stack development journey, utilizing its simplicity and flexibility to create robust and scalable applications with ease.
Also Read: 30 Best JavaScript Project Ideas For You [3 Bonus Portfolio Projects]
FAQs
What is the purpose of initializing a project with npm?
Initializing a project with npm creates a package.json file, which helps manage project dependencies and configurations.
Can I customize the port number for my ExpressJS application?
Yes, you can specify a custom port number when configuring the ExpressJS server to listen for incoming requests.
What are the advantages of using ExpressJS in full-stack development?
Expressjs offers advantages such as simplicity, flexibility, and a robust ecosystem of middleware and plugins, making it ideal for building scalable and maintainable applications.
Are there any alternatives to ExpressJS for building web applications with NodeJS?
Yes, alternatives to Express.js include frameworks like Koa.js, Hapi.js, and Nest.js, each with its own set of features and design philosophies.
Success Stories

About the Author
Lukesh S
A professional content writer who has experience in freelancing and now working as a Technical Content Writer at HCL GUVI having sound knowledge in Blog Writing and Creative Writing!
View all posts by Lukesh S
Connect with me @


Did you enjoy this article?