

Java Articles
Kafka Streams Tutorial: Build Your First Data Pipeline
What is ArrayList in Java: A Complete Guide
What is HashMap in Java: How It Works, Methods, and Examples


Get In Touch For Details! Request More Information
The Most Popular Java Tools for Every Phase of Development
Sep 30, 2025 8 Min Read 8759 Views
(Last Updated)
Java is a really popular computer language that people use to create all sorts of computer programs. Think of it as a language computers understand. But what makes Java even cooler is that it comes with a bunch of handy tools that make it easier to create those programs.
Imagine building a house. You need different tools for digging, hammering, painting, and more. Similarly, when you create a computer program with Java, you need tools for different steps, like writing the code, testing it, and making it work really well.
In this blog, we’re going to show you these special tools for each step. Whether you’re new to Java or a pro, these tools will help you write better code and make your work smoother. So, let’s get started and discover the world of Java tools that’ll make your computer programming adventure a lot more fun and successful!
Table of contents
- Phase 1: Java Development Environment Setup
- Eclipse
- IntelliJ IDEA
- NetBeans
- Phase 2: Java Code Writing and Editing
- Visual Studio Code (VS Code)
- Sublime Text
- Eclipse (As an Alternative)
- Phase 3: Java Building and Compilation
- Apache Maven
- Gradle
- Phase 4: Java Testing
- JUnit
- TestNG
- Phase 5: Java Version Control and Collaboration
- Git
- GitHub and GitLab
- Phase 6: Java Continuous Integration and Continuous Deployment (CI/CD)
- Jenkins
- Travis CI
- CircleCI
- Phase 7: Java Performance Tuning and Profiling
- VisualVM
- YourKit Java Profiler
- Conclusion
- FAQs
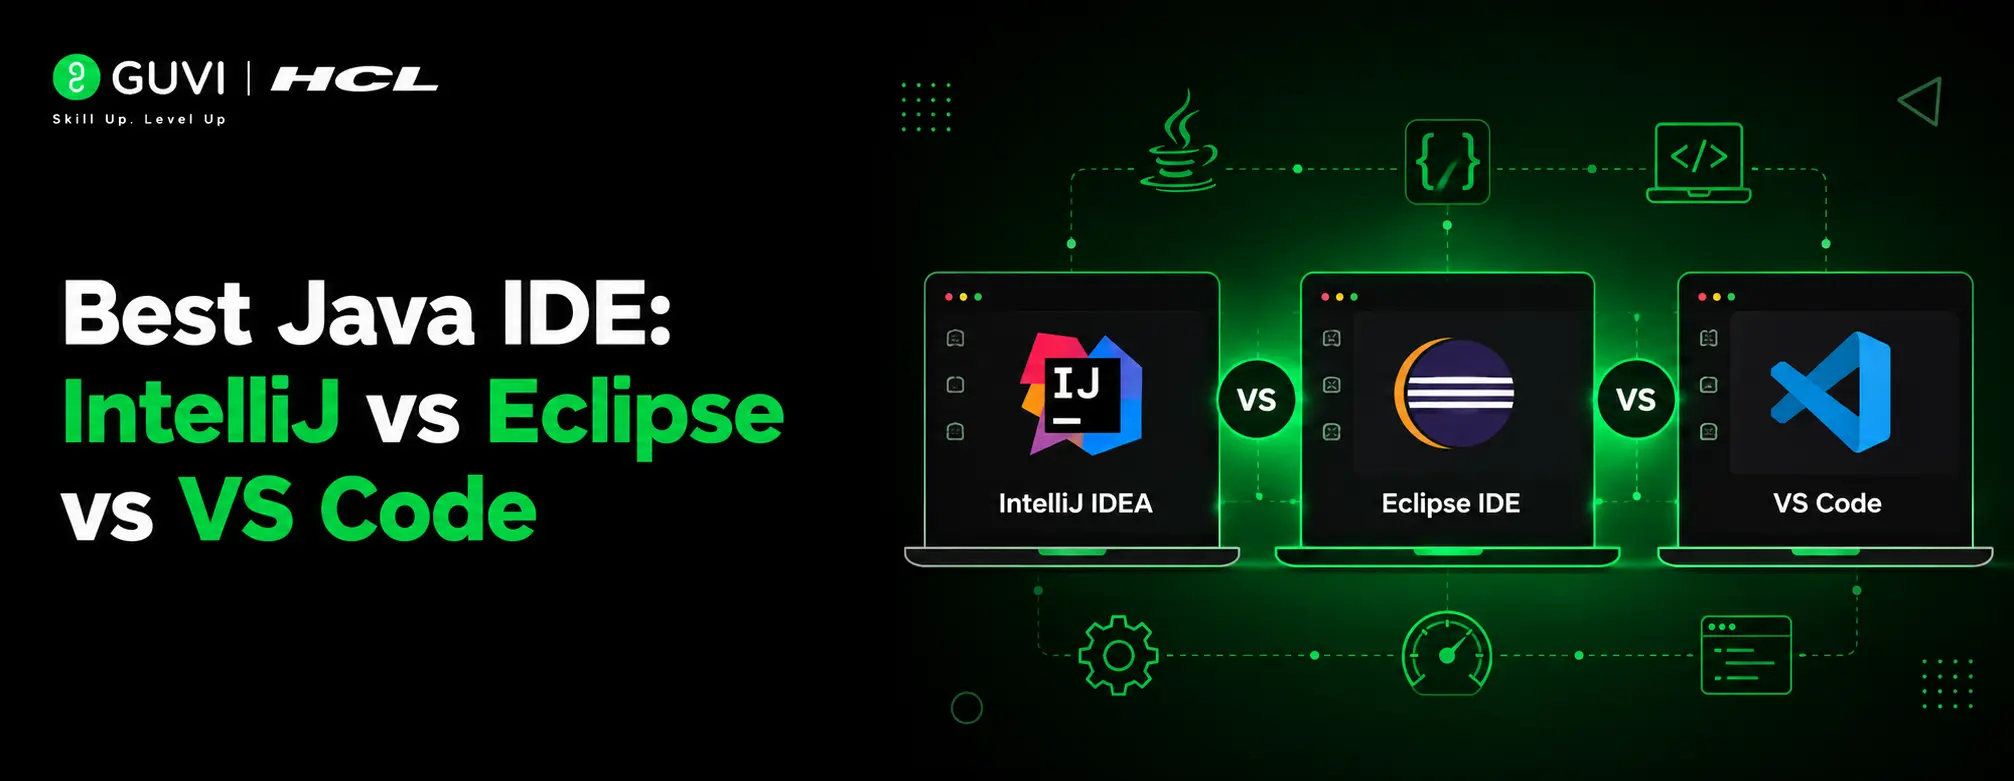
- What is the best Integrated Development Environment (IDE) for Java development?
- Why is Continuous Integration and Continuous Deployment (CI/CD) important in Java development?
- How can I ensure code quality and consistency in a Java project?
Phase 1: Java Development Environment Setup
Setting up a proper Java development environment is the first step in your coding journey. Here, we’ll discuss the essential tools, including popular Integrated Development Environments (IDEs) like Eclipse, IntelliJ IDEA, and NetBeans, along with their benefits, features, and installation tips.
1. Eclipse

Eclipse is a free and open-source IDE known for its flexibility and extensive plugin ecosystem. It supports Java development out of the box. Code completion, refactoring, and a powerful debugger. It’s highly customizable, making it suitable for various programming languages and frameworks.
Installation Tips:
- Download Eclipse from the official website.
- Follow the installation instructions for your operating system.
- Configure the IDE for Java development by installing the necessary plugins if they are not included in your package.
2. IntelliJ IDEA

IntelliJ IDEA is known for its user-friendliness and strong support for Java development. It offers a free Community edition and a paid Ultimate edition. Intelligent code assistance, built-in version control, and excellent refactoring tools. It also supports a wide range of programming languages.
Installation Tips:
- Download IntelliJ IDEA Community or Ultimate Edition from JetBrains’ website.
- Follow the installation instructions, and you’ll be up and running with a Java-ready IDE.
3. NetBeans

NetBeans is an open-source IDE that’s easy to use and suitable for Java development, web development, and more. Smart code templates, efficient project management, and seamless integration with Git. It’s also known for its strong support for JavaFX.
Installation Tips:
- Download NetBeans from the official website.
- Install it by following the instructions, and you’ll have a versatile IDE for Java development.
Setting up your Java development environment with one of these IDEs is a great starting point. Choose the one that suits your needs and preferences. Once you’ve installed your chosen IDE, you’ll be ready to start writing, testing, and building Java applications in a developer-friendly environment.
Before diving into the next section, ensure you’re solid on full-stack development essentials like front-end frameworks, back-end technologies, and database management. If you are looking for a detailed Full Stack Development career program, you can join HCL GUVI’s Full Stack Development Career Program with placement assistance. You will be able to master the MERN stack (MongoDB, Express.js, React, Node.js) and build real-life projects.
Instead, if you would like to explore JavaScript through a Self Paced course, try HCL GUVI’s JavaScript Self Paced certification course.

Phase 2: Java Code Writing and Editing
Now that you’ve set up your Java development environment, it’s time to dive into writing and editing your code. In this phase, we’ll introduce code editors and tools that will make your coding experience smoother and more productive. We’ll focus on popular choices like Visual Studio Code and Sublime Text, explaining their benefits and how they can enhance your coding process.
1. Visual Studio Code (VS Code)

Visual Studio Code is a free, open-source code editor developed by Microsoft. It’s highly customizable and supports a wide range of programming languages, including Java. Syntax highlighting, code completion, and an extensive library of extensions and plugins. It also offers an integrated debugger.
Installation Tips:
- Download Visual Studio Code from the official website.
- Install the Java Extension Pack to enable Java development support.
- Customize your VS Code experience by exploring and installing relevant extensions from the marketplace.
2. Sublime Text
Sublime Text is a lightweight and fast code editor known for its simplicity and speed. It’s also highly customizable. Syntax highlighting, multiple selections, and a distraction-free mode for focused coding. It supports various programming languages.
Installation Tips:
- Download Sublime Text from the official website.
- Install the “Package Control” package to easily manage and install plugins.
- Explore the available packages and install those that enhance your Java development experience.
3. Eclipse (As an Alternative)
If you prefer an IDE but want a lighter coding experience, you can use Eclipse as a code editor. It allows you to open and edit Java files without creating a project. Download and install Eclipse (if you haven’t already) from the official website. Launch Eclipse, open a Java file, and start coding.
Tips for Configuration and Customization
- Explore the settings/preferences of your chosen code editor to tailor it to your preferences.
- Consider installing Java-specific extensions or packages for enhanced Java support.
- Familiarize yourself with keyboard shortcuts to boost your productivity.
- Learn about debugging features and how to set breakpoints to identify and fix issues in your code.
These code editors provide a lightweight and flexible environment for writing and editing Java code. Choose the one that suits your coding style and preferences. Whether you opt for Visual Studio Code, Sublime Text, or even Eclipse as a code editor, you’ll find that these tools can significantly improve your coding experience, making it more efficient and enjoyable.
Phase 3: Java Building and Compilation
In this phase, we’ll dive into the essential Java build tools, Apache Maven and Gradle. These tools play a crucial role in managing dependencies, building projects, and automating tasks in your Java development journey.
1. Apache Maven
Apache Maven is a widely used build automation and project management tool. It helps manage project dependencies, compile code, and create executable artifacts (e.g., JAR files). Maven simplifies the management of external libraries and dependencies. You define your project’s dependencies in a clear and concise way in the pom.xml file. Maven follows a “convention over configuration” approach, making it easy to understand and use. Standardized project structures and naming conventions save time. Maven central repository hosts a vast collection of libraries and dependencies, making it easy to find and use popular Java libraries.
Example: Creating a new Maven project:
Install Maven: Follow the installation guide here.
Create a new Maven project using the command mvn archetype: generate.
Maven will generate a project structure and a pom.xml file for managing dependencies.
2. Gradle
Gradle is another build automation tool that focuses on flexibility and performance. It’s known for its Groovy-based build scripts. Gradle offers a highly flexible build system. You can write custom-build scripts using Groovy or Kotlin. Gradle is designed for speed and can efficiently handle large projects. Gradle supports incremental builds, which means it only rebuilds what has changed, reducing build times.
Example: Creating a new Gradle project:
Install Gradle: Follow the installation guide here.
Create a new Gradle project by creating a build.gradle file and define your project’s dependencies and tasks.
Strengths and Weaknesses
Maven Strengths
- Maven enforces strong conventions, making it easy for developers to understand and work on different projects.
- Maven has a large and active community, resulting in extensive documentation and support.
Maven Weaknesses
- Some developers find Maven’s conventions limiting when dealing with complex or non-standard project structures.
- Configuring Maven projects often requires editing XML files, which can be verbose.
Gradle Strengths
- Gradle offers more flexibility and customization, making it suitable for a wide range of project types.
- Using Groovy or Kotlin to build scripts can be more concise and expressive than XML.
Gradle Weaknesses
- Gradle’s flexibility can result in a steeper learning curve, especially for newcomers.
- While Gradle has a growing community, it may have fewer resources and plugins compared to Maven.
Choosing between Maven and Gradle depends on your project’s requirements and your familiarity with each tool. Both have their strengths, so consider your specific needs when deciding which one to use in your Java development projects.
Phase 4: Java Testing
Testing is a critical phase in Java development to ensure code quality and reliability. Two popular testing frameworks, JUnit and TestNG, play a significant role in facilitating unit testing and other forms of testing in Java projects.
1. JUnit
JUnit is one of the most widely used Java testing frameworks. It simplifies unit testing by providing a framework for writing and running tests. Unit testing involves testing individual components (units) of your code in isolation. It helps catch bugs early, ensure code correctness, and maintain code quality. JUnit uses annotations to define test methods, making it easy to identify and run tests. It provides a wide range of assertion methods to check if the expected outcomes match the actual results. JUnit offers test runners that manage test execution and generate reports.
Example: Writing and running a simple JUnit test class.
Import JUnit in your project.
Create a test class with test methods annotated with @Test.
Use JUnit assertions to validate expected outcomes.
Run tests using an IDE or build tool.
Links:
2. TestNG
TestNG (Test Next Generation) is another testing framework for Java that is inspired by JUnit. It provides additional features and flexibility for testing. Like JUnit, TestNG promotes unit testing and helps ensure that individual components of your code work correctly. TestNG also uses annotations to define test methods and provides additional annotations for configuration and grouping. TestNG supports parallel test execution, making it suitable for testing performance and scalability. It offers built-in support for data-driven testing, where you can run tests with different input data.
Example: Writing and running a simple TestNG test class.
Import TestNG in your project.
Create a test class with test methods annotated with @Test.
Use TestNG assertions to validate expected outcomes.
Run tests using an IDE or build tool.
Links:
Phase 5: Java Version Control and Collaboration
Both JUnit and TestNG are powerful tools for writing and executing tests in Java. They help maintain code quality, catch issues early in the development process, and ensure the reliability of your Java applications. The choice between them depends on your specific project requirements and testing preferences.
In this phase, we’ll explore version control systems like Git and collaboration platforms like GitHub and GitLab. These tools are essential for tracking changes, collaborating with teams, and managing code repositories efficiently.
1. Git
Git is a distributed version control system that tracks changes in your code. It helps developers work collaboratively and manage code history. Version control allows you to keep track of code changes, work on different features simultaneously, and revert to previous versions when needed.
Setting Up a Git Repository
Install Git: Download and install Git from the official website (Git Downloads).
Configure Git: Set your name and email address using the following Git commands:
git config –global user.name “Your Name”
git config –global user.email “[email protected]”
Create a Repository: Use the git init command to create a new Git repository in your project folder.
Basic Git Commands:
git add: Stages changes for commit.
git commit: Commits staged changes with a message.
git push: Pushes changes to a remote repository.
git pull: Pulls changes from a remote repository.
git clone: Creates a copy of a remote repository on your local machine.
Links:
2. GitHub and GitLab
GitHub and GitLab are popular platforms that provide hosting for Git repositories. They offer collaboration features like issue tracking, pull requests, and code reviews. These platforms enable teams to collaborate on projects, manage code contributions, and track issues and enhancements.
Setting Up a Repository on GitHub or GitLab:
Create an Account: Sign up for a GitHub or GitLab account.
Create a Repository: Click the “New Repository” button and follow the steps to create a new repository.
Clone the Repository: Use the git clone command to create a local copy of the repository.
Best Practices for Collaborative Development
- Create separate branches for different features or bug fixes.
- Use pull requests for code reviews and merge changes into the main branch.
- Create and manage issues for tracking tasks, bugs, and enhancements.
- Collaborate with team members by reviewing and discussing code changes.
Links:
Version control systems like Git and collaboration platforms like GitHub and GitLab are indispensable tools for modern software development. They enable teams to work together effectively, track changes, and maintain code quality throughout the development process. Familiarizing yourself with these tools and best practices will greatly enhance your ability to collaborate on Java projects.
Phase 6: Java Continuous Integration and Continuous Deployment (CI/CD)
In this phase, we’ll explore Continuous Integration (CI) and Continuous Deployment (CD) tools like Jenkins, Travis CI, and CircleCI. These tools play a vital role in automating the build, testing, and deployment processes, resulting in a more efficient development workflow.
1. Jenkins
Jenkins is an open-source automation server that enables Continuous Integration and Continuous Deployment. It automates tasks like building, testing, and deploying code. CI/CD helps maintain code quality, reduces integration issues, and allows for frequent and reliable code deployments.
Basic Setup Guide for Jenkins
Install Jenkins: Follow the installation guide for your operating system from the official website (Jenkins Installation).
Initial Configuration: After installation, access Jenkins through your web browser.
Follow the setup wizard to complete the initial configuration.
Create a Jenkins Job: Create a new Jenkins job to automate tasks. Configure build and test steps in your job.
Connect to Version Control: Integrate Jenkins with your Git repository to trigger builds on code changes.
Links:
2. Travis CI
Travis CI is a cloud-based CI/CD service that automates the testing and deployment of code changes. Travis CI simplifies the process of building and testing code whenever changes are pushed to a repository. It also integrates with popular version control platforms like GitHub.
Basic Setup Guide for Travis CI:
Sign in to Travis CI: Access Travis CI through your GitHub account. You may need to grant permissions to your repositories.
Create a .travis.yml File: Configure your build and test settings in a .travis.yml file in your repository.
Trigger Builds: Push code changes to your GitHub repository to trigger Travis CI builds.
Links:
3. CircleCI
CircleCI is a cloud-based CI/CD platform that automates the development workflow. It supports building, testing, and deploying code. CircleCI helps teams streamline their development process by automating repetitive tasks and providing reliable builds and deployments.
Basic Setup Guide for CircleCI:
Sign in to CircleCI: Access CircleCI through your GitHub account and configure your project settings.
Create a .circleci/config.yml File: Define your build and test configuration in a .circleci/config.yml file in your repository.
Automate Workflows: Set up workflows to trigger specific tasks, such as building, testing, and deploying, on code changes.
Links:
CI/CD tools like Jenkins, Travis CI, and CircleCI automate the build, test, and deployment processes, making development more efficient and reliable. These tools integrate seamlessly with version control systems, enabling teams to deliver high-quality code continuously. Adopting CI/CD practices enhances the development workflow and accelerates code deployment, ensuring that changes are delivered to production quickly and with confidence.
Phase 7: Java Performance Tuning and Profiling
Performance tuning is a crucial phase in Java development to ensure that your applications run efficiently and smoothly. Profiling tools like VisualVM and YourKit are invaluable in identifying performance bottlenecks, optimizing memory usage, and improving code efficiency.
1. VisualVM
VisualVM is a free, open-source Java profiler and performance monitoring tool. It comes bundled with the Java Development Kit (JDK) and provides insights into the performance of Java applications. Profiling tools like VisualVM help developers identify performance bottlenecks, memory leaks, and other issues that affect application performance.
How VisualVM Helps:
- VisualVM allows you to monitor CPU usage, memory usage, and thread activity in real-time.
- You can capture and analyze heap dumps to identify memory-related problems.
- VisualVM offers profiling capabilities to discover performance bottlenecks in your code.
Example: Profiling and optimizing a Java application with VisualVM.
Launch VisualVM and connect it to your Java application.
Use the CPU profiler to identify methods consuming the most CPU time.
Analyze heap dumps to identify memory-related issues.
Links:
2. YourKit Java Profiler
YourKit is a commercial Java profiler known for its advanced profiling capabilities. It helps developers analyze code performance, memory usage, and threading issues. Profiling with tools like YourKit enables in-depth analysis of code execution and resource usage, leading to optimized and efficient applications.
How YourKit Helps:
- YourKit provides detailed CPU profiling reports, highlighting hotspots in your code.
- It helps identify memory leaks and excessive memory usage.
- You can analyze thread behavior and identify threading bottlenecks.
Example: Profiling and optimizing a Java application with YourKit.
Download and install YourKit.
Attach YourKit profiler to your running Java application.
Use the profiler to analyze CPU, memory, and thread performance.
Links:
Importance of Performance Tuning:
- Performance tuning is essential for delivering responsive and efficient Java applications.
- Optimized applications consume fewer resources, reducing infrastructure costs.
- Improved performance enhances user satisfaction and retention.
Incorporating profiling tools like VisualVM and YourKit into your Java development process allows you to identify and address performance bottlenecks, memory issues, and inefficiencies. This results in more efficient and responsive Java applications that deliver a better user experience and reduce operational costs.
Kickstart your Full Stack Development journey by enrolling in HCL GUVI’s certified Full Stack Development Career Program with placement assistance where you will master the MERN stack (MongoDB, Express.js, React, Node.js) and build interesting real-life projects. This program is crafted by our team of experts to help you upskill and assist you in placements. Alternatively, if you want to explore JavaScript through a Self-Paced course, try HCL GUVI’s JavaScript Self Paced course.
Conclusion
It’s really important to choose the right tools for each step of your project. Don’t be afraid to explore and try different tools to see which ones work best for you and your project. Keep learning and improving your skills, and you’ll create great Java applications. Happy coding!
FAQs
What is the best Integrated Development Environment (IDE) for Java development?
There isn’t a one-size-fits-all answer to this question. The best IDE depends on your personal preferences and project requirements. Eclipse, IntelliJ IDEA, and NetBeans are popular choices, each offering unique features.
Eclipse is known for its flexibility and extensive plugin support, IntelliJ IDEA for its intelligent code assistance, and NetBeans for its simplicity. It’s a good idea to try them out and see which one aligns with your workflow.
Why is Continuous Integration and Continuous Deployment (CI/CD) important in Java development?
CI/CD automates the process of building, testing, and deploying code changes. In Java development, it ensures that code changes don’t introduce bugs or performance issues by running automated tests.
This approach accelerates development, improves code quality, and allows for frequent and reliable deployments. It’s crucial in collaborative projects where multiple developers work on the same codebase and in delivering updates to users rapidly.
How can I ensure code quality and consistency in a Java project?
Code quality and consistency can be maintained using tools like Checkstyle, which enforces coding standards, and by writing comprehensive Javadoc documentation. Checkstyle helps identify code style violations, ensuring that your code adheres to predefined standards.
Javadoc, on the other hand, generates clear API documentation from your code comments, making it easier for you and other developers to understand and use your code. Both practices contribute to maintaining high-quality, maintainable code.
Success Stories


Did you enjoy this article?