How to Practice Linux Remotely on Windows 11 Home (Without Upgrading to Pro)
Sep 08, 2025 2 Min Read 1341 Views
(Last Updated)
Trying to establish a Remote Desktop Connection (RDC) from another device to your Windows 11 Home PC? If you’ve hit a wall with an error like “Remote Desktop can’t connect – upgrade to Windows 11 Pro,” you’re not alone. Let’s see what we can do with Linux.
The Home edition of Windows doesn’t support incoming RDC connections (i.e., it can’t act as a host). While you can use it to connect to another system, hosting a Remote Desktop session isn’t possible unless you upgrade to Windows 11 Pro. But don’t worry – there are workarounds.
In this guide, we will explain your options for practicing Linux and working with SSH (e.g., via PuTTY) without paying for an upgrade.
Table of contents
- Option 1: Use SSH with PuTTY to Connect to a Linux Server
- Use a Free Cloud-Based Linux Server
- Pro Tip:
- Option 2: Use Windows Subsystem for Linux (WSL)
- Steps to Set Up WSL:
- Option 3: Use a Local Linux VM (Offline)
- Download and Set Up VirtualBox
- Concluding Thoughts…
Option 1: Use SSH with PuTTY to Connect to a Linux Server
If you’re learning Linux, you’re probably trying to use PuTTY to SSH into a remote Linux machine. Good news: you don’t need to host RDC at all if you’re just trying to connect to a Linux server!

Here’s how you can do it:
Use a Free Cloud-Based Linux Server
You can sign up with providers that offer free or trial Linux servers (also known as VPS – Virtual Private Servers):
- Oracle Cloud Free Tier
- Google Cloud Free Tier
- Amazon AWS Free Tier
- Microsoft Azure Free
- [Glitch, Replit, or GitHub Codespaces] for lighter coding-based environments
Once you create a VM (usually Ubuntu or CentOS), you’ll get:
- A public IP address
- A username (e.g., ubuntu)
- A private key or password
Then in PuTTY:
- Enter the IP in the Host Name field
- Use port 22 (default for SSH)
- Load your SSH key or use the username/password
- Click Open to connect
Pro Tip:
You can also use Windows Terminal with OpenSSH:
ssh -i “Keyname” ubuntu@your_server_ip
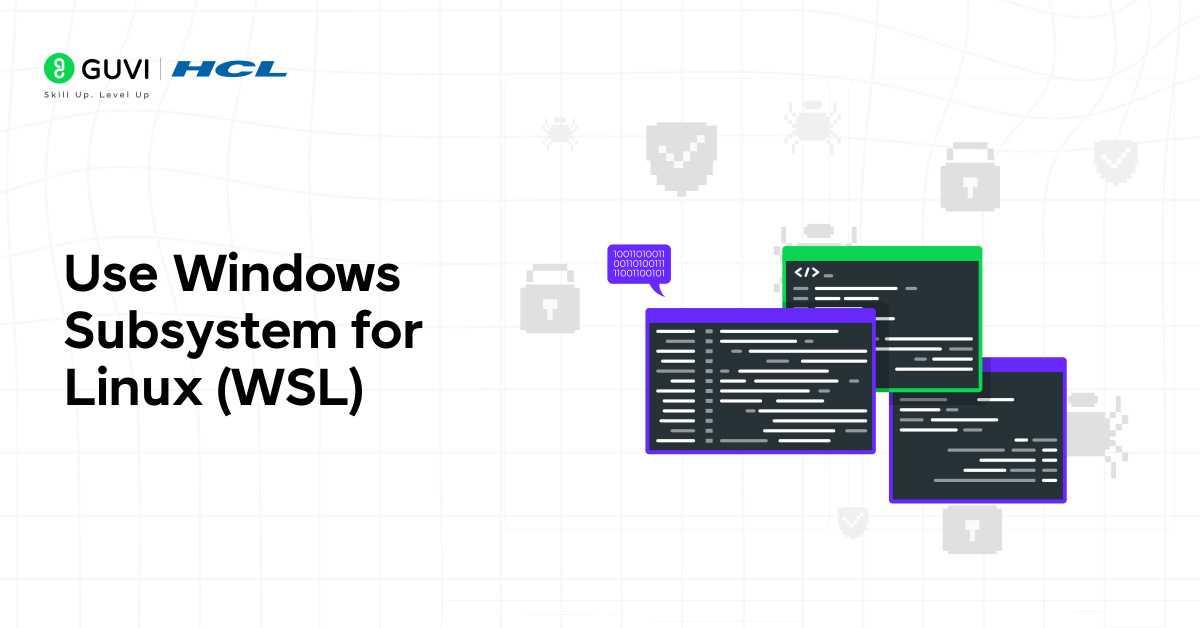
Option 2: Use Windows Subsystem for Linux (WSL)
If you just want a Linux environment for practicing commands, WSL is a fantastic built-in feature of Windows:
Steps to Set Up WSL:
Open PowerShell as Admin and run:
powershell
wsl –install
- Choose your Linux distro (Ubuntu is recommended)
- Reboot if prompted
- Open the installed Ubuntu app and you’re in!
You can now practice Linux commands directly in Windows – no RDC, no VM, no cloud.
Option 3: Use a Local Linux VM (Offline)
If you want something offline or more hands-on:

Download and Set Up VirtualBox
- Download VirtualBox
- Download an ISO for a Linux distro like Ubuntu
- Create a new VM in VirtualBox
- Mount the ISO and install the OS
- Boot up and practice locally
This method works great if you want full control or no internet dependency.
If you’re serious about learning Linux but stuck on Windows 11 Home, HCL GUVI’s Introduction to Linux Shell Scripting with Bash Course is the perfect next step. This beginner-friendly course helps you master essential Linux commands and automate tasks using Bash scripting—all from a remote environment, no upgrade to Pro required.
Concluding Thoughts…
As we conclude, I hope you’ve understood that you don’t need to upgrade to Windows 11 Pro to practice Linux remotely. Whether you use PuTTY with a free cloud server, WSL for a built-in Linux terminal, or VirtualBox for a local VM, you have powerful, free options at your fingertips. These methods let you dive into Linux without the cost or hassle of upgrading. Choose the setup that fits your needs—cloud, local, or integrated—and start building your Linux skills today.














Did you enjoy this article?