


Full Stack Development Articles
Claude for Architecture and Engineering Documentation
Freelancing as a Python Developer: Getting Your First Client


Get In Touch For Details! Request More Information
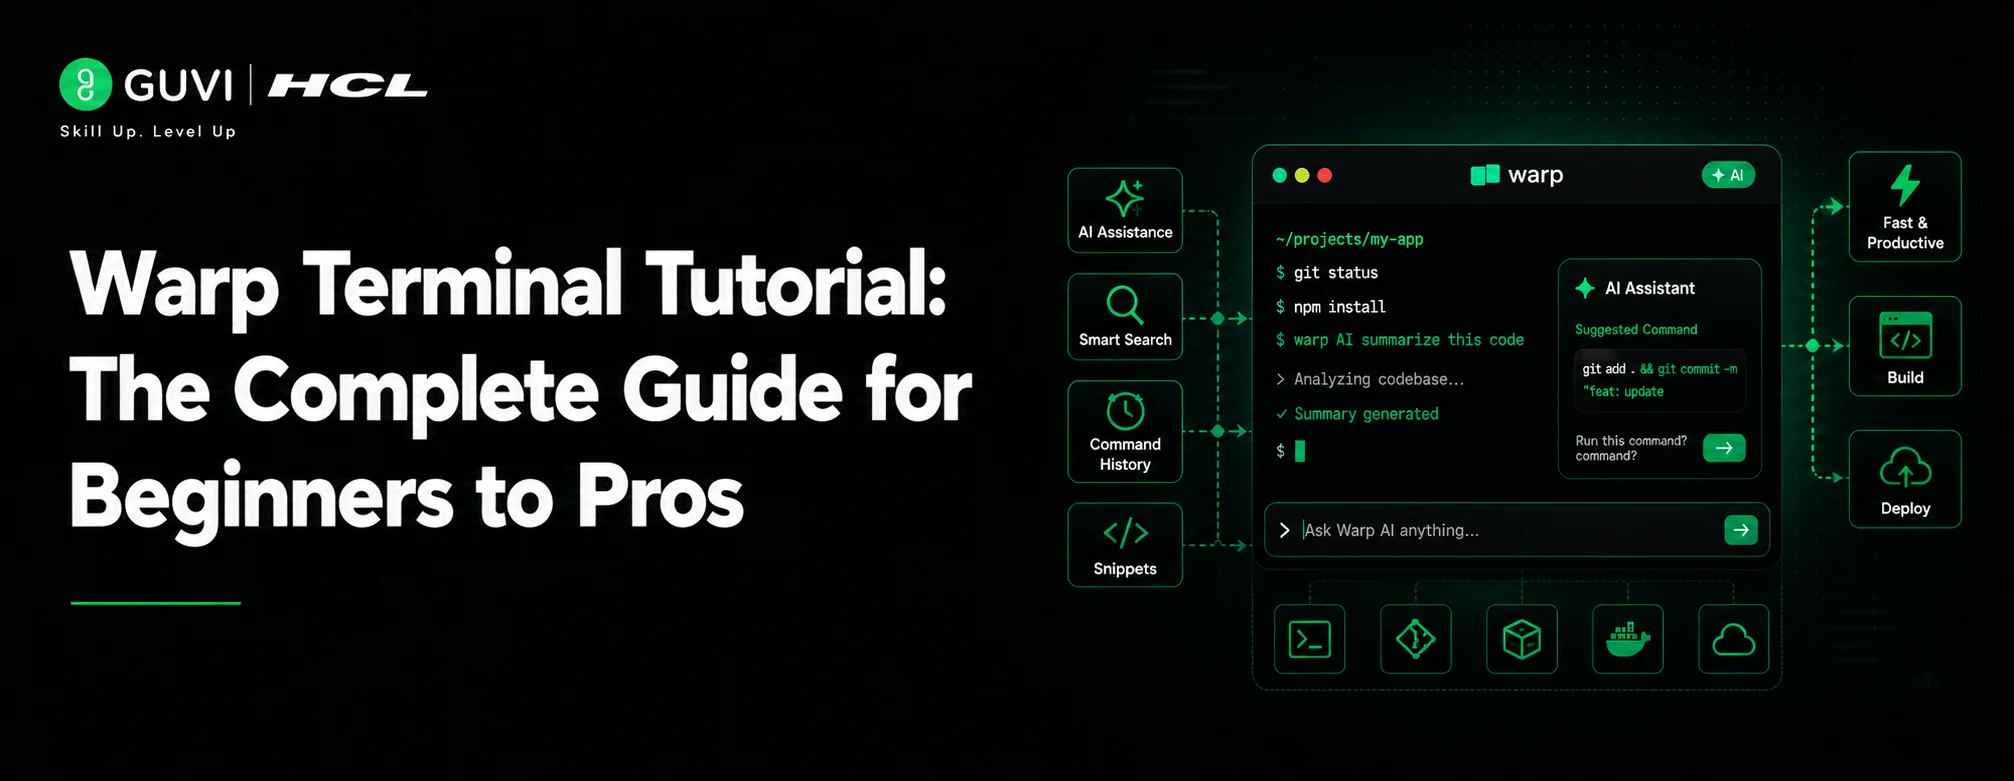
Warp Terminal Tutorial: The Complete Guide for Beginners to Pros (2026)
Sep 19, 2026 4 Min Read 375 Views
(Last Updated)
Table of contents
- TL;DR Summary Box
- Why Most Developers Are Switching to Warp
- What Is Warp Terminal?
- How to Install Warp Terminal
- Step 1: Download Warp
- Step 2: Install It
- Step 3: Sign In
- Step 4: Set Your Shell
- Warp Terminal Interface: A Quick Tour
- How to Use Warp AI (Warp AI Commands)
- Example: Finding large files
- What Warp AI Can Do
- Warp Blocks: The Feature That Changes Everything
- How to Share a Block
- Warp Workflows: Save and Share Commands
- Creating a Workflow
- Team Workflows
- Pro Tips to Get the Most Out of Warp
- Conclusion
- FAQs
- 1: Is Warp terminal free?
- 2: Does Warp work on Linux?
- 3: Is Warp terminal safe to use at work?
- 4: Can I use Warp with my existing shell setup?
- 5: How does Warp compare to GitHub Copilot in the terminal?
- 6: Does Warp work offline?
TL;DR Summary Box
- Warp is an AI-powered terminal for macOS, Linux, and Windows that replaces outdated CLI tools
- It has a built-in AI assistant, editable command blocks, and a shared workflow library
- Installation takes under 5 minutes; no config files needed to get started
- Warp is free for individuals; Teams and Enterprise plans are available
- Best for developers who want speed, collaboration, and modern terminal UX
What is Warp terminal?
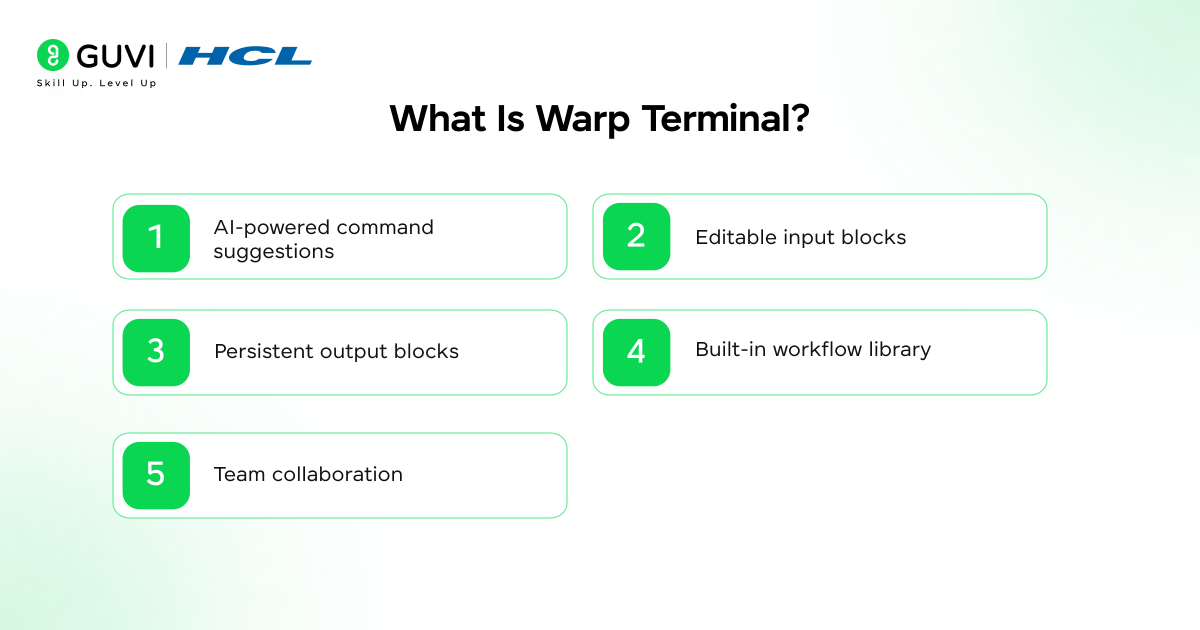
Warp is a modern, AI-powered terminal application built in Rust. It replaces traditional terminals like iTerm2 or the default macOS Terminal with a faster, smarter interface. You can type natural-language commands, edit input like a text editor, and share reusable workflows with your team all without touching a config file.
Why Most Developers Are Switching to Warp
Picture this: you’re three hours into a debugging session. You run a command, scroll through 200 lines of output, then forget the exact flag you used. You dig through your history. Nothing.
Sound familiar?
That’s the pain point Warp was built to fix. And it’s working as of 2025, Warp had crossed 1 million active users, with engineers at companies like Stripe, Vercel, and Shopify calling it a permanent fixture in their daily workflow.
This Warp terminal tutorial walks you through everything from installation to advanced AI commands so you can actually get value out of it on day one.
What Is Warp Terminal?
Warp is a next-generation terminal application built with Rust for speed and reliability. Unlike traditional terminals, Warp treats your command line more like a code editor than a raw text interface.
Here’s what makes Warp different:
- AI-powered command suggestions via natural language
- Editable input blocks (you can click into a command and fix a typo without retyping)
- Persistent output blocks that you can scroll, copy, and share
- Built-in workflow library to save and reuse common command sequences
- Team collaboration features baked directly into the interface
💡 Pro Tip: Warp runs natively it’s not an Electron app or a web wrapper. That means it’s genuinely fast, even on large outputs.
Warp started as macOS-only. As of 2024, it’s available on Linux too. A Windows version landed in 2025.
How to Install Warp Terminal
Step 1: Download Warp
Go to warp.dev and click Download. The site detects your OS automatically.
Best Practice: Always download from the official site to get the latest stable build.
Step 2: Install It
On macOS: Drag the Warp.app file to your Applications folder. Done.
On Linux (Ubuntu/Debian):
curl https://releases.warp.dev/stable/v0.2026.01.10.08.01.stable_00/warp-terminal_0.2026.01.10.08.01.stable_00_amd64.deb -o warp.deb
sudo dpkg -i warp.deb
On Windows: Download the .exe installer from the Warp site and run it.
Step 3: Sign In
When you first open Warp, it asks you to sign in (GitHub or email). This is required to access AI features and sync your settings across machines.
⚠️ Warning: Warp requires login. If you’re working in an air-gapped or strict-privacy environment, check your company’s data policy before using Warp AI features.
Step 4: Set Your Shell
Warp works with zsh, bash, fish, and more. On first launch, it detects your current shell. You can change it in Settings → Features → Session.
Ready to start? Download Warp here →
Warp Terminal Interface: A Quick Tour
When you first open Warp, it looks like a terminal but structured differently.
Here’s what you’re looking at:
- Input block (bottom): Where you type commands. It works like a real text editor use arrow keys, click to reposition your cursor, and select text normally.
- Output blocks: Each command and its output gets grouped into a “block.” You can collapse, expand, copy, or share any block.
- Command palette (Ctrl+P / Cmd+P): Search for any Warp feature or setting by name.
- Warp Drive panel: Your personal and team workspace for saved workflows and notebooks.
How to Use Warp AI (Warp AI Commands)
This is where Warp earns its reputation.
Press Ctrl+~ (on Mac: Cmd+~) to open the Warp AI input bar. Type what you want to do in plain English.
Example: Finding large files
Instead of Googling find files larger than 1GB linux command, you just type:
“Find all files larger than 1GB in my home directory”
Warp returns the exact command:
find ~/ -type f -size +1G
You click Run or edit the command first if you need to change the path.
What Warp AI Can Do
- Explain what a command does
- Fix a command that errored out (“Why did this fail?”)
- Generate multi-step shell scripts from a plain-English description
- Suggest flags or options you might have missed
Warp Blocks: The Feature That Changes Everything
Every command you run in Warp produces a Block a self-contained unit of input + output.
Think of blocks like paragraphs in a document. You can:
- Bookmark a block to find it later
- Copy just the output with one click (no more mouse-selecting through scrollback)
- Share a block via a public link useful for sharing error logs with teammates or Stack Overflow

How to Share a Block
- Hover over any output block
- Click the Share icon (top-right of the block)
- Warp generates a public URL with that block’s content
This is genuinely useful when you’re asking for help. Instead of pasting 80 lines of terminal output into Slack, you send a link.
Warp Workflows: Save and Share Commands
Workflows are Warp’s answer to “I always forget that command.”
A workflow is a saved command (or sequence of commands) with named parameters. You store it once, and it shows up in autocomplete forever after.
Creating a Workflow
- Run the command you want to save
- Hover over the input block
- Click Save as Workflow
- Give it a name, description, and tag any parameters (e.g., {{branch_name}})
Now, when you type the workflow name in future sessions, Warp shows it as a suggestion and fills in the parameter fields interactively.
Team Workflows
On the Teams plan, workflows sync across your organization. New engineers get instant access to the whole team’s command playbook on day one.
Pro Tips to Get the Most Out of Warp
1. Use Ctrl+R for smarter history search Warp’s history search is fuzzy and fast. Type a fragment of what you remember — it finds the full command.
2. Split panes without a plugin Cmd+D (macOS) splits your terminal horizontally. Cmd+Shift+D splits it vertically. No tmux needed for basic multi-pane work.
3. Set up a custom theme Go to Settings → Appearance → Themes. Warp has built-in themes and supports custom ones. [HUMAN EDITOR: Link to Warp’s community theme gallery if you have an internal blog post on terminal customization]
4. Use notebooks for runbooks Warp Notebooks (Warp Drive) lets you create markdown documents with embedded runnable commands. Perfect for team runbooks, deployment guides, or onboarding docs.
5. Keyboard shortcut reference Cmd+/ opens a quick-reference overlay of Warp’s keyboard shortcuts. Print it out your first week.
If you want a structured, mentor-supported path through everything in a roadmap, HCL GUVI’s IIT-M Pravartak Certified Full Stack Developer Course with AI Integration covers the entire journey, from HTML to deployment, with real projects, live sessions, and placement support. Over 10,000 students have used it to break into product-based companies.
Conclusion
The terminal hasn’t fundamentally changed since the 1980s until now.
Warp doesn’t just look different. It works differently. Blocks, AI, and workflows combine to give you something the classic terminal never could: a command line you can actually think in.
Whether you’re a student running your first ls or a senior engineer managing multi-cloud deployments, Warp removes friction from the part of your day that used to be pure memorization.
Give it a week. The switch is easier than you think.
FAQs
1: Is Warp terminal free?
Yes. Warp has a free plan for individual developers with full AI features and workflow support. Paid Teams and Enterprise plans add shared workflows, centralized management, and SSO.
2: Does Warp work on Linux?
Yes. Warp has supported Linux (Ubuntu, Debian, and other major distros) since 2024. You can install it via .deb, .rpm, or Flatpak depending on your distro.
3: Is Warp terminal safe to use at work?
Generally yes, but check your company’s data policy before using Warp AI. Commands you send to the AI feature are processed via Warp’s servers. Warp does publish a privacy policy and offers Enterprise plans with enhanced data controls.
4: Can I use Warp with my existing shell setup?
Yes. Warp works with zsh, bash, and fish, and respects your existing .zshrc, .bashrc, and shell configurations. Your aliases, PATH settings, and prompt customizations carry over.
5: How does Warp compare to GitHub Copilot in the terminal?
They solve similar problems differently. Warp’s AI is built directly into the terminal UI — you get contextual suggestions based on your current directory, recent commands, and error output. Copilot CLI is a separate tool you call explicitly. For developers already in Warp, the native integration is smoother.
6: Does Warp work offline?
The basic terminal works without internet. AI features, workflow syncing, and Warp Drive require a connection.
Success Stories

About the Author
Vishalini Devarajan
An Aerospace Engineer turned content writer, I focus on making complex concepts easy to understand through well-structured, reader-friendly blogs. Whether it’s a technical topic or a non-technical one, I love creating content that is clear, engaging, and impactful.
View all posts by Vishalini Devarajan
Connect with me @


























Did you enjoy this article?