How to Upload Your Source Code to GitHub Using Git in VS Code (With Error Fixes)
Sep 09, 2025 2 Min Read 3944 Views
(Last Updated)
So you’ve built something awesome and now want to upload it to GitHub using Git in Visual Studio Code? Great choice!
This guide will walk you through step-by-step commands for uploading your project using Git, and we’ll also cover common errors you may face along the way, plus how to fix them.
Let’s get your project online!
Table of contents
- Prerequisites
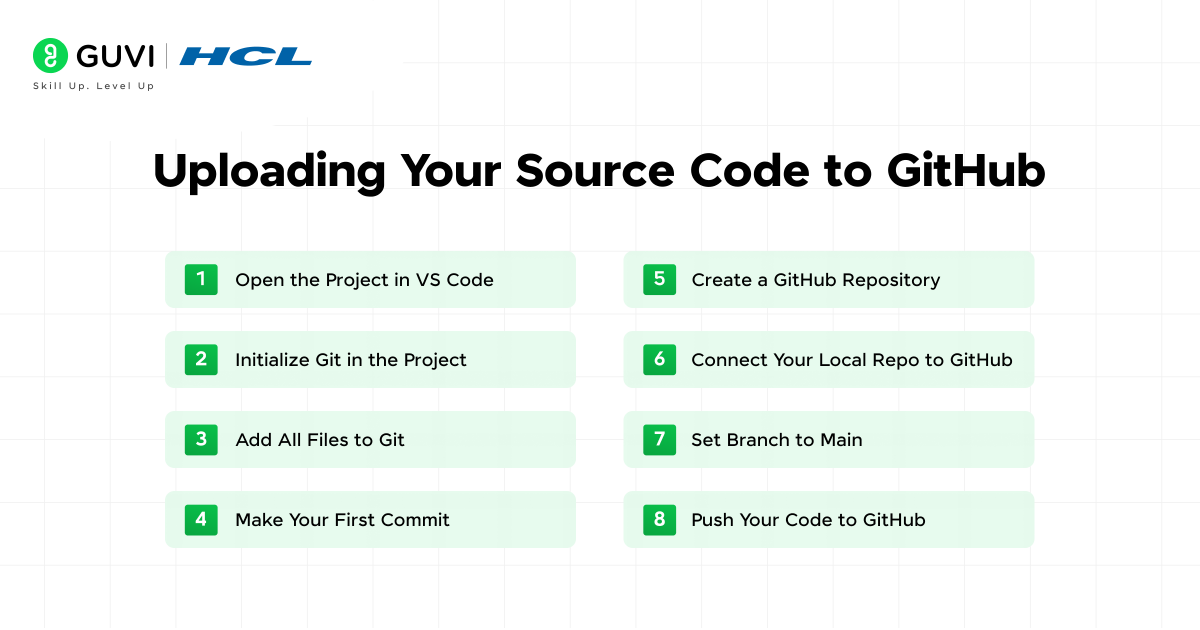
- Step-by-Step: Uploading Your Source Code to GitHub using Git
- Open the Project in VS Code
- Initialize Git in the Project
- Add All Files to Git
- Make Your First Commit
- Create a GitHub Repository
- Connect Your Local Repo to GitHub
- Set Branch to Main (Optional but Recommended)
- Push Your Code to GitHub
- Common Git Errors and How to Fix Them
- Error: fatal: not a git repository
- Error: remote origin already exists
- Error: error: failed to push some refs to...
- Error: Repository not found or Permission denied
- Error: branch 'main' does not exist
- All Git Commands Recap
- Final Tips
- Getting Started with Guvi
- You Did It!
Prerequisites
Before we start, make sure you have:
- Git installed – Install Git
- VS Code installed – Download VS Code
- A GitHub account – Create one here
- A local project folder is ready to upload
Step-by-Step: Uploading Your Source Code to GitHub using Git

1. Open the Project in VS Code
Open your project folder in VS Code, then open the Terminal (Ctrl + ~ or from the menu Terminal > New Terminal).
2. Initialize Git in the Project
git init
This creates a hidden .git folder and turns your project into a Git repository.
Find out: Best Git Interview Questions and Answers
3. Add All Files to Git
| git add . |
This stages all files to be committed.
4. Make Your First Commit
| git commit -m “Initial commit” |
This saves your current version as a snapshot.
5. Create a GitHub Repository
Go to github.com:
- Click “New repository.”
- Name your repo
- DO NOT check the boxes for
README,.gitignore, orlicense
Click Create repository
Explore: Git Flow Basics: Best Practices for Smooth Version Control
6. Connect Your Local Repo to GitHub
Copy the repository URL from GitHub. It looks like:
| https://github.com/your-username/your-repo-name.git |
Back in VS Code terminal:
| git remote add origin https://github.com/your-username/your-repo-name.git |
7. Set Branch to Main (Optional but Recommended)
| git branch -M main |
This ensures your local branch is named main, matching GitHub’s default.
8. Push Your Code to GitHub
| git push -u origin main |
Your code is now on GitHub!
Discover: A Beginner’s Guide to GitHub Repositories and File Sharing
Common Git Errors and How to Fix Them
Error: fatal: not a git repository
Cause: You’re running Git commands in a folder where Git hasn’t been initialized.
Fix:
| git init |
Error: remote origin already exists
Cause: You already set a remote, but you’re trying to add it again.
Fix:
| git remote remove origin git remote add origin https://github.com/your-username/your-repo-name.git |
Error: error: failed to push some refs to…
Cause: Your local branch and GitHub branch have diverged or conflicts exist.
Fix: First, try pulling changes:
| git pull origin main –allow-unrelated-histories |
Then push again:
| git push -u origin main |
Error: Repository not found or Permission denied
Cause: Either the repo URL is wrong, or you’re not authenticated correctly.
Fix:
- Double-check the URL
- Make sure you’re logged in to GitHub in VS Code
- If using SSH, ensure your SSH keys are set up correctly
You can also switch to HTTPS if SSH is causing issues.
Error: branch ‘main’ does not exist
Cause: You’re trying to push a branch that doesn’t exist locally.
Fix: Check your branch name with:
| git branch |
If you’re on master, either rename:
| git branch -M main |
Or push using:
| git push -u origin master |
All Git Commands Recap
Here’s the full list of Git commands you’ll use:
| git init git add . git commit -m “Initial commit” git branch -M main git remote add origin https://github.com/your-username/your-repo-name.git git push -u origin main |
Final Tips
- Use a
.gitignorefile to avoid pushing unwanted files likenode_modules/,.env, etc. - Always commit meaningful changes with clear commit messages.
- You can repeat
git add.,git commit, andgit pushto update your GitHub repo anytime.
Getting Started with Guvi
Enroll in Guvi’s course on Git to learn more about Git commands and their uses. Git plays a major role in a developer’s life; this course provides a detailed guide on how to use Git locally on your machine. It covers beginner concepts, such as managing local repositories and the difference between Git and GitHub to advanced concepts such as merging and audit trails, along with professional certification.
You Did It!
You’ve now successfully uploaded your project to GitHub using Git in VS Code. If you ran into an error, don’t worry — every developer does at some point. Bookmark this guide or share it with your coding buddies!
Happy coding, and see you on GitHub!


Did you enjoy this article?