


Database Articles
SQL Window Functions: Practical Examples Every Analyst Needs
Microservices vs Monolith: Making the Right Architectural Choice


Get In Touch For Details! Request More Information
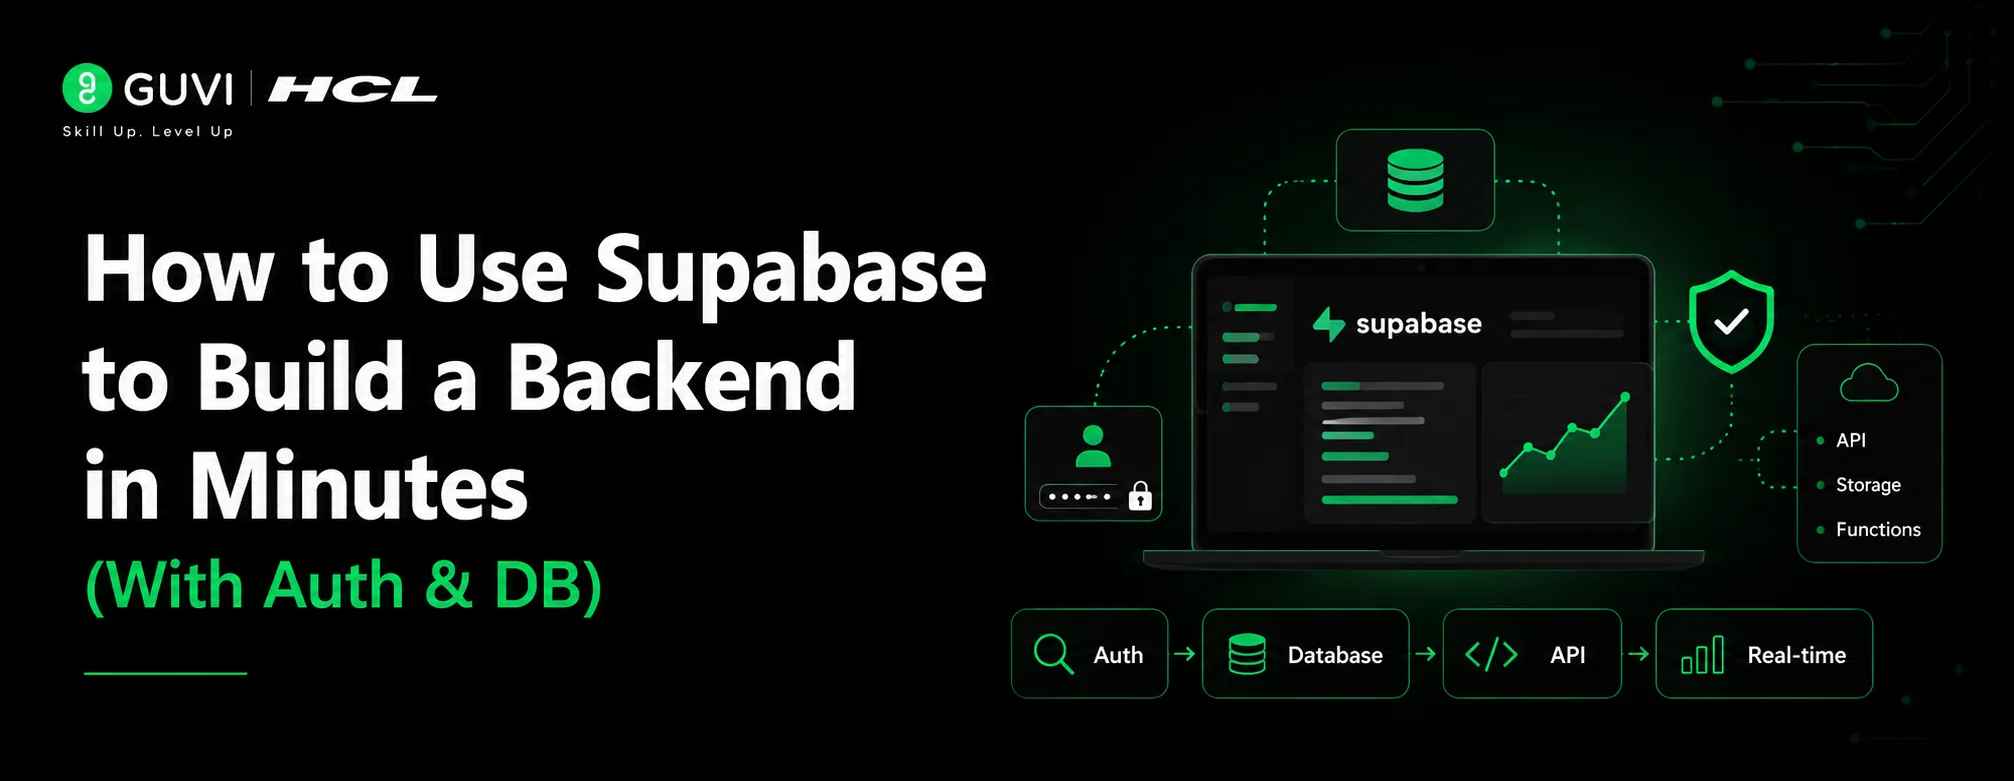
How to Use Supabase to Build a Backend in Minutes (With Auth & DB)
Jul 09, 2026 9 Min Read 646 Views
(Last Updated)
Table of contents
- TL;DR Summary Box
- What Is Supabase and Why Should You Care?
- How to Set Up Your First Supabase Project
- How to Create and Query Your Database
- How to Secure Your Data with Row-Level Security
- How to Connect Supabase to Your Frontend
- Supabase vs. Firebase: Which One Should You Pick?
- Common Mistakes Developers Make With Supabase
- Key Takeaways
- Conclusion
- What is Supabase used for?
- Is Supabase free to use?
- Do I need backend development experience to use Supabase?
- Is Supabase better than Firebase?
- Does Supabase provide authentication?
TL;DR Summary Box
- Supabase is an open-source Firebase alternative that gives you a PostgreSQL database, authentication, file storage, and real-time subscriptions — all from a single dashboard and a JavaScript SDK.
- You can have a working backend in under 15 minutes — create a project, define your database schema, enable auth, and connect your frontend with just a few lines of code.
- Row Level Security (RLS) is Supabase’s secret weapon — it enforces data access rules at the database level, not the application layer, which means your backend is secure even if your frontend code has bugs.
- Supabase is production-ready, not just a prototyping tool. Companies like Pika, Mobbin, and Mozilla use it in production at scale.
- The free tier is genuinely useful — 500MB database storage, 50,000 monthly active users for auth, and 5GB bandwidth, with no credit card required to start.
What Is Supabase and Why Should You Care?
Here’s a question worth asking: how much of your development time goes toward wiring up authentication, setting up a database, and managing API routes, before you’ve written a single line of actual product logic?
For most developers, the answer is “too much.” Backend infrastructure is the necessary overhead that slows down every project, whether you’re a solo developer building a SaaS product or a team shipping a startup MVP. That’s exactly the problem Supabase was designed to solve.
Supabase is an open-source backend-as-a-service platform that bundles a PostgreSQL database, user authentication, file storage, edge functions, and real-time data subscriptions into a single, developer-friendly product.
It was founded in 2020 and, according to Supabase’s 2024 State of the Database report, now powers over 1 million projects worldwide. For developers, this means you get a production-grade backend that would normally take weeks to configure in the time it takes to watch a tutorial.
What makes Supabase different from most BaaS tools is that it’s not a proprietary black box. Your data lives in a real PostgreSQL database that you fully own and can export at any time. You’re not locked into a custom query language or a vendor-specific data model. SQL is SQL. And if you outgrow Supabase tomorrow, your data and schema move with you.
What Can You Build With Supabase?
The short answer: almost anything that needs a backend. The more useful answer is that Supabase shines in specific use cases where developer speed and data integrity both matter.
Supabase is best suited for web and mobile applications that need user authentication, a relational database, and optionally real-time features or file uploads. Common use cases include SaaS products, internal dashboards, marketplace platforms, mobile app backends, and AI-powered tools that need to store user data and embeddings. It supports vector storage natively (via the pgvector PostgreSQL extension), making it a practical choice for apps built on top of LLMs.
Here’s a clearer picture of what Supabase’s core features unlock for you:
- PostgreSQL Database with instant REST and GraphQL APIs: As soon as you create a table, Supabase auto-generates a REST API and a GraphQL endpoint for it. You don’t write a single route handler. This alone saves hours per project, especially when you need to move fast in the early stages of a build.
- Built-in Authentication with multiple providers: Email/password, magic links, OAuth (Google, GitHub, Twitter, Apple, and more), and phone-based OTP are all available out of the box. Auth is not something you bolt on later, it’s a first-class citizen in Supabase from day one, and it connects directly to your database via Row Level Security.
- Real-time subscriptions via WebSockets: Supabase uses PostgreSQL’s LISTEN/NOTIFY mechanism under the hood to push database changes to connected clients in real time. If you’re building a chat app, a collaborative tool, or a live dashboard, this works without any additional infrastructure.
The combination of these three features means you can go from zero to a full-featured, authenticated web app without spinning up a single server, writing a single backend route, or configuring a single deployment pipeline.
Best Practice: Enable Row Level Security (RLS) on every table before you write a single line of client-side code. The most common Supabase security mistake is that developers who build fast, forget RLS, and accidentally expose all their database rows to the public API. Turn it on first, then write your policies as you go.
How to Set Up Your First Supabase Project
Setting up Supabase takes less time than you’d expect. There’s no infrastructure to configure, no Docker containers to run locally (unless you want to), and no CLI required for the basics. Here’s exactly how to go from nothing to a working backend project.
To set up a Supabase project, go to supabase.com, create a free account, and click “New Project.” You’ll name your project, choose a database password, and select a region. Within about 60 seconds, Supabase provisions a dedicated PostgreSQL database and a full API layer. You’ll land on a project dashboard with your API URL and public anon key visible immediately, these are what your frontend uses to talk to your backend.
Step 1 – Create Your Project
Head to supabase.com and sign in with GitHub (it’s the fastest path). Click New Project, name it, set a strong database password, and pick the region closest to your users. Hit Create New Project and wait about 60 seconds for provisioning.
Step 2 – Grab Your API Credentials
Once the project is ready, go to Settings → API. You’ll see two things you need:
- Project URL – the base URL for all your API calls (e.g., https://xyzabcdefg.supabase.co)
- Anon Public Key – the key your frontend uses for public (pre-auth) requests
Keep your service role key private and never expose it in client-side code. It bypasses Row Level Security entirely.
Step 3 – Install the Supabase Client
In your project, install the JavaScript SDK:
npm install @supabase/supabase-js
Then initialize it in a single utility file:
// lib/supabase.js
import { createClient } from ‘@supabase/supabase-js’
const supabaseUrl = process.env.NEXT_PUBLIC_SUPABASE_URL
const supabaseKey = process.env.NEXT_PUBLIC_SUPABASE_ANON_KEY
export const supabase = createClient(supabaseUrl, supabaseKey)
That’s it. You now have a live connection to a production-grade PostgreSQL database.
💡 Pro Tip Use environment variables from day one, even in development. Store your Supabase URL and anon key in a .env.local file (for Next.js) and add .env.local to your .gitignore. This habit saves you from accidentally pushing credentials to GitHub, a surprisingly common mistake among developers moving fast.
How to Create and Query Your Database
One of Supabase’s biggest quality-of-life wins is that you can design your database schema through a visual UI, plain SQL, or the CLI, whichever suits your workflow. The result is the same: a real PostgreSQL table with a generated REST API that’s live the moment you save.
In Supabase, you create database tables through the Table Editor in the dashboard or by writing SQL in the SQL Editor. Once a table is cre;is ated, Supabase automatically generates REST API endpoints for it. You can query your data from the client using the Supabase JavaScript SDK with a chainable query builder, no SQL required on the frontend, though raw SQL is also supported.
Creating a Table
Open the Table Editor in your Supabase dashboard and click Create a new table. Let’s build a simple posts table for a blog:
| Column | Type | Notes |
| id | uuid | Primary key, default gen_random_uuid() |
| user_id | uuid | References auth.users(id) |
| title | text | Not null |
| body | text | Not null |
| created_at | timestamptz | Default now() |
Alternatively, in the SQL editor:
create table posts (
id uuid default gen_random_uuid() primary key,
user_id uuid references auth.users(id) on delete cascade,
title text not null,
body text not null,
created_at timestamptz default now()
);
Querying Your Data
Now read, insert, and filter data from your frontend:
// Fetch all posts
const { data, error } = await supabase
.from(‘posts’)
.select(‘*’)
.order(‘created_at’, { ascending: false })
// Insert a new post
const { data, error } = await supabase
.from(‘posts’)
.insert({ title: ‘My First Post’, body: ‘Hello, Supabase!’ })
// Filter by user
const { data, error } = await supabase
.from(‘posts’)
.select(‘*’)
.eq(‘user_id’, userId)
Authentication is where most developers lose significant time, session management, password hashing, OAuth flows, token refresh logic. Supabase handles all of it for you. Enabling auth is not a configuration project; it’s a few lines of code.
Supabase Authentication works out of the box with no configuration required for email/password sign-ups. To enable OAuth providers like Google or GitHub, you add your OAuth credentials in the Supabase dashboard under Authentication → Providers, then call a single SDK method in your frontend. Supabase manages sessions automatically using JWTs stored in localStorage or cookies, and every authenticated request automatically passes the user’s identity to your database for Row Level Security policies to evaluate.
Email & Password Auth
// Sign up
const { data, error } = await supabase.auth.signUp({
email: ‘[email protected]’,
password: ‘securepassword123’
})
// Sign in
const { data, error } = await supabase.auth.signInWithPassword({
email: ‘[email protected]’,
password: ‘securepassword123’
})
// Sign out
await supabase.auth.signOut()
// Get current user
const { data: { user } } = await supabase.auth.getUser()
OAuth (Google, GitHub, etc.)
// Redirect to Google OAuth
const { error } = await supabase.auth.signInWithOAuth({
provider: ‘google’,
options: {
redirectTo: ‘https://yourapp.com/auth/callback’
}
})
Before this works, go to Authentication → Providers → Google in your Supabase dashboard and paste in your Google OAuth Client ID and Secret. Supabase handles the redirect, token exchange, and session creation automatically.
Listening to Auth State Changes
supabase.auth.onAuthStateChange((event, session) => {
if (event === ‘SIGNED_IN’) {
console.log(‘User signed in:’, session.user)
}
if (event === ‘SIGNED_OUT’) {
// Redirect to login
}
})
⚠️ Warning Do not rely on the client-side user object alone to protect sensitive operations. supabase.auth.getUser() is safe because it verifies the JWT with Supabase’s servers. But supabase.auth.getSession() only reads the local session — it can be spoofed. For any security-sensitive check, always use getUser().
How to Secure Your Data with Row-Level Security
Row Level Security is the feature that separates developers who use Supabase safely from developers who accidentally expose their users’ data. It’s also the concept that trips people up most often. Here’s how to think about it clearly.
Row Level Security (RLS) in Supabase is a PostgreSQL feature that restricts which rows a user can read, insert, update, or delete, enforced at the database layer, not the application layer. When RLS is enabled on a table, every query is automatically filtered by policies you define in SQL. A typical policy might say “a user can only see their own posts,” and that rule applies regardless of what the frontend code does. RLS policies reference auth.uid(), which Supabase automatically sets to the current authenticated user’s ID.

Why RLS matters: Traditional API security relies on application code checking permissions before touching the database. If that code has a bug, a misconfigured route, or a future developer skips the check, data leaks. RLS pushes the permission check into the database itself, it’s impossible to bypass at the application layer, because PostgreSQL enforces it before any data is returned.
Enabling RLS
— Enable RLS on the posts table
alter table posts enable row level security;
After enabling RLS, ALL rows are blocked by default until you create policies.
Writing Policies
— Users can read their own posts
create policy “Users can view own posts”
on posts for select
using (auth.uid() = user_id);
— Users can insert posts tied to their own user_id
create policy “Users can create own posts”
on posts for insert
with check (auth.uid() = user_id);
Users can delete only their own posts
create policy “Users can delete own posts”
on posts for delete
using (auth.uid() = user_id);
Public Read Policy (for public content)
Allow anyone (including unauthenticated users) to read all posts
create policy “Public posts are viewable by everyone”
on posts for select
using (true);
How to Connect Supabase to Your Frontend
Supabase is framework-agnostic. It works with React, Next.js, Vue, SvelteKit, Angular, plain JavaScript, Flutter, and more. The JavaScript SDK is the same everywhere, only the session management approach differs slightly by framework.
To connect Supabase to a frontend framework, install @supabase/supabase-js, initialize the client with your project URL and anon key, and import it wherever you need data access. For server-side rendering in frameworks like Next.js, Supabase provides @supabase/ssr, a separate package that handles session management across server components, client components, and middleware, ensuring the auth session is correctly passed on every request.
Next.js App Router Setup (2026 Pattern)
npm install @supabase/supabase-js @supabase/ssr
// utils/supabase/client.js — for Client Components
import { createBrowserClient } from ‘@supabase/ssr’
export function createClient() {
return createBrowserClient(
process.env.NEXT_PUBLIC_SUPABASE_URL,
process.env.NEXT_PUBLIC_SUPABASE_ANON_KEY
)
}
// utils/supabase/server.js — for Server Components
import { createServerClient } from ‘@supabase/ssr’
import { cookies } from ‘next/headers’
export function createClient() {
const cookieStore = cookies()
return createServerClient(
process.env.NEXT_PUBLIC_SUPABASE_URL,
process.env.NEXT_PUBLIC_SUPABASE_ANON_KEY,
{ cookies: { getAll() { return cookieStore.getAll() } } }
)
}
This pattern gives you full auth context in both server and client components, the right way to handle sessions in Next.js 14+ and 15.
✅ Best Practice: Keep your Supabase client initialization in a single utils/supabase/ folder and import from there across your app. Creating a new client instance on every component render is a common performance mistake; the client is designed to be a singleton.
Supabase works seamlessly with JavaScript, making it one of the best tools for modern web development. If you’re new to programming or want to strengthen your fundamentals before building full-stack applications, start with HCL GUVI’s JavaScript for Beginners course. Learn variables, functions, DOM manipulation, ES6 concepts, asynchronous programming, and more through hands-on projects
Supabase vs. Firebase: Which One Should You Pick?
This is the most common question developers have when evaluating Supabase. The honest answer is: it depends on what matters most to your project.
Supabase and Firebase are both backend-as-a-service platforms, but they differ fundamentally in their database model and data ownership philosophy. Firebase uses a NoSQL document database (Firestore) that’s optimized for flexible, nested data structures and ultra-fast writes. Supabase uses PostgreSQL, a relational database, that’s better suited for structured data, complex queries, and applications where data relationships and integrity matter. According to a 2024 survey by The State of JS, developer satisfaction with Supabase (87%) has overtaken Firebase (71%) for the second consecutive year.
| Feature | Supabase | Firebase |
| Database type | PostgreSQL (relational) | Firestore (NoSQL) |
| Query language | SQL + SDK | Firebase SDK (no SQL) |
| Auth providers | Email, OAuth, Phone, SSO | Email, OAuth, Phone |
| Real-time | Yes (via PostgreSQL) | Yes (native) |
| File storage | Yes | Yes |
| Edge functions | Yes (Deno) | Yes (Cloud Functions) |
| Open source | Yes, self-hostable | No |
| Vendor lock-in | Low (standard PostgreSQL) | High |
| Free tier DB | 500MB | 1GB |
| Best for | Relational data, SQL teams | Flexible NoSQL, Google ecosystem |
The deciding factor: If your data has relationships — users own posts, posts have comments, comments belong to users — choose Supabase. Relational data in a document database leads to deeply nested structures, expensive reads, and complex client-side joins. PostgreSQL handles relationships natively, and Supabase makes PostgreSQL accessible without a backend team.
Common Mistakes Developers Make With Supabase
Knowing the pitfalls in advance puts you months ahead of most developers who learn these the hard way in production.
The three most impactful Supabase mistakes- skipping Row Level Security, using the service role key client-side, and selecting all columns with select(‘*’) in large tables, account for the majority of Supabase-related security incidents and performance regressions reported in developer forums in 2024-2025. [Source: Supabase GitHub Discussions + Community Forum, 2025]
- Skipping Row Level Security: This is the #1 mistake. If you create a table without enabling RLS and writing policies, any user with your anon key can read every row in that table. Your anon key is public by design; RLS is what makes that safe. Enable it on every table, always.
- Exposing the service role key: The service role key bypasses all RLS policies. It is exclusively for server-side use (edge functions, server components, admin scripts). If it appears in client-side code or gets committed to GitHub, your entire database is exposed. Rotate it immediately if this happens.
- Using select(‘*’) on large tables: Fetching all columns when you only need two or three is wasteful. Specify the exact columns you need: select(‘id, title, created_at’). This reduces bandwidth, speeds up queries, and avoids accidentally exposing columns you forgot were in the table.
- Not handling auth state correctly in SSR: In server-rendered frameworks, forgetting to refresh the session token via the middleware pattern means users appear logged out on server components even when they’re logged in. Use @supabase/ssr and the middleware refresh pattern from Supabase’s official docs.
- Ignoring the error object: Every Supabase SDK call returns { data, error }. Developers who destructure only data and ignore error end up with silent failures that are nearly impossible to debug. Always check if (error) throw error or handle it explicitly.
Key Takeaways
- Supabase gives you a production-ready PostgreSQL backend in under 15 minutes, including auth, a database, a REST/GraphQL API, and real-time subscriptions, all from a single dashboard.
- Row Level Security is non-negotiable: enable it on every table from the start. It enforces data access at the database layer, which is far more secure than application-level permission checks.
- The anon key is public by design, but it’s only safe when RLS is properly configured. Never use the service role key in client-side code.
- Supabase’s PostgreSQL foundation is a competitive advantage, your data is portable, your queries are standard SQL, and you’re not locked into a proprietary data model.
- For Next.js, use @supabase/ssr; the browser client alone doesn’t handle server-side session management correctly in the App Router.
- The free tier is production-capable for early-stage projects, 500MB database, 50,000 MAUs on auth, and 5GB bandwidth covers most MVPs and small SaaS products.
- Supabase is not just for prototyping, companies like Pika Labs, Mobbin, and 1Password’s developers use Supabase in production at scale.
Conclusion
Supabase has genuinely changed what a solo developer or small team can ship in a week. The old model, spend the first sprint on auth, database migrations, API routes, and deployment pipelines, is increasingly optional. With Supabase, you start with all of that already working, and you spend your time on the parts of your product that actually differentiate it.
The learning curve is shallow if you’re comfortable with JavaScript and at least basic SQL. The security model is sound when you use it correctly (RLS on everything, service key stays server-side). And the open-source, PostgreSQL foundation means you’re building on something that scales and that you’ll never be locked out of.
Start with one small project, a to-do app, a personal blog backend, a simple SaaS prototype. The fifteen minutes it takes to get up and running is the best investment you’ll make this week.
1. What is Supabase used for?
Supabase is an open-source Backend-as-a-Service (BaaS) platform that provides a PostgreSQL database, authentication, storage, APIs, and real-time features. Developers use it to quickly build web and mobile applications without managing backend infrastructure.
2. Is Supabase free to use?
Yes, Supabase offers a free tier that includes database storage, authentication users, file storage, bandwidth, and Edge Functions. It is suitable for learning, prototypes, and many small production applications.
3. Do I need backend development experience to use Supabase?
No. Supabase simplifies backend development by providing ready-to-use APIs, authentication, and database tools. Basic knowledge of JavaScript and SQL can help you use its advanced features more effectively.
4. Is Supabase better than Firebase?
It depends on your project requirements. Supabase uses PostgreSQL, making it ideal for applications that need relational data and SQL queries. Firebase uses a NoSQL database and works well for flexible document-based data structures.
5. Does Supabase provide authentication?
Yes. Supabase Auth supports email/password login, magic links, OAuth providers like Google and GitHub, phone authentication, and session management out of the box.
Success Stories

About the Author
Salini Balasubramaniam
A curious, information-savvy writer loves to turn deep insights into authentic and engaging content that connects. With experience in writing for brands and driving audience engagement, I believe that words can make a powerful difference.
View all posts by Salini Balasubramaniam
Connect with me @













Did you enjoy this article?