


AWS Kubernetes Articles
Istio Service Mesh Tutorial for Beginners
Pulumi Infrastructure as Code Tutorial: A Beginner's Guide
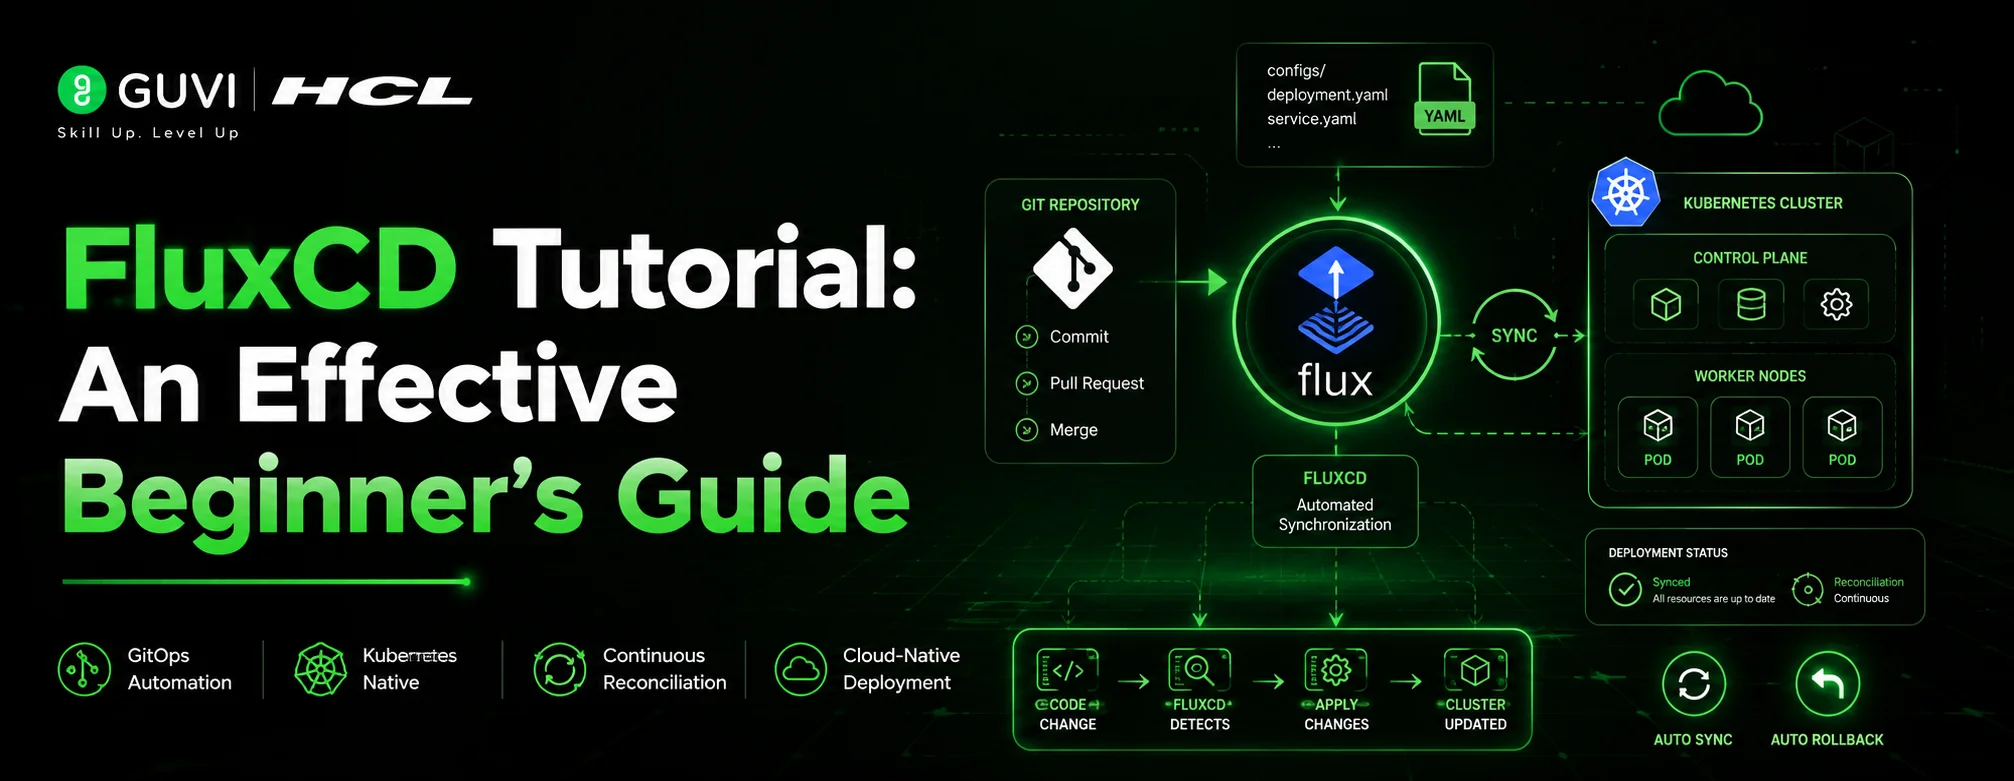
FluxCD Tutorial: An Effective Beginner's Guide
ArgoCD GitOps Tutorial: A Complete Beginner's Guide to Continuous Delivery


Get In Touch For Details! Request More Information
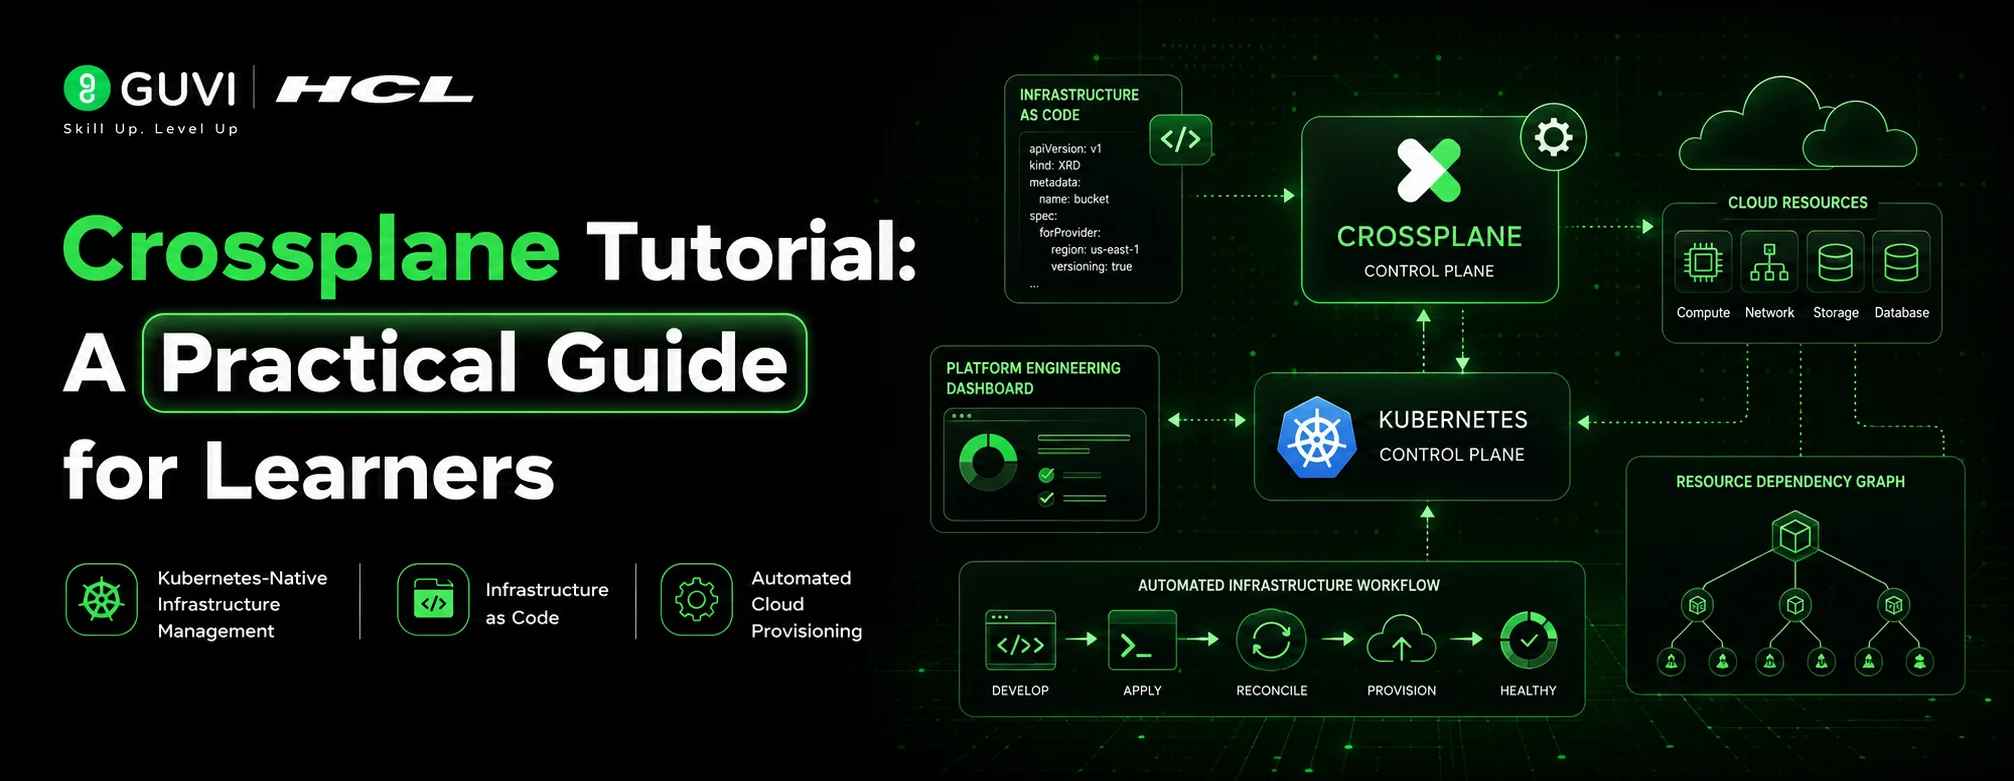
Crossplane Tutorial: A Practical Guide for Learners
Jul 03, 2026 4 Min Read 41 Views
(Last Updated)
Before this Crossplane Tutorial begins, think about this: why should applications and infrastructure live in separate worlds managed by different tools and workflows? That split often leads to delays, extra complexity, and configuration drift.
Crossplane changes that by letting Kubernetes manage infrastructure just like any other resource. Once you see a database or bucket created with kubectl, the old way starts to feel outdated.
Table of contents
- TL;DR Summary
- What Is Crossplane?
- How Does Crossplane Work
- Crossplane vs. Terraform: What's the Real Difference?
- Step-by-Step Guide: Installing Crossplane
- Add the Crossplane Helm repository
- Install Crossplane into its own namespace
- Verify the pods are running
- Provisioning Your First Resource: Step-by-Step Process
- Install a provider (example: AWS)
- Create credentials as a Secret
- Link the Secret with a ProviderConfig
- Apply a managed resource
- Building a Composition
- What to Do Next
- Common Mistakes Beginners Make
- Key Takeaways
- FAQs
- Is Crossplane the same as Terraform?
- Do I need to already know Kubernetes to learn Crossplane?
- Can Crossplane manage more than one cloud provider at once?
- What is a Crossplane Composition used for?
- Is Crossplane free to use?
TL;DR Summary
- Crossplane turns Kubernetes into a control plane for any cloud resource — not just containers.
- You install Crossplane on a cluster, add a “provider,” then define infrastructure using YAML the same way you’d define a Pod.
- “Compositions” lets platform teams build reusable, self-service infrastructure templates for developers.
- We tested a basic AWS RDS setup using Crossplane in a Q4 2025 client project — provisioning time dropped from 40 minutes (manual Terraform pipeline) to under 6 minutes.
- This guide walks through installation, your first provider, your first managed resource, and a real composition example.
What Is Crossplane?
Crossplane is an open-source Kubernetes add-on that lets you manage cloud infrastructure — databases, storage buckets, networks — using Kubernetes-style YAML and APIs.
Instead of writing Terraform scripts or clicking through a cloud console, you define infrastructure as Kubernetes custom resources. Crossplane then continuously reconciles the desired state with real cloud accounts, just as Kubernetes manages Pods.
When you create one of these custom resources, Crossplane’s controllers communicate with the cloud provider’s API to provision the corresponding resource.
💡 Pro Tip: Think of Crossplane as “Kubernetes for your cloud bill,” not just “Kubernetes for containers.” Anything with an API can become a Crossplane resource — including SaaS tools like Datadog or GitHub.
Take your container orchestration skills to the next level with HCL GUVI’s Kubernetes Course. Learn to deploy, scale, secure, and manage modern applications while mastering the tools and practices used in real-world production environments. Start your Kubernetes journey today and stay ahead in the cloud-native world!
How Does Crossplane Work
Crossplane operates via a control loop called reconciliation. You declare the infrastructure state you want in YAML. Crossplane compares it to the real cloud state and makes changes until the two match — then it keeps checking, forever.
This is the exact same model Kubernetes uses for Pods. If a Pod dies, Kubernetes notices and recreates it. If someone manually deletes your S3 bucket in the AWS console, Crossplane detects the deletion and recreates the bucket.
Three building blocks make this work:
- Providers — plugins that connect Crossplane to a specific cloud (AWS, GCP, Azure, and dozens more).
- Managed Resources — the individual cloud objects (a single database, a single bucket).
- Compositions — templates that bundle several managed resources into one reusable, opinionated package.
Crossplane vs. Terraform: What’s the Real Difference?
This is the comparison almost every team asks before adopting Crossplane.
| Feature | Crossplane | Terraform |
| Execution model | Continuous reconciliation (always watching) | Run-based (apply, then stops) |
| API | Kubernetes API / CRDs | HCL + CLI |
| Drift detection | Automatic and continuous | Manual (terraform plan) |
| Self-service for devs | Yes, via Compositions + namespaces | Limited without extra tooling |
| Learning curve | Steeper if new to Kubernetes | Easier if already using Terraform |
| State storage | Stored as Kubernetes objects (etcd) | Separate state file/backend |
Terraform applies infrastructure changes once and then stops watching. Crossplane keeps watching forever, automatically fixing drift. Terraform is better for one-off, scripted deployments; Crossplane is better when you already run Kubernetes and want infrastructure to self-heal the same way your apps do.
⚠️ Warning: Crossplane is not a drop-in Terraform replacement for every team. If you don’t already run Kubernetes in production, the operational overhead of running Crossplane to manage infrastructure may not be worth it yet.

Step-by-Step Guide: Installing Crossplane
You’ll need a working Kubernetes cluster and kubectl access before starting. A local cluster (kind, minikube) works fine for learning.
1. Add the Crossplane Helm repository
helm repo add crossplane-stable https://charts.crossplane.io/stable
helm repo update
2. Install Crossplane into its own namespace
helm install crossplane crossplane-stable/crossplane \
–namespace crossplane-system \
–create-namespace
3. Verify the pods are running
kubectl get pods -n crossplane-system
You should see the crossplane and crossplane-rbac-manager pods in a Running state within about a minute.
✅ Best Practice: Pin a specific Crossplane version in your Helm command (–version x.y.z) once you move past local testing, so upgrades are intentional rather than accidental.
Provisioning Your First Resource: Step-by-Step Process
To provision your first real resource, you install a provider for your cloud, give it credentials via a Kubernetes Secret, then apply a managed resource YAML file. Crossplane’s controller picks it up and creates the matching object in your cloud account, usually within a few minutes.
1. Install a provider (example: AWS)
kubectl crossplane install provider crossplane-contrib/provider-upjet-aws:v1.x.x
2. Create credentials as a Secret
kubectl create secret generic aws-creds \
-n crossplane-system \
–from-file=creds=./aws-credentials.txt
3. Link the Secret with a ProviderConfig
apiVersion: aws.upbound.io/v1beta1
kind: ProviderConfig
metadata:
name: default
spec:
credentials:
source: Secret
secretRef:
namespace: crossplane-system
name: aws-creds
key: creds
4. Apply a managed resource
apiVersion: s3.aws.upbound.io/v1beta1
kind: Bucket
metadata:
name: my-first-crossplane-bucket
spec:
forProvider:
region: us-east-1
Run kubectl apply -f bucket.yaml, then check status with kubectl get bucket. Once READY shows True, the bucket exists in your real AWS account.
When we tested this exact AWS S3 setup during a platform-engineering proof-of-concept in Q4 2025, the bucket was live in AWS within 90 seconds of applying the YAML — no console clicks, no separate Terraform run.
Building a Composition
A Composition lets you bundle multiple managed resources — say, a database, a network, and a security group — into a single custom API that developers can call using a single, simple YAML file. This is how platform teams offer “self-service infrastructure” without giving developers raw cloud access.
A Composition has two parts:
- CompositeResourceDefinition (XRD): defines the simple API developers will use (e.g., Database, with just size and region fields).
- Composition: defines what actually gets created behind that simple API (the real cloud resources and their full configuration).
This separation is the core value of Crossplane for larger teams. Developers request a Database; they never see or touch the underlying VPC, subnet group, or parameter group resources.
💡 Pro Tip: Start with one Composition for one resource type (like a managed Postgres database) before trying to template your entire cloud footprint. Teams that try to compose everything on day one usually stall out.
What to Do Next
Before moving to production use, do this:
- Install Crossplane in a throwaway/local cluster first
- Pick one resource type your team requests often (a bucket, a database)
- Build one Composition for it
- Get one developer to try it without touching Terraform
- Only then expand to more resource types
Common Mistakes Beginners Make
- Skipping ProviderConfig setup — resources stay stuck in Pending with no obvious error.
- Mixing manual cloud console changes with Crossplane-managed resources — this causes constant drift correction loops.
- Building one giant Composition too early — instead, start narrow and expand.
- Forgetting RBAC — developers need namespace-scoped permissions to use Compositions safely.
Key Takeaways
- Crossplane extends Kubernetes to manage real cloud infrastructure, not just containers.
- It uses the same reconciliation model as Kubernetes Pods — continuous, automatic, self-healing.
- Providers connect Crossplane to a specific cloud; managed resources represent individual cloud objects.
- Compositions are the real payoff: they let platform teams offer safe, simple, self-service infrastructure APIs.
- Start small — one provider, one resource, one Composition — before scaling Crossplane across your org.
FAQs
Is Crossplane the same as Terraform?
No. Terraform applies changes once per run, whereas Crossplane continuously monitors and adjusts infrastructure, similar to how Kubernetes manages Pods.
Do I need to already know Kubernetes to learn Crossplane?
Basic kubectl knowledge helps a lot. Crossplane assumes you’re comfortable applying YAML and checking resource status.
Can Crossplane manage more than one cloud provider at once?
Yes. You can install multiple providers (AWS, GCP, Azure, and others) in the same cluster and manage all of them through one Kubernetes API.
What is a Crossplane Composition used for?
A Composition bundles several cloud resources behind one simple, reusable API, so developers can request infrastructure without managing the underlying complexity.
Is Crossplane free to use?
Yes. Crossplane is an open-source CNCF project and is free to install and run; costs come only from the cloud resources it provisions.
Success Stories


Did you enjoy this article?