

Full Stack Development Articles
Pact Contract Testing Tutorial: Catch Breaking API Changes Before They Break Production
Testcontainers Tutorial: Test Against Real Services Without the Headache


Get In Touch For Details! Request More Information
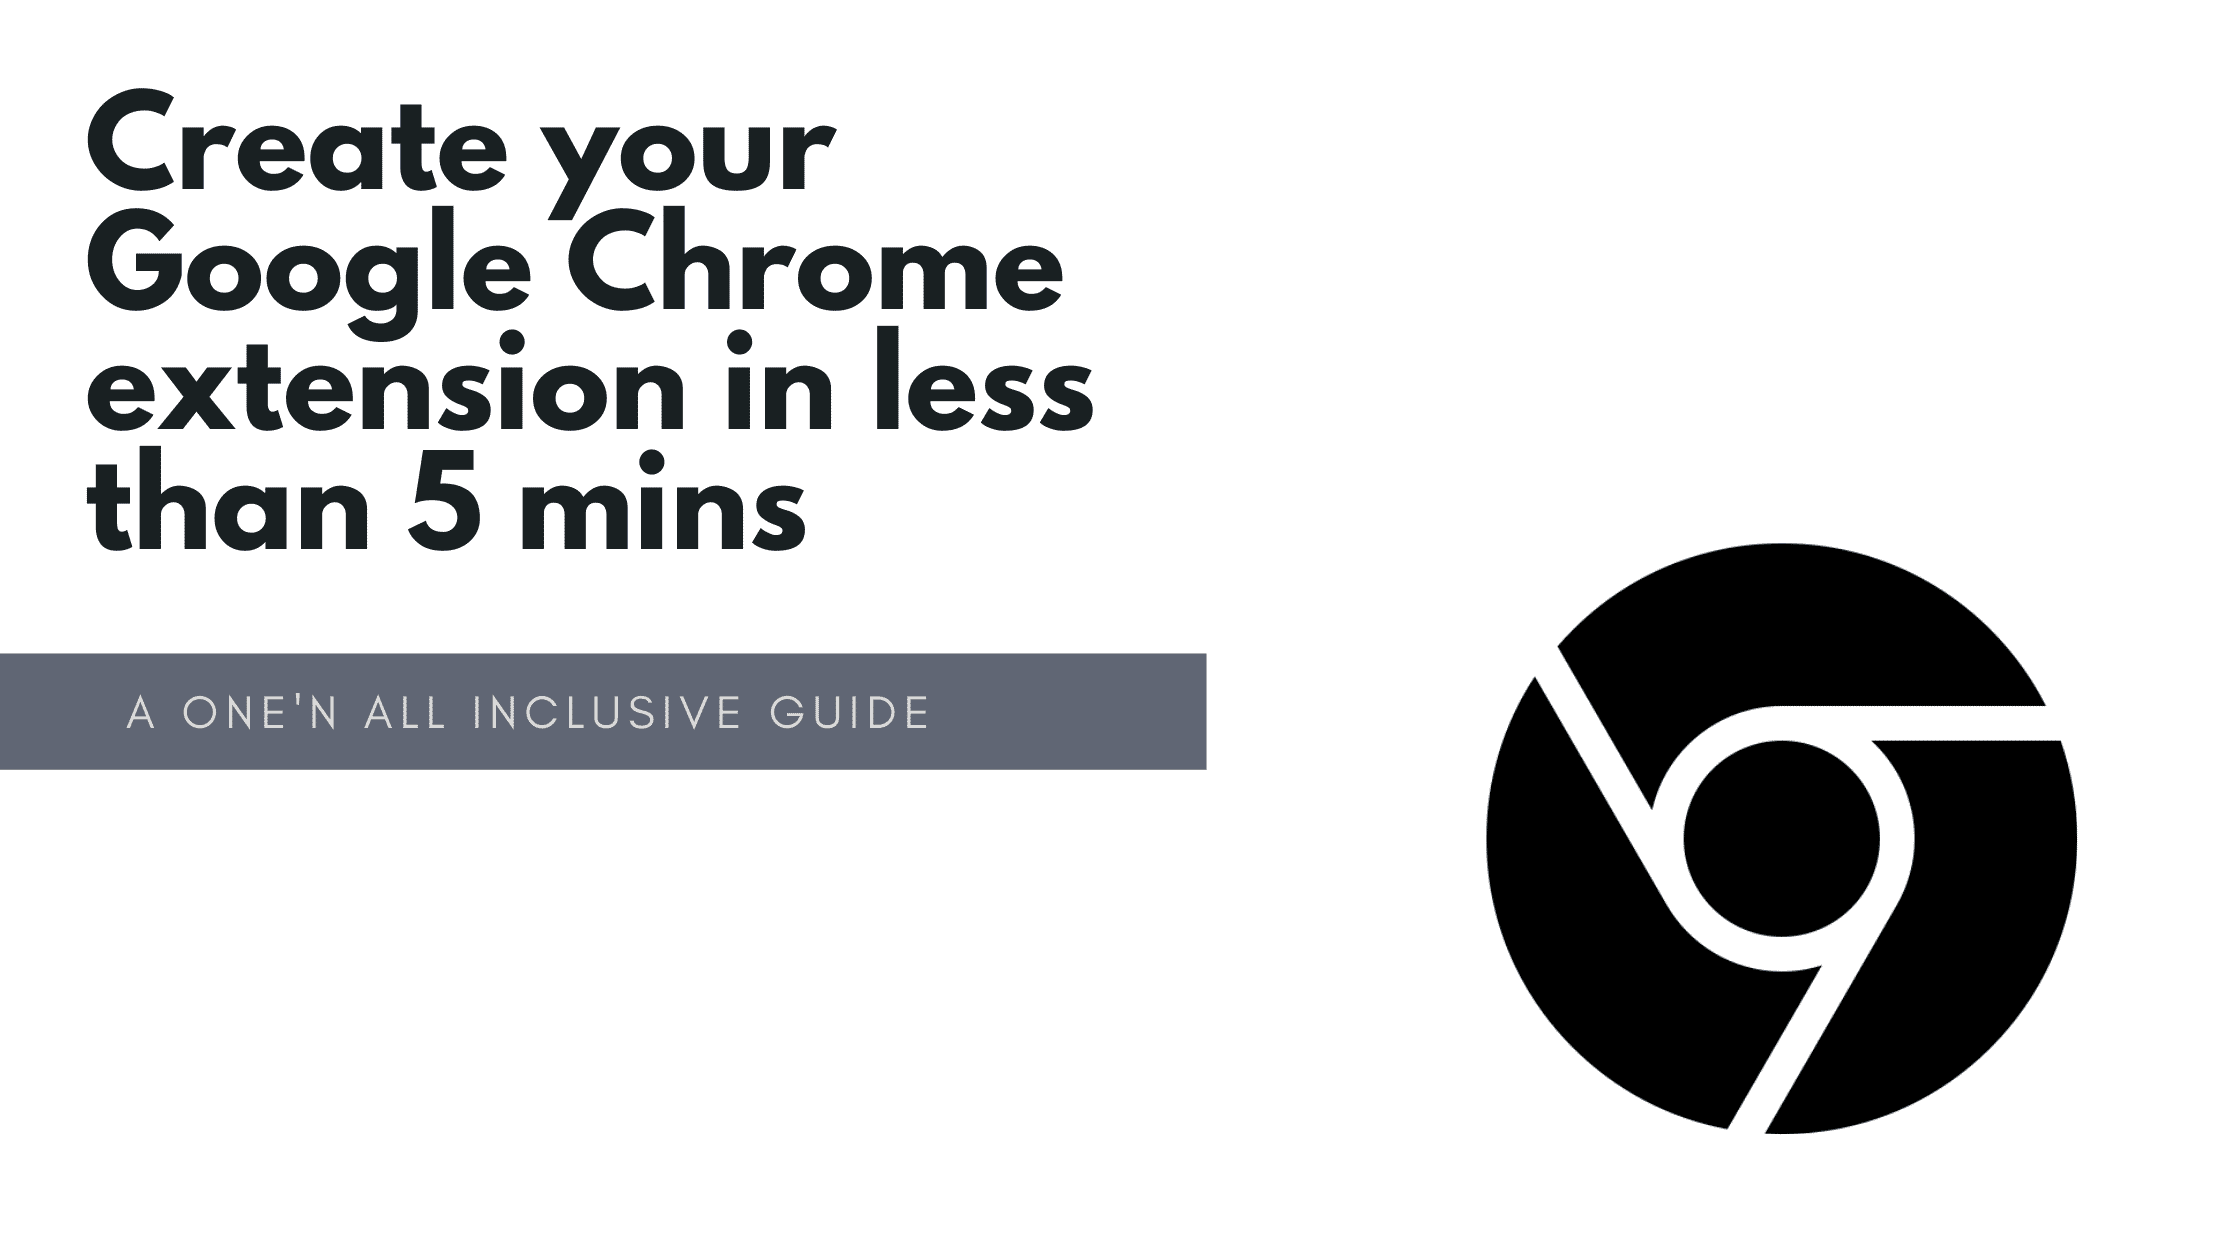
How to Build & Publish your Chrome Extension in less than 5 Minutes!
Oct 07, 2025 5 Min Read 7955 Views
(Last Updated)
In this detailed guide, we will walk you through the whole process of creating and publishing a Google Chrome Extension. The Chrome extension is very extensible and it seems like there is a plugin for everything you want with the browser’s functionality.
You can also create your own Chrome extension to add specific functionality, as long as everything directs toward a singular function.
Don’t forget to upload your extensions on Chrome Store or add them to the GitHub Repository Portfolio to win some brownie points from your recruiters.
As a blogger, It was exhausting to ensure manually one by one which links were redirecting to the preferred page and which links were dead-ends. I was stuck doing a repetitive task and I wished I could automate this process.
Unless I came across a Chrome Extension known as Link Checker, which runs through every webpage and displays a detailed overview of completed links, the number of good, bad, and warning links.
Google Chrome Extensions are made of different cohesive components, to be installed on your Chrome browser. They help to automate certain functions, tweak existing behavior, and improve performance.
There are thousands of Chrome extensions like Link Checker that execute a simple functionality and enhance the User Experience not only limited to blogging. If you are a Shopify Store Developer, you can install the Koala Inspector, to see what themes were used, if any new updates have been released, and product statistics. Similarly, Whatruns lets you discover every technology that runs on a website, frameworks, web technology, themes, CMS, and even the Font.
Table of contents
- What's Chrome Extension?
- Uncovering Google Chrome Extension Architecture
- Manifest
- Background Script
- Content Script
- Options page
- UI Elements
- Creating your first project
- Creating Content.Js
- Creating Background.Js
- Browser Action
- Appending
- Testing & Initializing
- Publish your Chrome Extension
- Summing up
What’s Chrome Extension?
From a technical perspective, a Chrome Extension is just some CSS, HTML, and JavaScript that enables the user to add functionality to the Chrome Browser through some API.
The extension components include content scripts, background scripts, an options page, Logic files, and various UI elements. An extension’s component relies on its functionality and may or may not require every option.
The difference between a Chrome Extension and an application is that they are often easier to build & deploy as they are centered around a singular function. The following tutorial will guide you to create a beginner-level- Chrome Extension that changes the background color of a paragraph. Before dwelling into all technical nitty-gritty jargon, here are some prerequisites:
- Prior basic understanding of HTML and JavaScript.
- Experience with IDE. ( I suggest Visual Studio Code)
- A folder in your system space to store Chrome Extension files like manifest.json, background.js, popup.html, logic files, and so on.
Before diving into the next section, ensure you’re solid on full-stack development essentials like front-end frameworks, back-end technologies, and database management. If you are looking for a detailed Full Stack Development career program, you can join HCL GUVI’s Full Stack Development Course with placement assistance. You will be able to master the MERN stack (MongoDB, Express.js, React, Node.js) and build real-life projects.
Additionally, if you want to explore JavaScript through a self-paced course, try HCL GUVI’s JavaScript certification course.
Uncovering Google Chrome Extension Architecture
An extension’s architecture will depend on its functionality, Although robust extensions like Grammarly, and Evernote require all the components to create their extension.
- Manifest
- Background script
- Content script
- Options page
- UI Elements

Manifest
Every extension contains a JSON-formatted manifest file, named manifest.json. Google uses this file to acquire certain pieces of information about the extension you are going to develop.
Background Script
It is also known as the extension’s event handler. The background.js contains listeners for browser events that are important to the extension. It lies dormant until an event is fired and then performs the instructed logic. An effective background script is only executed when it is needed and unloaded when it goes idle.
Content Script
Extensions that read or write to web pages utilize a content script. The content script contains JavaScript that executes in the context of your current webpage.
Content scripts can communicate with their parent extensions by exchanging messages and storing values using storage API.
Options page
Just as extensions allow users to customize the Chrome browser, the options page enables customization of the extension. Options enable features and allow developers to pick the relevant functionality for their users.
UI Elements
An extension’s user interface should be minimal and purposeful. The UI should customize or enhance the browsing experience without distracting it. Most extensions have a browser action or page action but can contain other forms of UI, such as context menus, the use of the Omnibox, or the creation of a keyboard shortcut.
Extension UI pages, such as a popup, can contain ordinary HTML pages with JavaScript logic. Extensions can also be called tabs. Create our window. Open () to display additional HTML files present in the extension.
Creating your first project
The first thing we need to do is create the project folder and all the files we need for our extension. Let’s start by creating a new directory that we’ll call “Color Shuffle Demo Extension.” Chrome allows us to load up the plugin by pointing it at a folder that contains all files such as manifest.json and additional HTML files.
Now we will create a manifest file and later append it with Background and Content Script.
{
 "manifest_version": 2,
 "name": "Color Shuffle Demo Extension",
 "version": "1.0.0",
 "description": "Sample description",
 "short_name": "Colours",
 "permissions": ["activeTab", "declarativeContent", "storage", "<all_urls>"],
 },
- The description and name can be anything you’d like.
- Version is your Chrome Extension Version
- Short_Name is a short version of your extension’s name. It is optional.
- The permissions depend on what the extension needs to do, and what are its parameters. A list of all permissions is available on Chrome’s extension docs. I suggest you give it a read.
Creating Content.Js
Content scripts are files that run in the context of your web pages. It uses DOM (Document Object Model), which is able to discover the web pages that the browser visits, modify them, and pass the information to their parent extension. Content scripts read and modify the DOM of web pages the browser visits.
chrome.runtime.onMessage.addListener(gotMessage);
function gotMessage(message,sender,sendresponse)
{
	console.log(message.txt);
	let paragraphs = document.getElementsByTagName("p");
	for(elt of paragraphs)
	{
		elt.style['background-color'] = '#228B22';
	}
}
You are free to pick any color you’d like. We have picked “Forest Green.”
Creating Background.Js
Background.js will overcome the limitations of Content Script. A content script has access to the current webpage but it is limited to only one API. That’s why we need a type of script that has access to all Chrome APIs.
console.log("Background running");
chrome.browserAction.onClicked.addListener(IconClicked);
function IconClicked(tab)
{
	let msg = {
		txt : "Hello"
	}
	chrome.tabs.sendMessage(tab.id,msg);
}
Content Scripts have some limitations. They can’t use several APIs such as Chrome* with the exception of extension, runtime, i18n, and storage.
Nevertheless, they can communicate with their parent extension by exchanging messages with a background script and storing certain values using storage APIs.
Browser Action
The browser Action function adds a little icon next to your Chrome address bar, your browser can listen for the clicks and perform the single function. Having a popup & title is completely at the developer’s discretion. The browser action icons in Chrome are 16 dips in width and height. However, Chrome will automatically select and scale it to fill the 16-dip space.
"browser_action": {
   "default_title": "Change the color of the paragraph",
   "default_popup": "popup.html",
   "default_icon": {
     "16": "icons/icon16.png",
     "32": "icons/icon32.png"
   }
 },
 "icons": {
    "16": "icons/icon16.png",
    "32": "icons/icon32.png",
    "48": "icons/icon48.png",
    "128": "icons/icon128.png"
Appending
Now open mensifest.json and append the content and background script.
{
 "manifest_version": 2,
 "name": "Color Shuffle Demo Extension",
 "version": "1.0.0",
 "description": "Sample description",
 "short_name": "Colours",
 "permissions": ["activeTab", "declarativeContent", "storage", "<all_urls>"],
"content_scripts" : [
		{
			"matches" : [
				"<all_urls>"
                 ],
                  "js" : ["content.js"]
        }
    ],
    "background" : {
                  "scripts" : ["background.js"]
    },
    "browser_action" : {
   "default_title": "Change the color of the paragraph",
   "default_popup": "popup.html",
   "default_icon": {
     "16": "icons/icon16.png",
     "32": "icons/icon32.png"
   }
 },
 "icons": {
    "16": "icons/icon16.png",
    "32": "icons/icon32.png",
    "48": "icons/icon48.png",
    "128": "icons/icon128.png"
    }
}
Testing & Initializing
Once the scripts are ready with the codes, let’s test and add them to the Chrome extension. Head over to chrome.//extensions and perform the following steps.
- Enable the Developer mode option on the top right-side corner of the page.
- Click the load unpacked button.
- Select the folder directory, where we have written the code and open it.
After this, the Chrome extension is loaded into your browser. For debugging you can visit Chrome Documentation.
After the installation, run your Extension and you will have an output like this.

Publish your Chrome Extension
For publishing the extension in the Chrome Web Store, one needs to have a developer account. There is a one-time signup fee of $5 to publish your extensions. With this account, you can publish as many as 20 extensions in Chrome Store. After successful signup, the next step is to log in to your developer’s account and go to your developer’s dashboard.
There you will come across the “Add New Button” button which will redirect you to a page to upload a ZIP file. Don’t forget to create a Zip file beforehand of your folder directory comprising JSON and JavaScript files.
Upload your Zip package, and give a relevant description of your extension. Please make sure that you clearly explain the singular function of your extension. Moreover, you can also Screenshots and a YouTube tutorial video to guide your users, on how to interact with your plugin.
You can also edit the icons of your extension and configure your extension at any point in time. To see how everything you configured will look on the Chrome Web store, preview the changes. If everything goes smoothly, hit “Publish.”
Congratulations, you have just uploaded your first Google Chrome Extension.
Kickstart your Full Stack Development journey by enrolling in HCL GUVI’s certified Full Stack Development Course with placement assistance where you will master the MERN stack (MongoDB, Express.js, React, Node.js) and build interesting real-life projects. This program is crafted by our team of experts to help you upskill and assist you in placements.
Alternatively, if you want to explore JavaScript through a self-paced course, try HCL GUVI’s JavaScript course.
Summing up
It may have a bit of a learning curve, but creating a Google Chrome Extension from scratch is a great way to create an optimal user experience and tweak your browser functionality. What’s more, is that you can showcase your new features to your colleagues and prospective recruiters.
In case you need help with any of the programming curves, head over to HCL GUVI. We host 100+ premium tech courses ranging from web development, and data science to testing and cloud computing for one’s subscription price. Most of the courses are curated under the guidance of IIT-M professors and industry leaders who have built disruptive tech from the ground up.
Success Stories

About the Author
Tushar Vinocha
A seasoned content writer with over four years of experience in crafting both technical and non-technical blogs. My passion for writing is fuelled by a relentless curiosity and a love for following-down the rabbit hole, recently leading me to explore the fascinating fields of Natural Language Processing (NLP), Human psychology and Philosophy. Here, you’ll find a blend of genuine insights, innovative ideas, and refusal to settle for the mundane.
View all posts by Tushar Vinocha
Connect with me @


Did you enjoy this article?