


Full Stack Development Articles
Claude for Architecture and Engineering Documentation
Freelancing as a Python Developer: Getting Your First Client


Get In Touch For Details! Request More Information
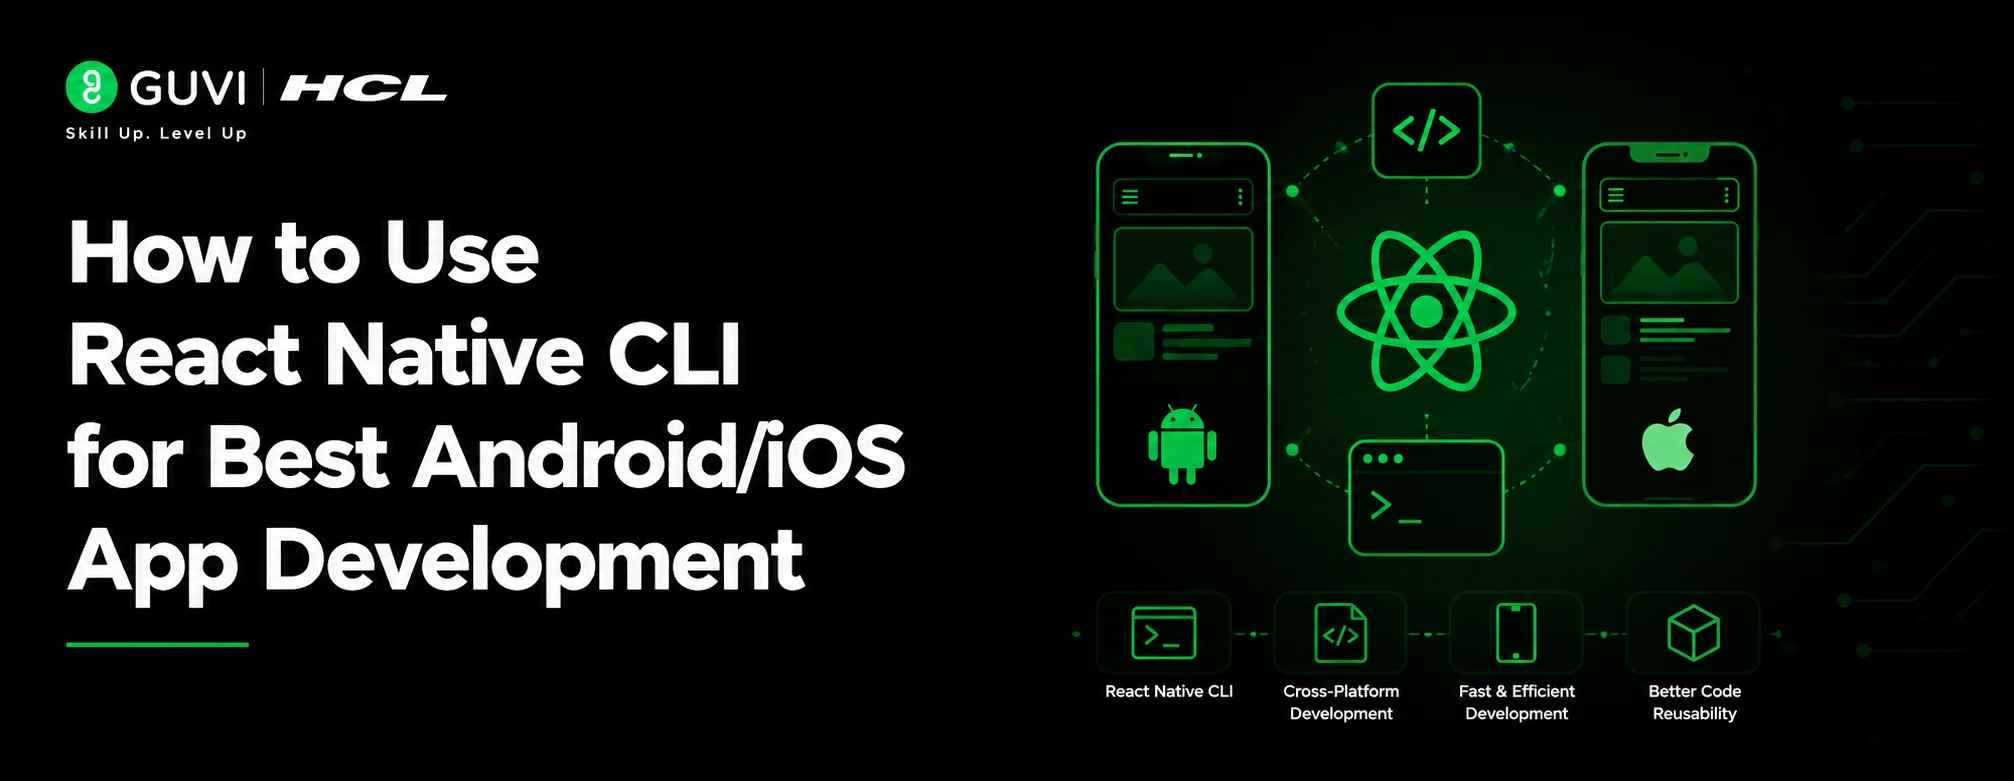
How to Use React Native CLI for Best Android/iOS App Development
Jul 09, 2026 8 Min Read 300 Views
(Last Updated)
Table of contents
- TL;DR Summary
- What is React Native CLI?
- Quick Answer: What does React Native CLI do?
- Why is React Native CLI useful?
- Why Should You Use React Native CLI?
- Key benefits of React Native CLI
- React Native CLI vs Expo: What is the Difference?
- Which one should beginners choose?
- What Do You Need Before Using React Native CLI?
- Prerequisites for Android development
- Prerequisites for iOS development
- Setup checklist for beginners
- How to Set Up React Native CLI Step by Step
- Step 1: Create a new React Native CLI project
- Step 2: Understand the project structure
- Step 3: Start Metro bundler
- How to Build Your First Android App Using React Native CLI
- Step 1: Open Android Studio
- Step 2: Check if your device is connected
- Step 3: Run the Android app
- What happens when you run the Android app?
- How to Build Your First iOS App Using React Native CLI
- Step 1: Install iOS dependencies
- Step 2: Start Metro
- Step 3: Run the iOS app
- Important note for Windows users
- How to Edit Your First React Native App Screen
- What Basic React Native Concepts Should Beginners Know?
- Components
- JSX
- State
- Props
- Metro
- Real-World Example of React Native CLI
- Example: Student attendance app
- Common Mistakes to Avoid While Using React Native CLI
- Installing the old global React Native CLI
- Skipping Android SDK configuration
- Trying to run iOS on Windows
- Closing Metro during development
- Ignoring version compatibility
- Best Practices for Beginners Using React Native CLI
- Keep your project folder simple
- Use separate terminals
- Test on emulator and real device
- Learn debugging early
- Use Git from the beginning
- React Native CLI Commands Cheat Sheet
- Career Relevance: Why React Native CLI Matters for Learners
- Skills you build through this project
- Build Full Stack Skills With HCL GUVI
- Conclusion
- FAQS
- What is React Native CLI used for?
- Is React Native CLI better than Expo?
- Can I build both Android and iOS apps with React Native CLI?
- Do I need Android Studio for React Native CLI?
- Do I need Xcode for React Native iOS apps?
- Is React Native CLI beginner-friendly?
- Which command creates a React Native CLI project?
- Why is my React Native Android app not running?
- Can I use React Native CLI for production apps?
- What should I build after my first React Native app?
TL;DR Summary
React Native CLI helps you build Android and iOS apps using JavaScript, React, and native mobile development tools. To build your first app, you need Node.js, Android Studio, JDK, and the React Native Community CLI. For iOS, you also need macOS, Xcode, and CocoaPods. React Native CLI is best when you want direct access to Android and iOS project files, native modules, SDK integrations, and production-level app control. Once the setup is ready, you can create a project, start Metro, run the app, and edit your first screen.
React Native CLI is one of the most practical ways to build Android and iOS apps using JavaScript and React.
It gives you access to native Android and iOS project files, which is useful when your app needs custom SDKs, device permissions, or platform-specific features.
If you are a beginner, this guide will help you understand the setup, commands, workflow, and mistakes to avoid while building your first Android/iOS app.
What is React Native CLI?
React Native CLI is a command-line tool used to create, run, and manage React Native projects without depending on a managed framework like Expo.
In simple words, it gives you a mobile app project with separate Android and iOS folders.
These folders allow you to work with native files when your app needs deeper platform-level control.
Quick Answer: What does React Native CLI do?
React Native CLI helps you:
- Create a new React Native project
- Run the app on Android or iOS
- Start the Metro bundler
- Access native Android and iOS folders
- Add native modules and SDKs
- Build debug and release versions
- Test apps on emulators, simulators, and real devices
For beginners, React Native CLI may feel slightly technical at first.
But once the environment is ready, the development workflow becomes easier to understand.
Why is React Native CLI useful?
React Native CLI is useful because it gives developers more control over the native side of mobile app development.
This matters when your app needs features like push notifications, payment gateway SDKs, biometric login, native camera access, custom permissions, or background services.
For example, an edtech app may need video playback, login, push notifications, and offline learning support.
React Native CLI gives developers the flexibility to configure these features properly for Android and iOS.
Why Should You Use React Native CLI?
You should use React Native CLI if you want to understand how professional cross-platform mobile apps are built.
Expo is easier for quick prototypes, but React Native CLI is better when you want full control over native files.
This makes React Native CLI useful for production apps, portfolio projects, internships, and mobile developer learning paths.
Key benefits of React Native CLI
React Native CLI gives you:
- Full access to Android and iOS project files
- Better control over native dependencies
- Flexibility to integrate custom SDKs
- Support for platform-specific changes
- More control over release builds
- Better understanding of mobile app architecture
This is why many developers prefer React Native CLI when they want to go beyond simple demo apps.
According to DataReportal’s Digital 2026 India report, India had 1.06 billion cellular mobile connections at the end of 2025. This shows why mobile-first app development remains highly relevant for Indian learners, startups, and businesses.
React Native CLI vs Expo: What is the Difference?
React Native CLI and Expo are both used to build React Native apps, but they are not the same.
Expo gives you a managed workflow that is easier to start with.
React Native CLI gives you direct native project access, which is better when you need advanced control.
| Factor | React Native CLI | Expo |
| Setup difficulty | Moderate | Easier |
| Native code access | Full access | Limited in managed workflow |
| Android/iOS folders | Available by default | Not always exposed initially |
| Best for | Custom native apps | Quick prototypes and simple apps |
| Native SDK integration | More flexible | Depends on Expo support |
| Build control | Higher control | More managed |
| Beginner learning value | Strong for real-world development | Good for quick learning |
| Use case | Production apps with native needs | MVPs, demos, simple apps |
Which one should beginners choose?
Choose Expo if you want to quickly build and test a simple app idea.
Choose React Native CLI if you want to learn professional app development and understand how Android and iOS builds work.
For this guide, we will focus only on React Native CLI.
Before choosing a mobile development path, beginners can also understand the difference between ReactJS and React Native.
What Do You Need Before Using React Native CLI?
Before using React Native CLI, you need to install the required tools for Android and iOS development.
The setup differs slightly depending on whether you are building for Android, iOS, or both.
If you are setting this up for the first time, follow a proper React Native environment setup before creating your first app.
Prerequisites for Android development
For Android app development, you need:
- Node.js
- JDK
- Android Studio
- Android SDK
- Android Emulator or physical Android phone
- Code editor such as VS Code
- React Native Community CLI through npx
Android development can be done on Windows, macOS, or Linux.
Prerequisites for iOS development
For iOS app development, you need:
- macOS
- Xcode
- Xcode Command Line Tools
- CocoaPods
- iOS Simulator or physical iPhone
- Node.js
- Code editor such as VS Code
You cannot build an iOS app locally on Windows because Xcode works only on macOS.
Setup checklist for beginners
Before creating your app, check whether Node.js, npm, and Java are installed.
Run these commands in your terminal:
node -v
npm -v
java -version
If these commands show version numbers, your basic setup is ready.
If any command fails, install or configure that tool before moving ahead.
How to Set Up React Native CLI Step by Step
React Native CLI setup has three main parts.
First, you install the required development tools.
Next, you create a React Native project.
Finally, you run the app on Android or iOS.
Step 1: Create a new React Native CLI project
Open your terminal and run:
npx @react-native-community/cli@latest init FirstApp
This command creates a new React Native CLI project named FirstApp.
Now move into the project folder:
cd FirstApp
The project will include files and folders such as:
FirstApp
┣ android
┣ ios
┣ App.tsx
┣ package.json
┣ index.js
Since React Native CLI works through terminal commands, understanding command-line tools can make the setup easier.
Step 2: Understand the project structure
The android folder contains Android-specific native files.
The ios folder contains iOS-specific native files.
The App.tsx file is where you can edit your first app screen.
The package.json file stores project scripts and dependencies.
Step 3: Start Metro bundler
Metro is the JavaScript bundler used by React Native.
It watches your JavaScript files and sends updates to the running app.
Start Metro using:
npm start
Keep this terminal running while developing your app.
Open a second terminal for Android or iOS commands.
React Native’s official documentation now recommends using frameworks such as Expo for many new apps, but it still supports CLI-based apps when you need constraints that are not served well by a framework. This is why React Native CLI remains important for apps that need deeper native control.
How to Build Your First Android App Using React Native CLI
To build your first Android app with React Native CLI, you need an Android emulator or a physical Android phone.
If you are using Windows, this is the most beginner-friendly platform to start with.
Step 1: Open Android Studio
Install Android Studio and open it.
Then install the required Android SDK, SDK Platform Tools, build tools, and emulator.
After that, create an Android Virtual Device from Device Manager.
Step 2: Check if your device is connected
Run this command:
adb devices
If your emulator or phone is connected properly, it will appear in the list.
For a physical Android phone, enable Developer Options and USB Debugging.
Step 3: Run the Android app
From your project folder, run:
npm run android
React Native will build the Android app and install it on your emulator or connected phone.
The first build may take time because Gradle needs to prepare dependencies.
What happens when you run the Android app?
When you run npm run android, React Native:
- Connects to Metro
- Builds the Android native project
- Installs the app on the emulator or phone
- Loads your JavaScript bundle
- Opens the app screen
This is the basic Android workflow in React Native CLI.
How to Build Your First iOS App Using React Native CLI
To build your first iOS app with React Native CLI, you need macOS and Xcode.
This is because Apple’s iOS build tools are available only on macOS.
Step 1: Install iOS dependencies
Move into the iOS folder:
cd ios
Install dependencies using CocoaPods:
bundle install
bundle exec pod install
Now move back to the project root:
cd ..
Step 2: Start Metro
In one terminal, run:
npm start
Keep Metro running.
Step 3: Run the iOS app
In another terminal, run:
npm run ios
React Native will build the iOS app and open it in the iOS Simulator.
If your setup is correct, your first iOS app will launch successfully.
Important note for Windows users
You can build and test React Native Android apps on Windows.
But you cannot build iOS apps locally on Windows because Xcode is required.
If you want to test iOS apps, you need access to a macOS system.
How to Edit Your First React Native App Screen
Once your app runs, open the project in VS Code.
Find this file:
App.tsx
Replace the existing content with this simple example:
import React from ‘react’;
import {SafeAreaView, Text, StyleSheet} from ‘react-native’;
function App() {
return (
<SafeAreaView style={styles.container}>
<Text style={styles.title}>Welcome to My First React Native App</Text>
<Text style={styles.subtitle}>Built using React Native CLI</Text>
</SafeAreaView>
);
}
const styles = StyleSheet.create({
container: {
flex: 1,
justifyContent: ‘center’,
alignItems: ‘center’,
padding: 20,
},
title: {
fontSize: 24,
fontWeight: ‘700’,
textAlign: ‘center’,
},
subtitle: {
fontSize: 16,
marginTop: 12,
textAlign: ‘center’,
},
});
export default App;
Save the file.
Your app should refresh automatically using Fast Refresh.

If it does not refresh, reload the app from the developer menu or restart Metro.
Basic JavaScript concepts like objects, methods, and classes can help you understand React Native code more clearly.
What Basic React Native Concepts Should Beginners Know?
Before building bigger apps, understand a few basic React Native concepts.
These concepts will help you read code, debug errors, and build better screens.
If you are still building your basics, a JavaScript frontend roadmap can help you understand the skills needed before React Native.
Components
Components are reusable pieces of UI.
A button, login form, profile card, header, or product item can be a component.
React Native apps are built by combining many such components.
JSX
JSX lets you write UI structure inside JavaScript or TypeScript files.
It looks similar to HTML, but React Native does not use regular web tags.
For example, you use View instead of div and Text instead of p.
State
State stores data that can change inside your app.
For example, the text typed in a form, login status, or cart count can be stored in state.
When state changes, React Native updates the screen.
Props
Props are values passed from one component to another.
They help you reuse components with different data.
For example, one StudentCard component can show different student names using props.
Metro
Metro is the bundler that prepares your JavaScript code for React Native.
It runs in the background while you build and test your app.
Real-World Example of React Native CLI
Imagine a college wants to build a student attendance app for teachers.
The app needs login, class lists, student profiles, attendance marking, offline support, and push notifications.
Using React Native CLI, the development team can build one shared app for Android and iOS.
Example: Student attendance app
A student attendance app may include:
- Teacher login screen
- Class selection screen
- Student attendance list
- Offline attendance saving
- Push notifications
- Camera-based student ID scanning
- Admin dashboard integration
React Native CLI is useful in this case because the app may need native permissions, local storage, camera access, and notification SDK configuration.
For an Indian college or edtech company, this approach can reduce development effort because one React Native team can work on both Android and iOS versions.
You can also explore React Native app examples to get ideas for beginner-friendly mobile projects.
Common Mistakes to Avoid While Using React Native CLI
React Native CLI setup errors are common for beginners.
Most issues happen because one tool is missing, outdated, or incorrectly configured.
1. Installing the old global React Native CLI
Many beginners install the old global CLI package.
Avoid this command:
npm install -g react-native-cli
Use the current Community CLI command through npx instead:
npx @react-native-community/cli@latest init FirstApp
This helps avoid version conflicts and outdated project setup issues.
2. Skipping Android SDK configuration
Installing Android Studio alone is not enough.
You must also install the required SDK tools, emulator, platform tools, and build tools.
If adb devices do not show your emulator or phone, your Android app will not run.
3. Trying to run iOS on Windows
React Native can be used on Windows for Android development.
But iOS development needs Xcode, and Xcode works only on macOS.
So, npm run ios will not work on a Windows machine.
4. Closing Metro during development
Metro must keep running while you develop the app.
If you close Metro, your app may fail to load JavaScript changes.
Keep one terminal open with:
npm start
5. Ignoring version compatibility
React Native depends on Node.js, JDK, Android SDK, Xcode, CocoaPods, and Gradle.
If one tool version is incompatible, your build may fail.
Always check the official React Native documentation before setting up a new project.
Best Practices for Beginners Using React Native CLI
Once your first app runs, follow a clean workflow.
This will make your learning smoother and reduce setup frustration.
Keep your project folder simple
Avoid spaces and special characters in folder names.
Use simple names like:
FirstApp
StudentApp
FoodOrderApp
This helps avoid path-related errors in some systems.
Use separate terminals
Use one terminal for Metro.
Use another terminal for Android or iOS commands.
This makes it easier to identify whether an error is coming from Metro or the native build process.
Test on emulator and real device
Emulators are useful for quick testing.
But real-device testing helps you find performance, permission, screen-size, and device-specific issues.
If possible, test your Android app on a real phone after it runs on the emulator.
Learn debugging early
Do not panic when you see red error screens.
Read the error message carefully.
Most beginner errors are caused by missing imports, package issues, Metro cache, or setup problems.
Learning JavaScript debugging early will help you handle red screens, missing imports, and runtime errors more confidently.
Use Git from the beginning
Create a Git repository for your project.
This helps you track changes and return to a working version if something breaks.
Version control is also useful when you start building portfolio projects.
React Native CLI Commands Cheat Sheet
| Task | Command |
| Create new project | npx @react-native-community/cli@latest init FirstApp |
| Enter project folder | cd FirstApp |
| Start Metro | npm start |
| Run Android app | npm run android |
| Run iOS app | npm run ios |
| Check Android devices | adb devices |
| Install iOS pods | cd ios && bundle exec pod install |
Career Relevance: Why React Native CLI Matters for Learners
React Native CLI is not just a setup tool.
It teaches you how cross-platform mobile apps work in real projects.
For freshers and students, this skill is useful because many startups and product companies prefer developers who can build fast, maintainable apps for both Android and iOS.
If you already know JavaScript or React, React Native is a natural next step.
You can move from web development to mobile app development without learning Kotlin and Swift at the beginning.
Real-world examples of iOS app development can help learners understand how modern teams build mobile experiences.
Skills you build through this project
By building your first React Native CLI app, you learn:
- Mobile app project structure
- Android and iOS build workflow
- React Native components
- Styling with JavaScript
- Metro bundling
- Emulator and device testing
- Basic debugging
- Native project awareness
These skills are useful for internships, fresher projects, hackathons, portfolio apps, and mobile developer interviews.
Build Full Stack Skills With HCL GUVI
React Native CLI helps you build Android and iOS apps using JavaScript and React. But to create production-ready mobile apps, you also need strong foundations in frontend development, backend APIs, databases, Git, debugging, and project deployment.
Explore HCL GUVI’s Full Stack Development Course to build practical development skills through hands-on projects, mentor-led learning, and career-focused training.
After learning React Native, understanding backend frameworks can help you connect your mobile apps with real APIs and databases.
Conclusion
React Native CLI is a strong choice when you want to build Android and iOS apps with deeper native control. The setup takes more effort than Expo, but it prepares you for real-world mobile app development. Once you install Node.js, Android Studio, JDK, and Xcode for iOS, you can create your first project, run it, and edit your first screen. Start small, understand the workflow, and then build projects with navigation, APIs, authentication, storage, and deployment. The best way to learn React Native CLI is to build consistently.
FAQS
1. What is React Native CLI used for?
React Native CLI is used to create, run, and manage React Native apps with direct access to Android and iOS native project files.
2. Is React Native CLI better than Expo?
React Native CLI is better when your app needs custom native modules, native SDKs, or full Android/iOS control. Expo is easier for quick prototypes and beginner experiments.
3. Can I build both Android and iOS apps with React Native CLI?
Yes, React Native CLI supports both Android and iOS app development. Android apps can be developed on Windows, macOS, or Linux, but iOS development needs macOS and Xcode.
4. Do I need Android Studio for React Native CLI?
Yes, Android Studio is needed for Android SDK, emulator, platform tools, and native Android build support.
5. Do I need Xcode for React Native iOS apps?
Yes, Xcode is required to build and run iOS apps locally. This means iOS development needs a macOS system.
6. Is React Native CLI beginner-friendly?
React Native CLI is beginner-friendly if you already know basic JavaScript and React. The setup is slightly technical, but the app-building workflow becomes easier with practice.
7. Which command creates a React Native CLI project?
Use npx @react-native-community/cli@latest init FirstApp to create a new React Native CLI project.
8. Why is my React Native Android app not running?
Common reasons include missing Android SDK, emulator not running, USB debugging disabled, incorrect JDK version, or Metro not running.
9. Can I use React Native CLI for production apps?
Yes, React Native CLI can be used for production apps because it gives developers more control over native configuration, build settings, and platform-specific integrations.
10. What should I build after my first React Native app?
After your first app, build a to-do app, login screen, student attendance app, food ordering UI, weather app, or API-based news app.
Success Stories

About the Author
Reemsha Khan
Always been a storyteller at heart. Now, I turn complex topics into simple, easy-to-understand stories through content. Hope you find it helpful.
View all posts by Reemsha Khan
Connect with me @





























Did you enjoy this article?