


Artificial Intelligence and Machine Learning Articles
Q-Learning Explained: A Beginner's Guide
Deep Q-Networks (DQN) Explained


Get In Touch For Details! Request More Information
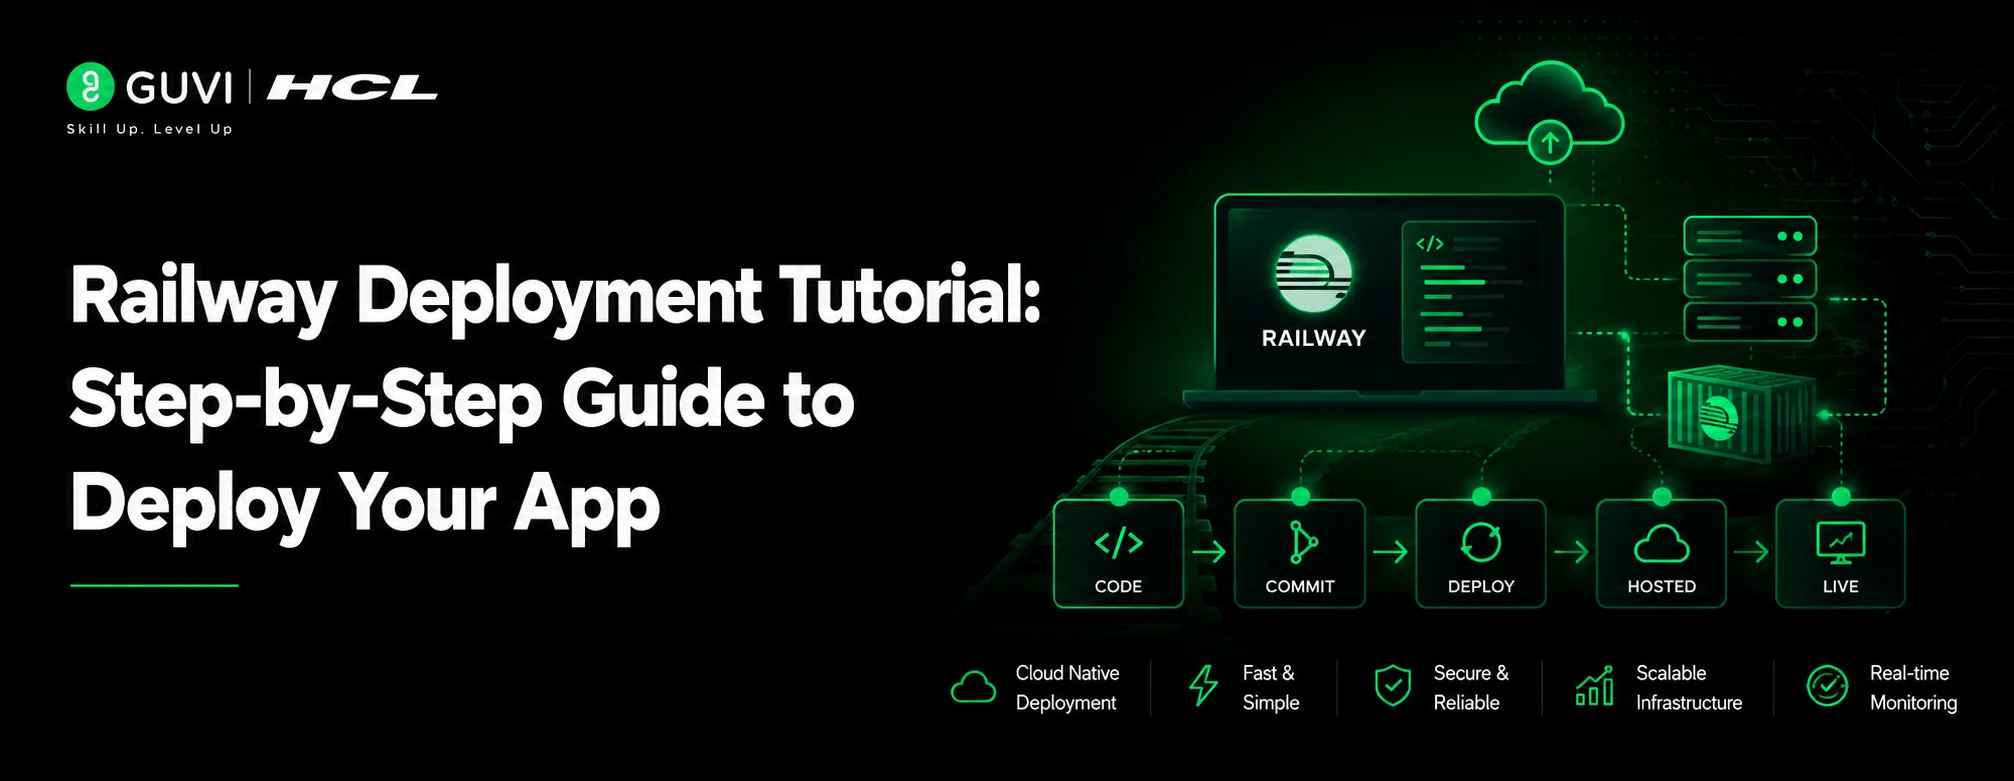
Railway Deployment Tutorial: Step-by-Step Guide to Deploy Your App
Jul 10, 2026 4 Min Read 915 Views
(Last Updated)
Deploying an app can feel confusing when you are doing it for the first time. You may have working code on your local system, but taking it live needs the right build command, start command, environment variables, database connection, and domain setup.
This is where Railway makes deployment easier. It gives developers a simple way to host applications, connect GitHub repositories, add services like PostgreSQL, manage logs, and publish projects online. In this Railway deployment tutorial, you will learn how to prepare your project, configure important settings, deploy your app, fix common issues, and connect a production-ready domain.
TL;DR
- Railway helps developers deploy apps without manually managing servers, builds, databases, domains, and runtime settings.
- A smooth deployment starts with a working local project, GitHub repository, correct build command, and valid start command.
- Environment variables are essential for database URLs, API keys, secrets, tokens, and production configuration.
- Railway supports PostgreSQL, public domains, custom domains, SSL, auto-deployments, logs, and config-as-code files.
- Most Railway deployment failures happen due to missing variables, wrong commands, database errors, or hardcoded ports.
Table of contents
- What is Railway Deployment?
- Railway Deployment Tutorial: Step-by-Step Guide to Deploy Your App
- Step 1: Prepare Your Project for Deployment
- Step 2: Push Your Code to GitHub
- Step 3: Create a New Railway Project
- Step 4: Configure the Build Command
- Step 5: Configure the Start Command
- Step 6: Set Environment Variables
- Step 7: Add a Database or Service Plugin
- Step 8: Handle the Port Correctly
- Step 9: Deploy the Application
- Step 10: Check Deployment Logs
- Step 11: Generate a Railway Domain
- Step 12: Connect a Custom Domain
- Step 13: Configure Auto-Deployments
- Step 14: Add Railway Config as Code
- Step 15: Test the Production Deployment
- Step 16: Monitor and Debug the App
- Conclusion
- FAQs
- What is Railway used for?
- Is Railway good for beginners?
- Can I deploy a Node.js app on Railway?
- Does Railway support databases?
- Why does my Railway deployment fail?
What is Railway Deployment?
Railway deployment means hosting your application on Railway so users can access it online. Instead of setting up servers manually, Railway helps you connect your code, configure environment variables, add databases, and deploy your app from one place.
It is useful for developers who want to launch web apps, APIs, backend services, full-stack projects, and prototypes without spending too much time on infrastructure setup. Railway handles the build and deployment process, while you focus on improving your application.
Railway Deployment Tutorial: Step-by-Step Guide to Deploy Your App
Step 1: Prepare Your Project for Deployment
Before deploying on Railway, make sure your project runs properly on your local system. Install all dependencies, test the app, and confirm that your application has a valid start command.
For a Node.js app, your package.json should include a start script:
{
  "scripts": {
    "start": "node server.js"
  }
}
Railway uses your project files to detect how the app should be built and deployed. It can build applications using Railpack or a Dockerfile, depending on your project setup.
Step 2: Push Your Code to GitHub
Railway works smoothly with GitHub-based deployment. Push your complete project to a GitHub repository before creating a Railway service.
Use these commands:
git init
git add .
git commit -m "Initial Railway deployment"
git branch -M main
git remote add origin <your-github-repo-url>
git push -u origin main
This allows Railway to pull your latest code and redeploy the app whenever changes are pushed.
Step 3: Create a New Railway Project
Go to Railway, create a new project, and choose deployment from GitHub. Select the repository you want to deploy.
Railway will scan your project, detect the framework or runtime, install dependencies, build the app, and prepare the deployment automatically.
Step 4: Configure the Build Command
Most apps are detected automatically, but production projects often need a custom build command.
For example, a React, Next.js, or full-stack Node.js project may use:
npm run build
Railway allows build and deploy settings to be configured from the service settings page or through config-as-code files such as railway.toml or railway.json.
Step 5: Configure the Start Command
The start command tells Railway how to run your app after the build is complete.
For a basic Node.js backend the command may be:
npm start
For a Next.js app, it may be:
npm run start
A wrong start command can cause the deployment to build successfully but fail during runtime.
Step 6: Set Environment Variables
Production apps usually need environment variables for database URLs, API keys, tokens, frontend URLs, and secret values.
Add variables inside the Railway service variables section:
DATABASE_URL=your_database_url
JWT_SECRET=your_secret_key
NODE_ENV=production
Environment variables keep configuration separate from source code and allow the same app to run across local, staging, and production environments.
Step 7: Add a Database or Service Plugin
Railway supports adding services such as PostgreSQL, Redis, and other infrastructure components inside the same project.
After adding a database, connect your app using the generated database URL. For example:
DATABASE_URL=${{Postgres.DATABASE_URL}}
Your app can then use this connection string through the environment variable.
Build strong database fundamentals with HCL GUVI’s Basics of PostgreSQL Course. Learn PostgreSQL basics, database management, queries, and real-world backend data handling through 4 modules, certification-based learning, and 5 hours of recorded English content designed for beginners and aspiring developers.
Step 8: Handle the Port Correctly
Railway dynamically provides a PORT environment variable. Your backend must listen on this port instead of using a fixed value.
Example Node.js setup:
const express = require("express");
const app = express();

const PORT = process.env.PORT || 3000;

app.get("/", (req, res) => {
  res.send("App running on Railway");
});

app.listen(PORT, () => {
  console.log(`Server running on port ${PORT}`);
});
This prevents port binding issues during deployment.

Step 9: Deploy the Application
After configuration, trigger the deployment from the Railway dashboard. Railway will install dependencies, run the build command, start the app, and show real-time deployment logs.
You can also deploy from the terminal using Railway CLI. The railway up command scans, compresses, uploads, builds, and deploys the project from your local machine.
railway up
Step 10: Check Deployment Logs
After deployment, open the logs section in Railway. Logs help identify build failures, missing environment variables, incorrect start commands, database connection errors, and runtime crashes.
Common errors include:
- Missing required environment variable
- Cannot connect to database
- Application failed to respond
- Port already in use
- Build command failed
Fix the issue, push the updated code, and redeploy.
Step 11: Generate a Railway Domain
Railway can expose your deployed service through a Railway-provided domain. Public networking allows your app to be accessed over HTTP or HTTPS, and Railway provides automatic SSL certificates for public services.
After generating the domain, test your deployed app in the browser:
https://your-app-name.up.railway.app
Step 12: Connect a Custom Domain
For production apps, connect your own domain from the Railway service settings. Add the custom domain, update DNS records from your domain provider, and wait for propagation.
Railway supports custom domains and automatically issues SSL certificates after the domain is configured correctly.
Example:
api.yourdomain.com
Use this custom domain in your frontend, API clients, webhooks, and production environment files.
Step 13: Configure Auto-Deployments
Railway can automatically deploy your app when new commits are pushed to the connected GitHub branch.
This is useful for continuous deployment because every update to the selected branch can trigger a new production build. Railway also allows users to disable automatic deployments and manually deploy the latest commit when needed.
Step 14: Add Railway Config as Code
For better control, add a railway.toml file to define deployment settings inside your codebase.
Example:
[build]
builder = "RAILPACK"
buildCommand = "npm run build"
[deploy]
startCommand = "npm start"
restartPolicyType = "ON_FAILURE"
restartPolicyMaxRetries = 10
Railway supports defining build and deploy configuration in railway.toml or railway.json, and configuration in code overrides dashboard settings.
Step 15: Test the Production Deployment
After deployment, test all major routes, APIs, database actions, authentication flows, and webhook endpoints.
Check:
GET /
GET /api/health
POST /api/login
GET /api/users
Also verify that frontend environment variables point to the Railway production backend URL.
Step 16: Monitor and Debug the App
After launch, monitor deployment logs, runtime logs, failed requests, database connections, and memory usage.
A stable Railway deployment should have:
- Correct environment variables
- Working build and start commands
- Proper port handling
- Healthy database connection
- Active public domain
- Clean runtime logs
This completes the Railway deployment workflow from local project setup to production launch.
Conclusion
Railway is a practical platform for deploying modern applications without managing servers from scratch. Once your project is ready, you can connect your GitHub repository, add environment variables, configure the start command, attach a database, and deploy your app in a structured way.
The most important part of a smooth Railway deployment is preparation. Your app should run locally, listen to the correct port, use secure environment variables, and have clear build and start commands. After deployment, logs, domains, and auto-deployments help you manage the app like a real production project.
With this workflow, beginners and developers can confidently move from local development to a live Railway-hosted application.
FAQs
What is Railway used for?
Railway is used to deploy and host applications, APIs, backend services, databases, and full-stack projects. It helps developers take projects live without manually managing servers.
Is Railway good for beginners?
Yes, Railway is beginner-friendly because it connects with GitHub, detects many project setups automatically, and provides logs to help debug deployment issues.
Can I deploy a Node.js app on Railway?
Yes, you can deploy a Node.js app on Railway. You need a valid package.json, a correct start command, and proper port handling using process.env.PORT.
Does Railway support databases?
Yes, Railway supports databases such as PostgreSQL. You can add a database service inside your Railway project and connect it to your app using environment variables.
Why does my Railway deployment fail?
Railway deployments usually fail because of missing environment variables, incorrect build commands, wrong start commands, database connection errors, or hardcoded ports.
Success Stories

About the Author
Vaishali
I'm a seasoned writer with four years of experience across technical, non-technical, and just about every genre or niche you can imagine. Adaptable and curious, I enjoy exploring new topics and making information engaging and easy to understand. Fueled by a steady stream of tea, I approach each project with creativity, reliability, and genuine enthusiasm for storytelling.
View all posts by Vaishali
Connect with me @












Did you enjoy this article?