


Full Stack Development Articles
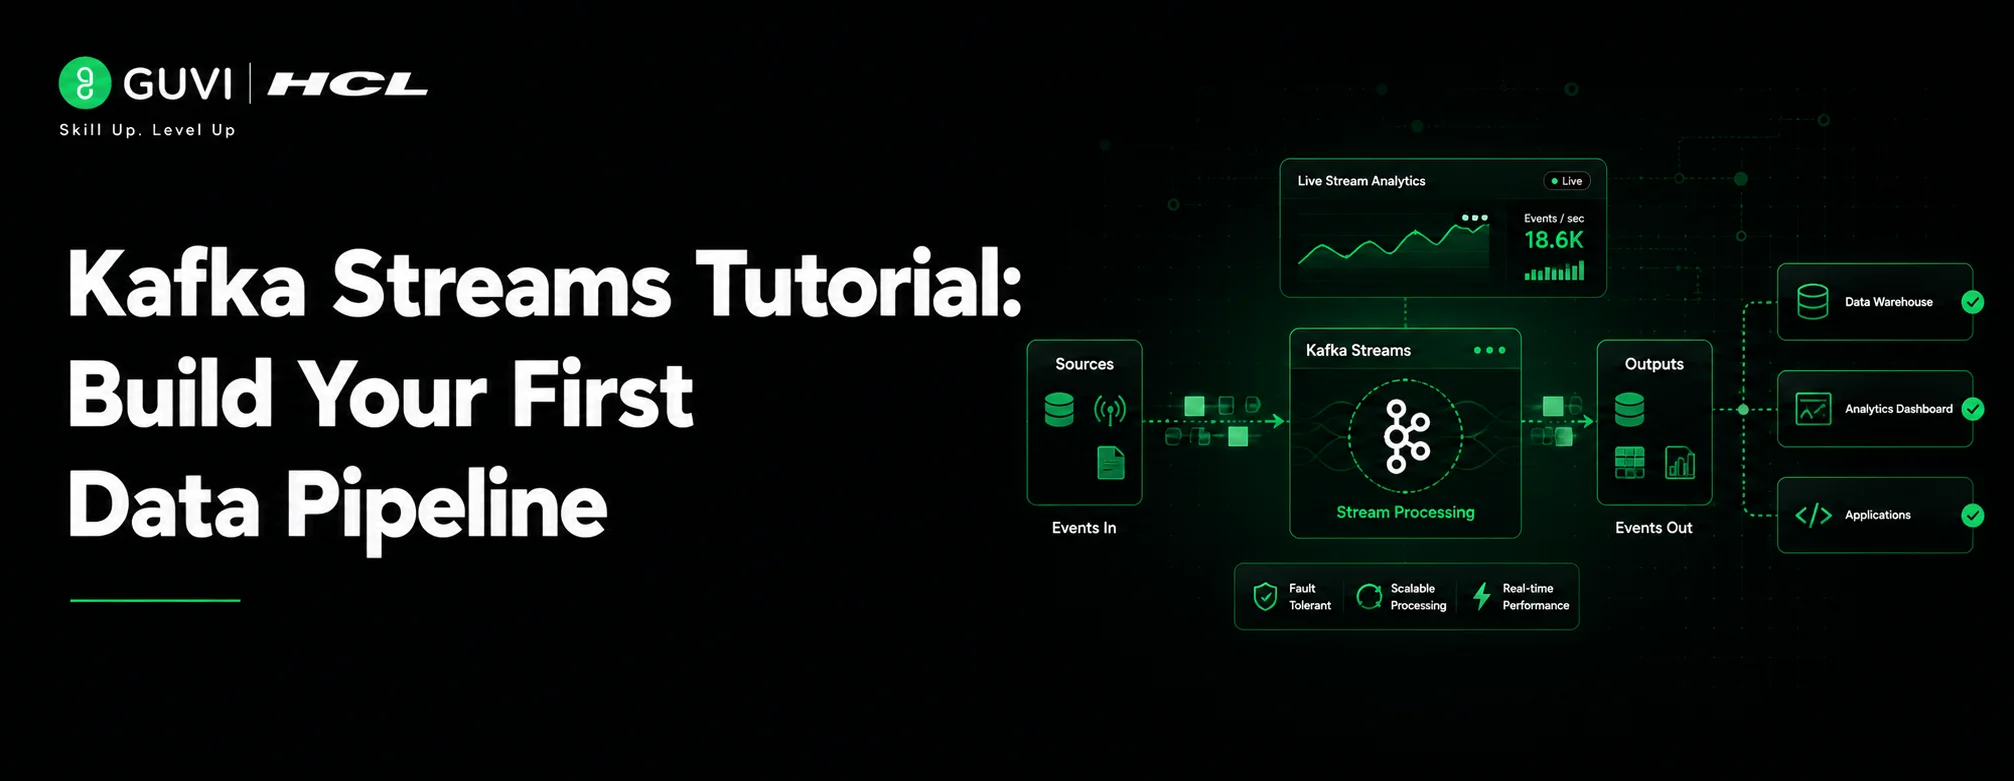
Kafka Streams Tutorial: Build Your First Data Pipeline
Tauri 2.0 Desktop App Tutorial: Build Your First App Without the Bloat
Elixir + Phoenix LiveView Tutorial: A Practical, Step-by-Step Guide


Get In Touch For Details! Request More Information
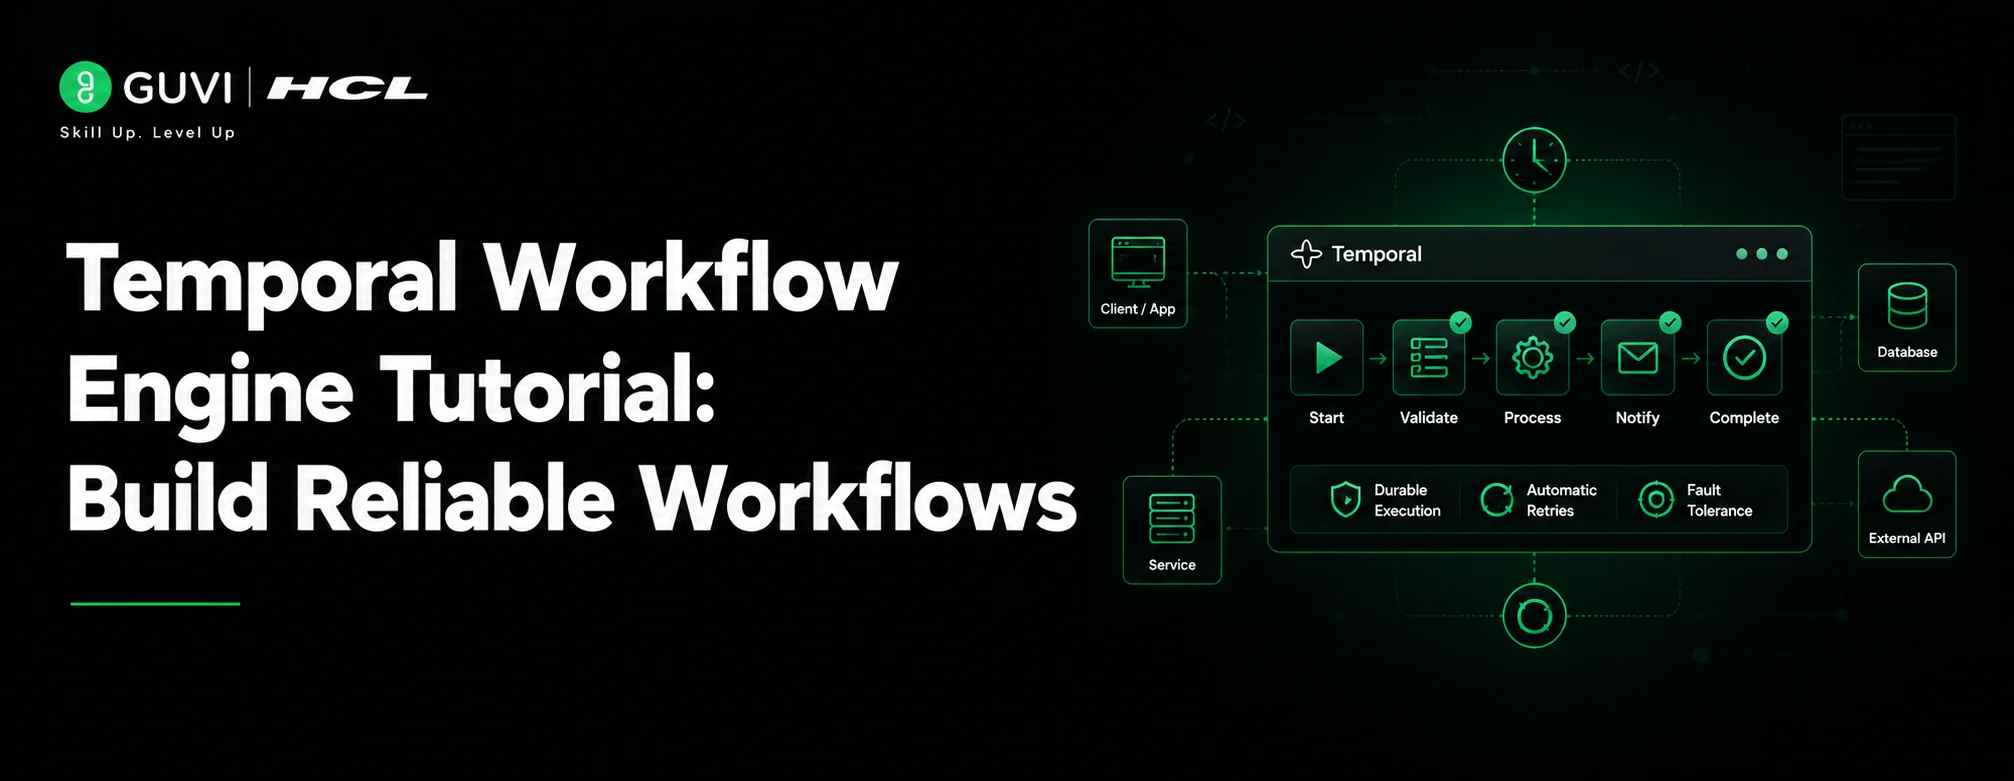
Temporal Workflow Engine Tutorial: Build Reliable Workflows
Jul 02, 2026 5 Min Read 39 Views
(Last Updated)
Table of contents
- TL;DR Summary
- What Is the Temporal Workflow Engine?
- How Does the Temporal Workflow Engine Work?
- Workflows
- Activities
- Workers
- Temporal Workflow Engine Tutorial: Build Your First Workflow
- Step 1: Set Up Temporal Locally
- Step 2: Install the Python SDK
- Step 3: Define Your Activities
- Step 4: Define Your Workflow
- Step 5: Run a Worker
- Step 6: Start a Workflow
- Temporal vs. Alternatives: When Should You Use It?
- What to Do Next
- Key Takeaways
- FAQs
- Q1: What is a Temporal workflow engine in simple terms?
- Q2: Is Temporal free to use?
- Q3: What programming languages does Temporal support?
- Q4: What's the difference between a Workflow and an Activity in Temporal?
- Q5: Can Temporal handle workflows that run for hours or days?
- Q6: How is Temporal different from Celery?
- Q7: Do I need to know Docker to use Temporal?
TL;DR Summary
- Temporal is an open-source workflow engine that lets you build reliable, long-running processes without worrying about failures or retries.
- It separates your business logic (Workflows) from the tasks that do the actual work (Activities).
- Temporal automatically retries failed steps, maintains state across crashes, and gives you full visibility into running workflows.
- You can run Temporal locally in under 10 minutes using Docker and the Temporal CLI.
- It’s ideal for payment processing, data pipelines, onboarding flows, and any process that can’t afford to fail silently.
A Temporal workflow engine is an open-source platform that orchestrates long-running, fault-tolerant business processes. It automatically handles retries, state persistence, and error recovery — so your code doesn’t have to. Developers use it to build workflows (like payment processing or user onboarding) that survive server crashes, network failures, and timeouts without losing progress.
If you’ve been hearing about Temporal but couldn’t figure out where to start, this tutorial is for you. By the end, you’ll understand what the Temporal workflow engine is, how it works under the hood, and how to build your first workflow from scratch — even if you’ve never touched it before.
What Is the Temporal Workflow Engine?
Temporal is an open-source workflow orchestration platform built for developers who need to run reliable, long-running processes at scale.
Think of it as a safety net for your code. When a step in your process fails — because of a network blip, a crashed server, or a third-party API going down — Temporal doesn’t just let it die. It remembers exactly where things stopped and picks up from there.
Originally created by engineers at Uber (where it powered millions of trips and payments), Temporal was open-sourced and has since been adopted by companies like Netflix, Stripe, and DoorDash.
📊 Data Point: As of 2025, Temporal has over 10,000+ GitHub stars and is used in production by hundreds of engineering teams worldwide. [Source: Temporal GitHub]
It’s not a job queue. It’s not a cron scheduler. It’s a full durable execution platform — meaning your workflow’s state is saved automatically, every step of the way.
How Does the Temporal Workflow Engine Work?
Before you write a single line of code, it helps to understand the three core concepts:
Workflows
A Workflow is the definition of your business process. It’s written in code (Python, Go, Java, TypeScript, PHP are all supported) and describes the steps that need to happen — in order, in parallel, or conditionally.
Workflows in Temporal are deterministic. That means Temporal can replay your workflow’s entire history to reconstruct its state after a crash — without re-running any of the actual side effects.
Activities
Activities are the individual tasks within a workflow — the units that actually do something. Sending an email, hitting an API, writing to a database — these all happen inside Activities.
Activities can fail. They can time out. And Temporal will automatically retry them according to the policy you define.
Workers
Workers are the processes that run your Workflows and Activities. You deploy Workers on your own infrastructure. They poll Temporal’s server for tasks, execute them, and report back results.
Here’s a simple mental model:
Temporal Server = the brain (stores state, schedules tasks)
Workers = the hands (execute the actual code)
Workflows = the plan
Activities = the individual steps
Temporal Workflow Engine Tutorial: Build Your First Workflow
Let’s build something real. We’ll create a simple user onboarding workflow in Python that:
- Creates a user record
- Sends a welcome email
- Assigns a free plan
Step 1: Set Up Temporal Locally
The fastest way to get Temporal running locally is with the Temporal CLI.
bash
# Install Temporal CLI
brew install temporal
# Start the Temporal development server
temporal server start-dev
This spins up a local Temporal server with the Web UI available at http://localhost:8233. You can watch your workflows run in real time there.
💡 Pro Tip: The dev server is stateless — it resets on restart. For persistent local testing, use the Docker Compose setup from the Temporal samples repository.

Step 2: Install the Python SDK
bash
pip install temporalio
Temporal has official SDKs for Python, Go, TypeScript, Java, and PHP. This tutorial uses Python, but the concepts are identical across languages.
Step 3: Define Your Activities
Activities are regular Python functions decorated with @activity.defn.
//python

from temporalio import activity

@activity.defn

async def create_user(email: str) -> str:

    # Simulate DB write

    print(f"Creating user for {email}")

    return f"user_id_for_{email}"

@activity.defn

async def send_welcome_email(user_id: str) -> None:

    print(f"Sending welcome email to {user_id}")

@activity.defn

async def assign_free_plan(user_id: str) -> None:

    print(f"Assigning free plan to {user_id}")
Each Activity is a single, focused task. If any one of them fails, Temporal retries it — without re-running the ones that already succeeded.
Step 4: Define Your Workflow
//python

from datetime import timedelta

from temporalio import workflow

from temporalio.common import RetryPolicy

@workflow.defn

class OnboardingWorkflow:

    @workflow.run

    async def run(self, email: str) -> str:

        retry_policy = RetryPolicy(maximum_attempts=3)

        user_id = await workflow.execute_activity(

            create_user,

            email,

            start_to_close_timeout=timedelta(seconds=10),

            retry_policy=retry_policy,

        )

        await workflow.execute_activity(

            send_welcome_email,

            user_id,

            start_to_close_timeout=timedelta(seconds=10),

        )

        await workflow.execute_activity(

            assign_free_plan,

            user_id,

            start_to_close_timeout=timedelta(seconds=10),

        )

        return user_id
Notice the start_to_close_timeout — this tells Temporal how long to wait before considering an Activity failed and retrying it.
Step 5: Run a Worker
//python

import asyncio

from temporalio.client import Client

from temporalio.worker import Worker

async def main():

    client = await Client.connect("localhost:7233")

    worker = Worker(

        client,

        task_queue="onboarding-queue",

        workflows=[OnboardingWorkflow],

        activities=[create_user, send_welcome_email, assign_free_plan],

    )

    await worker.run()

if __name__ == "__main__":

    asyncio.run(main())
Step 6: Start a Workflow
//python

async def trigger():

    client = await Client.connect("localhost:7233")

    result = await client.execute_workflow(

        OnboardingWorkflow.run,

        "[email protected]",

        id="onboarding-user-example",

        task_queue="onboarding-queue",

    )

    print(f"Workflow completed. User ID: {result}")

asyncio.run(trigger())
Open your browser at http://localhost:8233 and you’ll see the entire workflow execution — every Activity, every retry, every result — laid out step by step.
Temporal vs. Alternatives: When Should You Use It?
| Feature | Temporal | AWS Step Functions | Celery |
| Language support | Python, Go, TS, Java, PHP | JSON/YAML state machine | Python |
| Local dev experience | Excellent (CLI) | Limited | Good |
| Durable execution | ✅ Native | ✅ Managed | ❌ Manual |
| Workflow as code | ✅ Full code | ❌ Config-based | ✅ Partial |
| Visibility / debugging | Excellent Web UI | CloudWatch only | Flower UI |
| Open-source | ✅ | ❌ AWS-only | ✅ |
| Cost | Self-hosted free | Per-state-transition pricing | Free |
If you want a structured, mentor-supported path and learn all these new tools, then HCL GUVI’s IIT-M Pravartak Certified Full Stack Developer Course with AI Integration covers the entire journey, from HTML to deployment, with real projects, live sessions, and placement support. Over 10,000 students have used it to break into product-based companies.
What to Do Next
You’ve got a working Temporal workflow. Here’s how to go further:
- Add error handling — Use try/except inside Activities and configure retry_policy with non_retryable_error_types for errors that shouldn’t retry (like a 400 Bad Request).
- Use Signals — Let external events (like a user clicking “confirm”) update a running workflow.
- Use Queries — Expose workflow state to your API without polling a database.
- Deploy to Temporal Cloud — Skip self-hosting with Temporal’s managed cloud offering.
Key Takeaways
- Temporal is a durable execution engine — it saves your workflow state automatically, so crashes don’t mean data loss.
- Every workflow has Workflows (the plan), Activities (the steps), and Workers (the runners).
- Activities handle all your side effects — keep Workflows pure and deterministic.
- You can run Temporal locally in minutes using the CLI and build your first workflow in under 50 lines of code.
- Temporal is used in production at Netflix, Stripe, DoorDash, and hundreds of other companies for exactly the kind of reliability you need.
FAQs
Q1: What is a Temporal workflow engine in simple terms?
Temporal is a platform that runs your business logic reliably, even when servers crash or APIs fail. You write your process as code, and Temporal makes sure every step completes — retrying failures automatically and saving progress along the way.
Q2: Is Temporal free to use?
Yes. The open-source version of Temporal is completely free to self-host. Temporal also offers a managed cloud service (Temporal Cloud) with a usage-based pricing model if you don’t want to manage the infrastructure yourself.
Q3: What programming languages does Temporal support?
Temporal has official SDKs for Python, Go, TypeScript/JavaScript, Java, and PHP. The core concepts — Workflows, Activities, and Workers — work the same way across all of them.
Q4: What’s the difference between a Workflow and an Activity in Temporal?
A Workflow is your business process definition — the steps, the logic, the order. An Activity is an individual step that actually does something (like calling an API or writing to a database). Workflows are deterministic; Activities handle all side effects.
Q5: Can Temporal handle workflows that run for hours or days?
Yes — that’s one of its biggest strengths. Temporal workflows can run for seconds, hours, days, or even years. State is persisted automatically, so a workflow can pause, wait for an external event, and resume without losing any context.
Q6: How is Temporal different from Celery?
Celery is a task queue built for short, independent jobs. Temporal is built for multi-step, long-running processes that need state, retries, and full observability. If your process has more than two or three chained steps, Temporal is almost always the better choice.
Q7: Do I need to know Docker to use Temporal?
Not necessarily. The Temporal CLI lets you start a development server without Docker. For production deployments, you’ll want Docker or Kubernetes, but for learning, the CLI is all you need.
Success Stories

About the Author
Lukesh S
A professional content writer who has experience in freelancing and now working as a Technical Content Writer at HCL GUVI having sound knowledge in Blog Writing and Creative Writing!
View all posts by Lukesh S
Connect with me @


Did you enjoy this article?