


Full Stack Development Articles
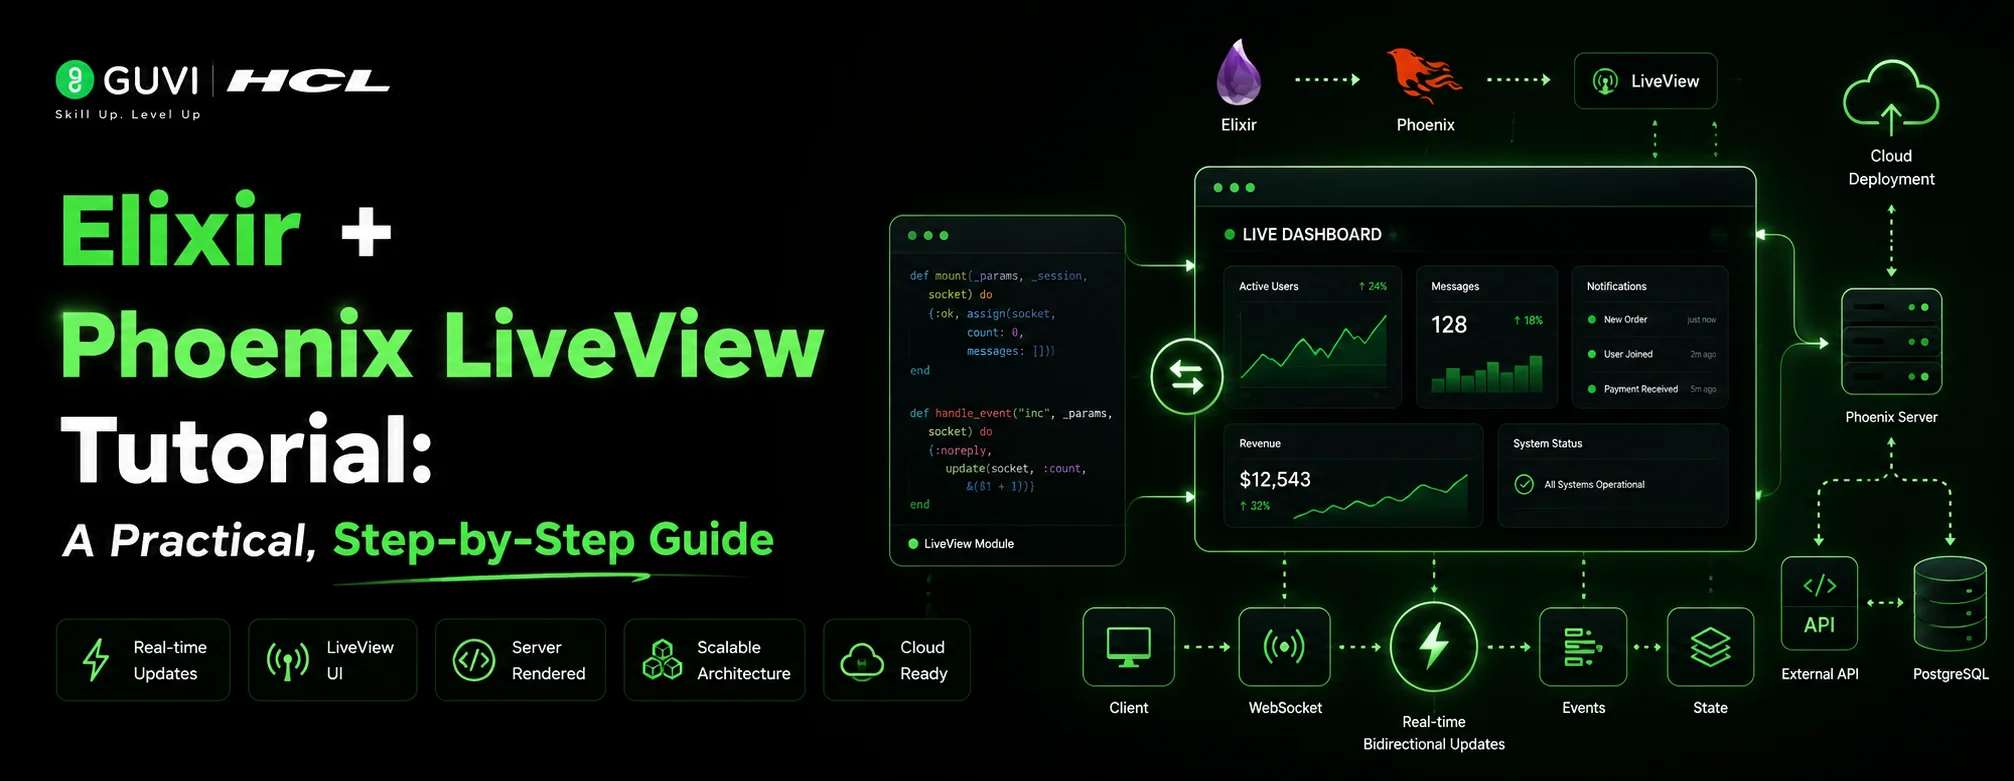
Elixir + Phoenix LiveView Tutorial: A Practical, Step-by-Step Guide
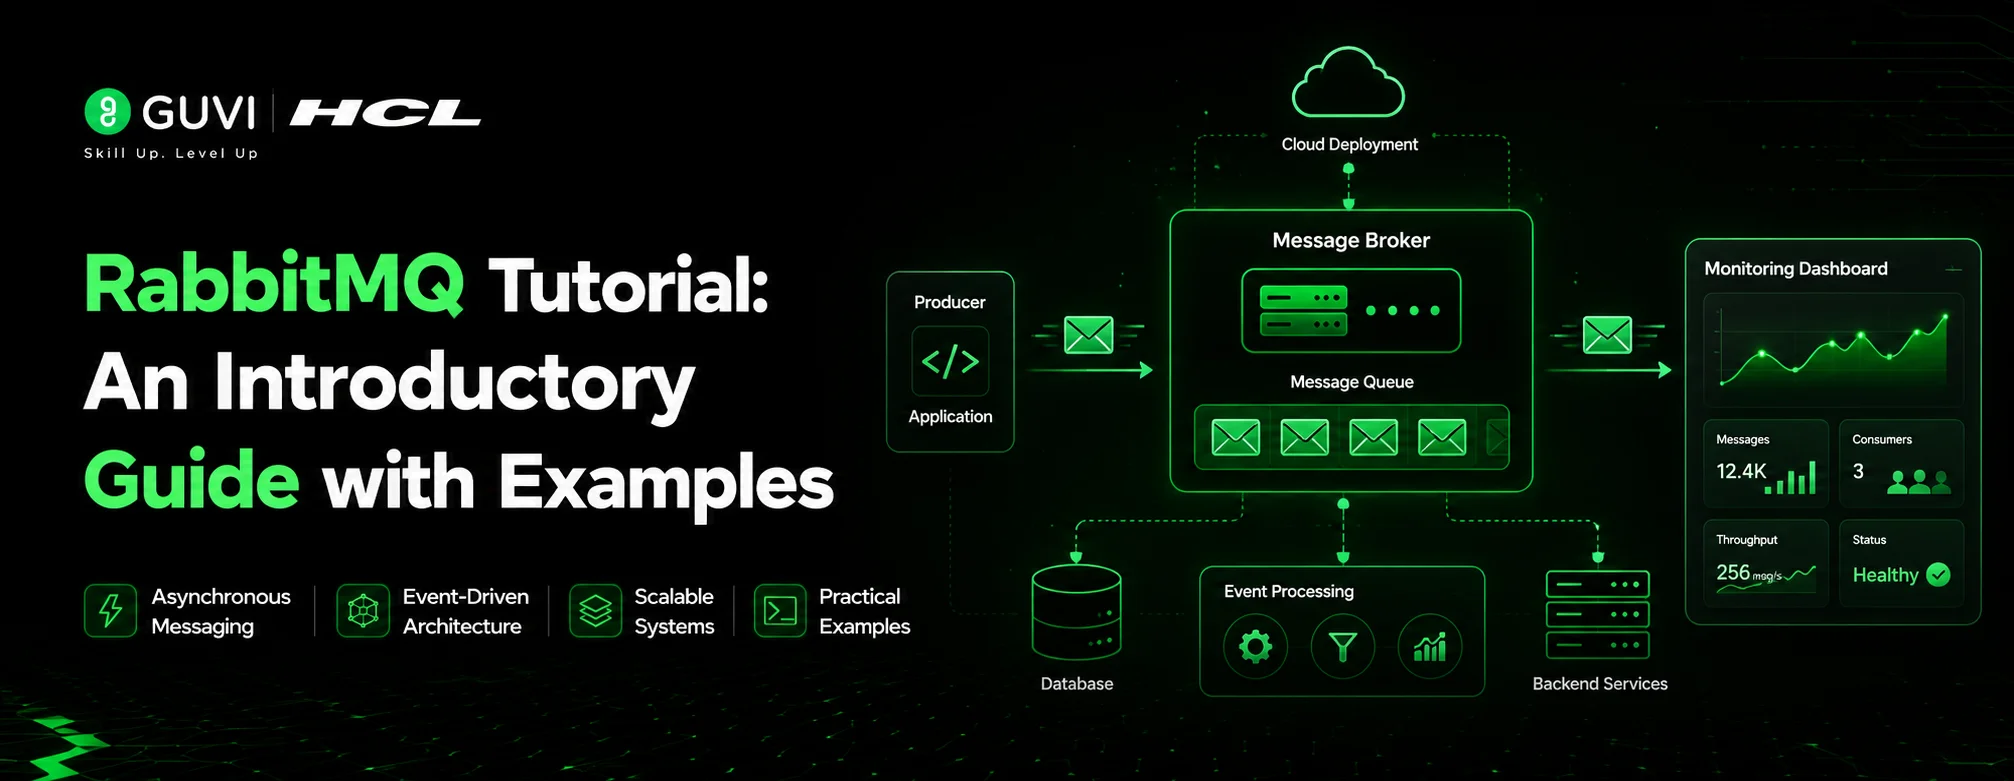
RabbitMQ Tutorial: An Introductory Guide with Examples


Get In Touch For Details! Request More Information
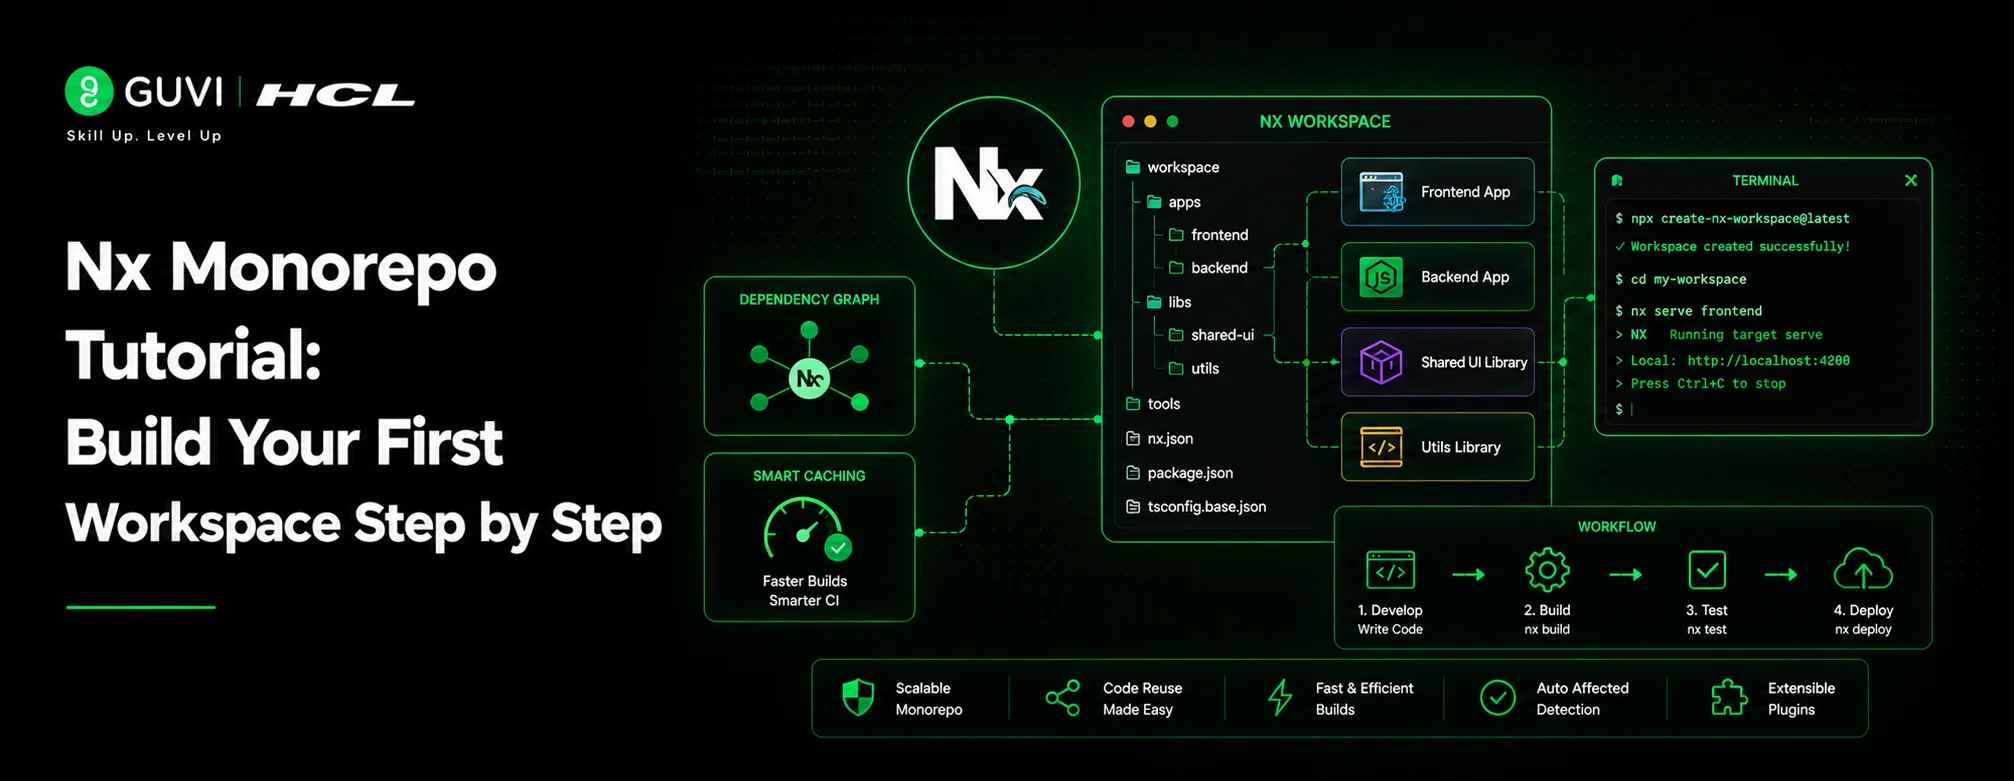
Nx Monorepo Tutorial: Build Your First Workspace Step by Step
Jun 30, 2026 4 Min Read 47 Views
(Last Updated)
Table of contents
- TL;DR Summary
- What is an Nx Monorepo, Exactly?
- Why Use Nx Instead of Plain npm Workspaces?
- Setting Up Your First Nx Workspace
- Step 1: Create the Workspace
- Step 2: Generate Your First App
- Step 3: Add a Shared Library
- Step 4: Serve and Test Your App
- Step 5: Visualize Dependencies and Use Affected Commands
- Common Mistakes Beginners Make With Nx
- Key Takeaways
- Wrapping Up
- FAQs
- What is Nx used for?
- Is Nx only for React projects?
- Do I need TypeScript to use Nx?
- What's the difference between Nx and npm workspaces?
- Can I add Nx to an existing project?
- What does "affected" mean in Nx?
- Is Nx free to use?
- How long does it take to learn Nx basics?
TL;DR Summary
- Nx Monorepo is a build system that keeps multiple apps and shared libraries inside one repository instead of scattering them across separate repos.
- You’ll set up a workspace with npx create-nx-workspace@latest, generate an app and a library, and connect them.
- Nx’s two superpowers are caching (skip rebuilding what hasn’t changed) and affected commands (only test/build what your change actually touches).
- This tutorial assumes basic Node.js and npm familiarity — no prior monorepo experience needed.
Ever opened three separate repos just to fix one bug that touched a shared button component? That’s the exact pain Nx was built to solve.
As projects grow, teams often spread code across multiple repositories. Shared logic gets copy-pasted instead of reused, versions drift apart, and one small UI fix turns into three pull requests. A monorepo fixes the “spread across repos” problem. Nx fixes the “monorepo got slow and messy” problem that comes right after.
By the end of this tutorial, you’ll have a working Nx workspace with a real app and a shared library, plus the handful of commands you’ll actually use day to day.
What is an Nx Monorepo, Exactly?
A monorepo is just one Git repository holding multiple projects — apps, libraries, maybe a backend and a frontend together. Nx is the tool that makes this manageable at scale. It tracks how your projects depend on each other, caches the results of builds and tests, and lets you run tasks across the whole workspace without babysitting each project by hand.
In Nx, your whole repo is called a workspace. Inside it, you’ll typically have an apps/ folder for things people actually run (a website, an API) and a libs/ folder for shared code those apps consume.
Nx comes from Nrwl, a company founded by engineers who’d previously worked on Angular’s core tooling. It’s since grown well past Angular — teams use it today for React, Node, Vue, and even non-JS stacks like Go and Rust, in everything from solo projects to large enterprise codebases.
Why Use Nx Instead of Plain npm Workspaces?
Plain npm, yarn, or pnpm workspaces will link your local packages together, but that’s about it. They don’t know which tasks to skip, and they don’t track which projects a given change actually affects. Nx does both.
| Tool | Best For | Caching | Learning Curve |
| Nx | Multi-framework monorepos (React, Angular, Node, Go, Rust) | Local + optional remote (Nx Cloud) | Moderate |
| Turborepo | JS/TS-only monorepos, especially Next.js | Local + remote | Low |
| Lerna | Versioning and publishing npm packages | None on its own | Low |
| npm/yarn/pnpm workspaces | Basic dependency linking only | None | Very low |
If you’re working across multiple frameworks or expect your repo to grow past a handful of projects, Nx’s extra structure earns its keep fast.
Setting Up Your First Nx Workspace
Step 1: Create the Workspace
Run this in your terminal:
npx create-nx-workspace@latest my-workspace
You’ll be prompted to pick a preset (React, Node, Angular, or an empty workspace) and a package manager. For this tutorial, pick the React preset — it’s the easiest one to see results from immediately.
Step 2: Generate Your First App
If you didn’t already create an app during setup, generate one:
npx nx g @nx/react:app dashboard
This scaffolds a complete React app inside apps/dashboard, fully wired into Nx’s task system — no manual config needed.
Step 3: Add a Shared Library
This is where Nx earns its name. Generate a library for code you’ll reuse across apps:
npx nx g @nx/react:lib ui-components
Anything you put in libs/ui-components can now be imported into dashboard (or any future app) with a clean import path — no publishing to npm required.

Step 4: Serve and Test Your App
npx nx serve dashboard
npx nx test dashboard
Run these once, then run them again without changing anything. Notice the second run finishes almost instantly — that’s Nx’s cache kicking in.
Step 5: Visualize Dependencies and Use Affected Commands
npx nx graph
This opens a visual map of how your apps and libraries connect. Once you’ve made a change, run:
npx nx affected -t test build
Nx checks your git diff, figures out which projects your change actually touches, and only runs tasks for those. On a two-project workspace this barely matters. On a twenty-project workspace, it’s the difference between a five-minute CI run and a forty-minute one.
⚠️ Pro Tip: When we moved a small three-app setup (a marketing site, a dashboard, and a shared UI library) into one Nx workspace, the real win wasn’t day-one speed — it was that a single nx affected command told us exactly which apps a one-line button change would touch, instead of us guessing and rebuilding everything by hand.
Common Mistakes Beginners Make With Nx
- Mixing unrelated apps with no clear boundaries. Throwing every project into one workspace without thinking about ownership turns the dependency graph into a tangled mess fast.
- Never using affected commands. Running nx run-many for every task defeats the whole point of caching and dependency tracking.
- Skipping nx graph. Not visualizing your dependencies makes it hard to spot accidental coupling until it’s already a problem.
- Putting logic in apps instead of libraries. Code stuck inside an app folder can’t be reused or tested in isolation — push shared logic into libs/ early.
- Skipping remote caching in CI. Local caching only helps your own machine. Without Nx Cloud or another remote cache, every CI run still starts cold.
If you are ready to learn all about Git and its repositories at your own pace with certificate, then consider enrolling for HCL GUVI’s Git Course that takes you from beginner to confident user with hands-on practice in Git and GitHub.
Key Takeaways
- An Nx monorepo keeps multiple apps and libraries in one repository, with Nx handling dependencies, caching, and task orchestration.
- npx create-nx-workspace@latest is the fastest way to start — pick a preset that matches your stack.
- Libraries should hold shared, reusable code; apps should stay thin and mostly wire libraries together.
- nx affected and nx graph are the two commands that save the most time as your workspace grows.
Wrapping Up
You now have a working Nx workspace, a generated app and library, and the core commands you’ll reach for constantly: serve, test, graph, and affected.
The concepts here — workspaces, shared libraries, dependency-aware builds — show up in real engineering teams’ day-to-day work, which makes this a genuinely useful skill to mention if you’re interviewing for frontend or full-stack roles. Try setting up a second app in the workspace you just built, and watch how nx affected behaves differently once there’s more than one project to track.
FAQs
1. What is Nx used for?
Nx is used to manage multiple apps and libraries inside a single repository, with built-in caching and dependency tracking so you don’t rebuild or retest things that haven’t changed.
2. Is Nx only for React projects?
No. Nx supports React, Angular, Vue, Node.js, and even non-JavaScript languages like Go and Rust through community plugins.
3. Do I need TypeScript to use Nx?
No, but Nx workspaces default to TypeScript, and most generators assume it. You can use plain JavaScript if you prefer.
4. What’s the difference between Nx and npm workspaces?
npm workspaces just link local packages together. Nx adds caching, a dependency graph, and commands that only run tasks for projects actually affected by your changes.
5. Can I add Nx to an existing project?
Yes. You can run npx nx init inside an existing repo to add Nx’s caching and task running without restructuring everything at once.
6. What does “affected” mean in Nx?
“Affected” refers to the projects whose code is impacted by your latest changes, based on your git diff. Nx commands like nx affected -t test only run for those projects.
7. Is Nx free to use?
Yes, the core Nx CLI and caching are open source and free. Nx Cloud (for remote/distributed caching) has a free tier with paid plans for larger teams.
8. How long does it take to learn Nx basics?
Most developers comfortable with Node.js and npm can get a working workspace running within an hour, though mastering affected commands and the project graph takes a bit more hands-on practice.
Success Stories

About the Author
Lukesh S
A professional content writer who has experience in freelancing and now working as a Technical Content Writer at HCL GUVI having sound knowledge in Blog Writing and Creative Writing!
View all posts by Lukesh S
Connect with me @


Did you enjoy this article?