


DevOps Articles
Claude for IT Help Desks: Reducing Ticket Volume
From Beginner to DevOps Engineer: How HCL GUVI Zen Class Helps You Get There


Get In Touch For Details! Request More Information

Semgrep Static Analysis Tutorial: Find Bugs Before They Ship
Aug 18, 2026 3 Min Read 956 Views
(Last Updated)
Bugs and vulnerabilities are easier to fix the moment you write them, not weeks later in production. This Semgrep static analysis tutorial shows you how to catch issues right in your terminal, before you even open a pull request. By the end, you will have it installed, run a real scan, and understand what the results mean.
Table of contents
- TL;DR Summary
- What is Semgrep?
- Semgrep Static Analysis Tutorial: Installation
- Running Your First Scan
- Understanding Semgrep Output
- Writing a Simple Custom Rule
- Adding Semgrep to GitHub Actions
- 💡 Did You Know?
- Common Mistakes to Avoid
- Conclusion
- FAQs
- Is Semgrep free to use?
- What languages does Semgrep support?
- Does Semgrep upload my code anywhere?
- How is Semgrep different from other static analysis tools?
- Can I write my own Semgrep rules?
TL;DR Summary
- This Semgrep static analysis tutorial shows you how to install Semgrep, run your first scan, and read the results, no security background needed.
- Semgrep is free, open-source, and finds bugs and vulnerabilities by matching patterns that look like your actual code.
- Setup takes under 5 minutes using pip, brew, or Docker.
- Companies like Dropbox, Figma, and Snowflake run Semgrep in production pipelines.
- Once comfortable with the CLI, you can plug Semgrep straight into GitHub Actions for automatic scanning on every pull request.
What is Semgrep?

Semgrep is a fast, open-source static analysis tool that finds bugs, vulnerabilities, and bad patterns in your code. Instead of complicated regex or abstract syntax trees, Semgrep rules look almost exactly like the code you already write.
It supports over 30 languages including Python, JavaScript, Java, Go, and TypeScript, and ships with thousands of community rules ready to use out of the box. Code never leaves your machine, everything runs locally.
Semgrep Static Analysis Tutorial: Installation
You have three options, pick whichever fits your setup.
- pip (recommended, works everywhere): pip install semgrep
- Homebrew (macOS): brew install semgrep
- Docker: docker run semgrep/semgrep
Once installed, confirm it worked by running semgrep –version. You should see a version number printed back, confirming the CLI is ready to use.
Running Your First Scan
This is the core of any Semgrep static analysis tutorial: actually scanning real code.
Navigate to your project folder and run:
semgrep –config auto .
The –config auto flag tells Semgrep to automatically pick relevant rules based on the languages it detects in your project. The . simply means “scan the current directory and everything inside it.”
In a few seconds, Semgrep prints every finding directly in your terminal, showing the file, the line number, a short description of the issue, and a severity level.
If you want to scan with a specific, well-known ruleset instead, try:
semgrep –config p/security-audit .
This applies a curated set of security-focused rules maintained by the Semgrep community.
Understanding Semgrep Output
Every finding in this Semgrep static analysis tutorial follows the same structure, which makes results easy to read once you know what to look for.
| Field | What It Tells You |
| Rule ID | The specific check that triggered (e.g. python.lang.security.audit) |
| File and line | Exactly where in your code the issue was found |
| Message | A plain-English explanation of the problem |
| Severity | ERROR, WARNING, or INFO, ranked by how serious the issue is |
Start by fixing every ERROR, these are usually genuine security or correctness issues. WARNING findings are worth reviewing but are less urgent. INFO findings are often style suggestions rather than real problems.
Security-aware coding is becoming a baseline expectation for developers in 2026. If you want to build the broader DevOps and CI/CD foundation that tools like Semgrep plug into, HCL GUVI’s DevOps Course covers pipelines, automation, and real-world projects with NSDC certification.
Writing a Simple Custom Rule
One of the most powerful parts of this Semgrep static analysis tutorial is that you are not limited to pre-written rules. You can write your own in a few lines of YAML.

Here is a simple rule that flags any use of Python’s dangerous eval() function:
rules:
  - id: no-eval
    pattern: eval(...)
    message: Avoid using eval(), it can execute arbitrary code.
    languages: [python]
    severity: WARNING
Save this as rule.yaml and run it with:
semgrep –config rule.yaml .
Notice the pattern looks just like real Python code, with … acting as a wildcard for any arguments. This is what makes Semgrep approachable, you are pattern-matching code, not writing complex parsing logic.
Adding Semgrep to GitHub Actions
Once you are comfortable running scans locally, the natural next step in any Semgrep static analysis tutorial is automating it. Add this file as .github/workflows/semgrep.yml:
name: Semgrep Scan
on: [pull_request]
jobs:
  semgrep:
    runs-on: ubuntu-latest
    steps:
      - uses: actions/checkout@v4
      - uses: semgrep/semgrep-action@v1
        with:
          config: auto
Now every pull request automatically triggers a scan, and findings can appear directly as comments on the PR, catching issues before a human reviewer even looks at the code.
💡 Did You Know?
- Semgrep scans over 100 million lines of code daily across its global user base, making it one of the most widely adopted static analysis tools in modern software development. Leading technology companies such as Dropbox, Figma, Snowflake, and HashiCorp use Semgrep in their development and security pipelines. Despite operating at massive scale, the open-source engine featured in this Semgrep static analysis tutorial remains completely free for developers and organizations to use.
Common Mistakes to Avoid
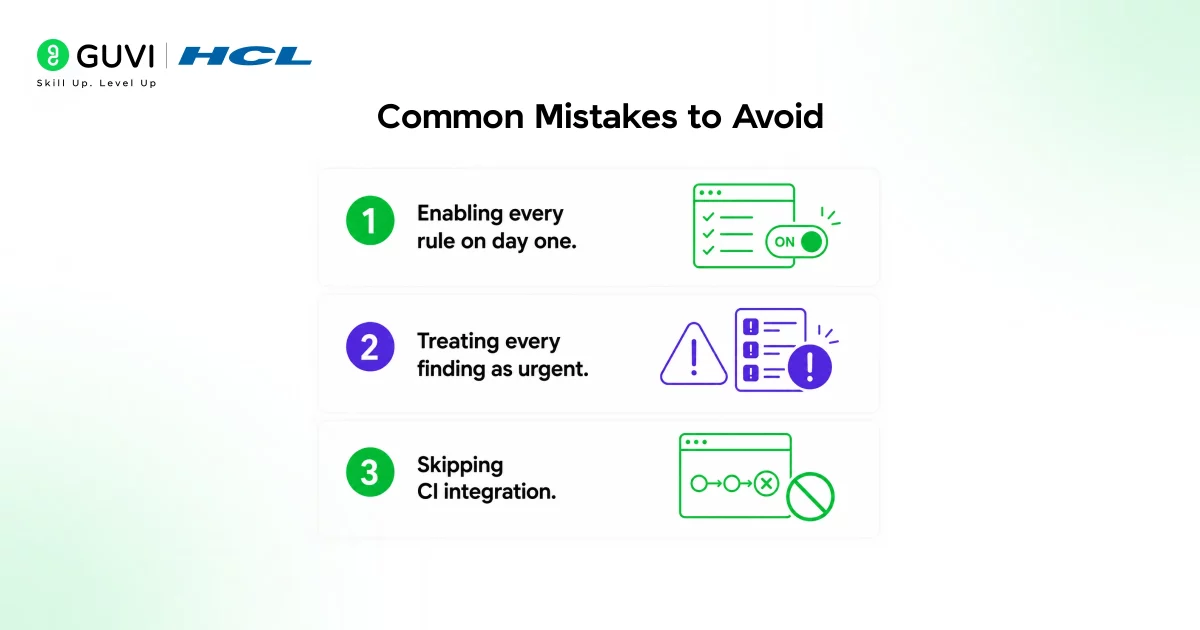
- Enabling every rule on day one. Running the full security-audit ruleset on a large codebase can return hundreds of findings instantly, overwhelming teams. Start with –config auto and expand gradually.
- Treating every finding as urgent. Triage by severity first. Chasing INFO-level suggestions before fixing ERROR findings wastes momentum.
- Skipping CI integration. Running Semgrep manually once is useful, but real value comes from catching issues automatically on every future pull request.
Conclusion
This Semgrep static analysis tutorial covered everything you need to start catching bugs before they ship: installing the CLI, running your first scan, reading results by severity, writing a basic custom rule, and automating scans through GitHub Actions. Static analysis is most powerful when it becomes a habit, not a one-time check. Run it locally as you code, and let CI catch anything you missed.
FAQs
1. Is Semgrep free to use?
Yes. The Semgrep CLI covered in this tutorial is completely free, no account required to scan code locally.
2. What languages does Semgrep support?
Over 30 languages including Python, JavaScript, TypeScript, Java, Go, C#, and Ruby.
3. Does Semgrep upload my code anywhere?
No. Scans run entirely on your local machine or build environment.
4. How is Semgrep different from other static analysis tools?
Its rules look like the actual code you write instead of complex regex, making it far easier to read, write, and customize.
5. Can I write my own Semgrep rules?
Yes, in simple YAML files with a pattern that mirrors real code syntax, as shown in the custom rule example above.
Success Stories

About the Author
Jebasta
I translate the language of data into stories that anyone can understand. As a writer with a data science background, I simplify analytics, AI, and decision-making so beginners and enthusiasts can confidently explore the world of data.
View all posts by Jebasta
Connect with me @

























Did you enjoy this article?