A Beginner’s Guide to Spring Cloud and Microservices with Practical Examples
Sep 03, 2025 3 Min Read 2019 Views
(Last Updated)
Modern applications need to be fast, scalable, and easy to manage. This is where microservices and Spring Cloud come in. Instead of building one big monolithic app, we break it into smaller parts — each part is called a microservice. Spring Cloud provides tools to manage these parts smoothly.
Let’s explore what microservices are, how Spring Cloud helps, and build a basic example using Spring Boot, Eureka, and Spring Cloud Config.
Table of contents
- What Are Microservices?
- Why Use Microservices?
- What Is Spring Cloud?
- Step-by-Step Example
- Setting Up Eureka Server
- Setting Up Config Server
- Create the Order Service
- Create the Product Service
- Testing the Setup
- Bonus: Add API Gateway (Optional)
- Conclusion
What Are Microservices?

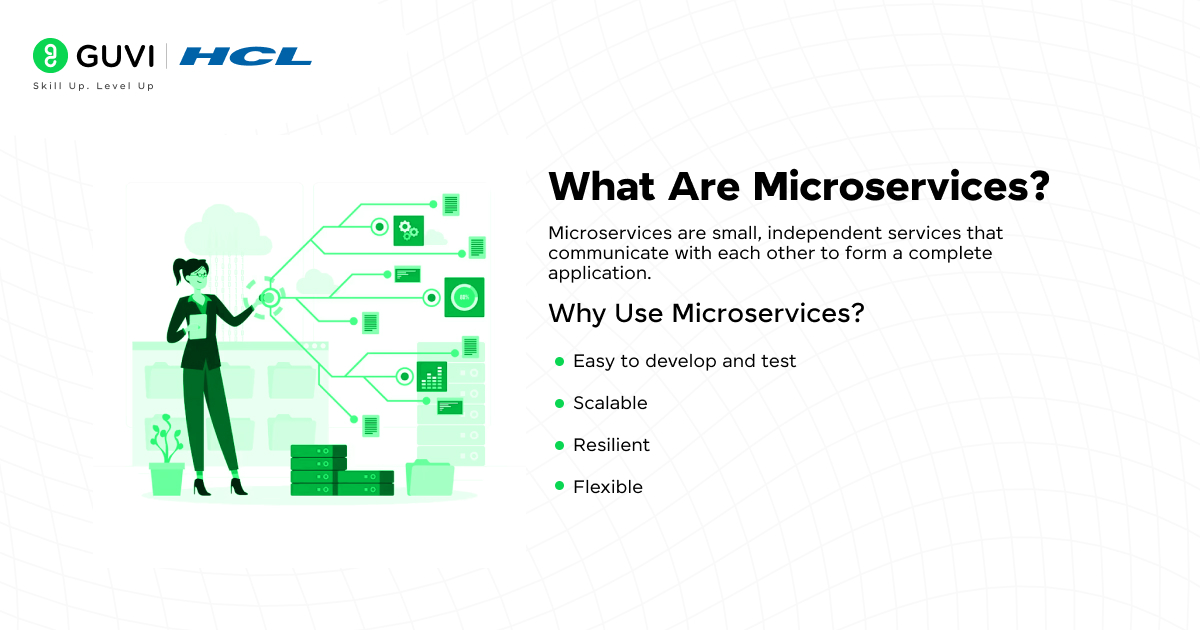
Microservices are small, independent services that communicate with each other to form a complete application.
Example: Online Shopping App
| Service | Role |
| User Service | Manages registration, login |
| Product Service | Lists products |
| Order Service | Handles orders |
| Payment Service | Manages payments |
Each of these runs independently, can be developed by different teams, and deployed separately.
Why Use Microservices?
- Easy to develop and test
- Scalable — only scale services that need it
- Resilient — one service can fail without breaking the whole app
- Flexible — each service can use different tech stacks (Java, Node.js, etc.)
Are you interested in starting your career in microservices? Enroll in HCL Guvi’s course on Application Development using Microservices and Serverless. This course covers all the necessary topics of microservices from the basic to the advanced level. You will gain hands-on experience in building real-world applications using serverless architecture and industry-recognized certifications.
Explore: Spring Boot 3.x Interview Prep: Latest 50 Common Questions
What Is Spring Cloud?

Spring Cloud is a collection of tools built on top of Spring Boot that help you build microservices. It provides solutions for:
| Feature | Tool |
| Service Discovery | Eureka |
| Centralized Configuration | Spring Cloud Config |
| Routing | API Gateway |
| Fault Tolerance | Resilience4j |
| Load Balancing | Spring Cloud LoadBalancer |
Step-by-Step Example

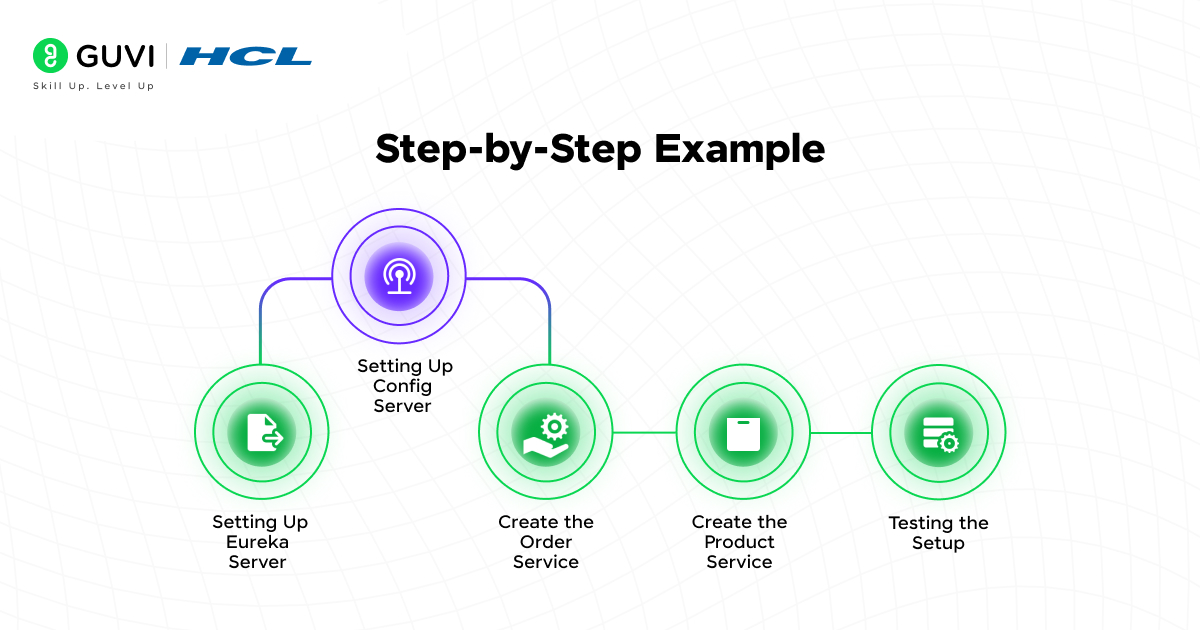
Let’s build a simple microservices setup with:
- Eureka Server
- Config Server
- Order Service
- Product Service
1. Setting Up Eureka Server
Eureka is like a phone book. It keeps track of all services and their locations.
Add dependency in pom.xml:
| <dependency> <groupId>org.springframework.cloud</groupId> <artifactId>spring-cloud-starter-netflix-eureka-server</artifactId> </dependency> |
Main Class:
| @SpringBootApplication @EnableEurekaServer public class EurekaServerApplication { public static void main(String[] args) { SpringApplication.run(EurekaServerApplication.class, args); } } |
application.yml:
| server: port: 8761 eureka: client: register-with-eureka: false fetch-registry: false |
Run this app and visit http://localhost:8761 — The Eureka dashboard will show up!
2. Setting Up Config Server
A Config Server allows you to keep all configuration files (like port numbers, database URLs) in one central place (usually a Git repo).
Add dependency:
| <dependency> <groupId>org.springframework.cloud</groupId> <artifactId>spring-cloud-config-server</artifactId> </dependency> |
Main Class:
| @SpringBootApplication @EnableConfigServer public class ConfigServerApplication { public static void main(String[] args) { SpringApplication.run(ConfigServerApplication.class, args); } } |
application.yml:
| server: port: 8888 spring: cloud: config: server: git: uri: https://github.com/your-repo/config-files |
Place your microservices’ config files in that Git repo (e.g., order-service.yml, product-service.yml).
3. Create the Order Service
Dependencies:
| <dependency> <groupId>org.springframework.cloud</groupId> <artifactId>spring-cloud-starter-netflix-eureka-client</artifactId> </dependency> <dependency> <groupId>org.springframework.cloud</groupId> <artifactId>spring-cloud-starter-config</artifactId> </dependency> |
application.yml (fetched from config server):
| spring: application: name: order-service server: port: 8081 eureka: client: service-url: defaultZone: http://localhost:8761/eureka |
Main Class:
| @SpringBootApplication @EnableEurekaClient public class OrderServiceApplication { public static void main(String[] args) { SpringApplication.run(OrderServiceApplication.class, args); } } |
Controller:
| @RestController @RequestMapping(“/orders”) public class OrderController { @GetMapping public String getOrders() { return “List of Orders”; } } |
4. Create the Product Service
Repeat similar steps as Order Service, with a different port and app name.
application.yml (via config server):
| spring: application: name: product-service server: port: 8082 eureka: client: service-url: defaultZone: http://localhost:8761/eureka |
Controller:
| @RestController @RequestMapping(“/products”) public class ProductController { @GetMapping public String getProducts() { return “List of Products”; } } |
Testing the Setup
To test the setup, you have to follow the steps mentioned below for smoother execution.
- Run Eureka Server → http://localhost:8761
- Run Config Server
- Run Order and Product Services
- Visit the Eureka dashboard — you’ll see both services listed
- Access:
http://localhost:8081/ordershttp://localhost:8082/products
Bonus: Add API Gateway (Optional)
Add Spring Cloud Gateway to route requests to the proper services:
application.yml:
| spring: cloud: gateway: routes: – id: order-service uri: lb://order-service predicates: – Path=/orders/** – id: product-service uri: lb://product-service predicates: – Path=/products/** |
Now you can call everything from a single endpoint like:
http://localhost:8080/ordershttp://localhost:8080/products
Conclusion
You’ve now gained a solid understanding of how to break down a monolithic application into microservices, allowing for better scalability and maintainability. You’ve also explored key Spring Cloud tools such as Eureka for service discovery and Config Server for centralized configuration management. Finally, you’ve learned how to connect and run multiple services together, enabling them to communicate effectively within a distributed system.


Did you enjoy this article?