


Artificial Intelligence and Machine Learning Articles
Finance Manager to Data Analytics: Career Growth, Salary and Seniority
How to Evaluate LLM Outputs in Production Deployments
AI/ML Skills Gap 2026: Why Companies Can't Find Job-Ready Talent
20 AI/ML Interview Questions Recruiters Can Use Without a Tech Background - Best Guide

Get In Touch For Details! Request More Information
Getting Started with Cursor CLI in 2026: Complete Beginner Guide
Aug 19, 2026 6 Min Read 5298 Views
(Last Updated)
Cursor CLI is Cursor’s AI coding agent without the editor window. Instead of opening the full app, you type a command in your terminal and get an AI agent that can read your codebase, write code, and fix bugs, right there in your shell. It’s built for moments an IDE doesn’t fit, like working over SSH or running headlessly in CI.
This guide walks you through why developers are using it, what it can do, what your system needs, and a step-by-step setup from install to your first command. It also covers the commands you’ll use most, plus real examples so you’re comfortable using Cursor CLI on your own.
Table of contents
- TL;DR Summary
- What is Cursor CLI?
- Why Are Developers Using Cursor CLI?
- Faster Development
- Seamless Terminal Workflow
- Better Understanding of Code
- Efficient Debugging
- Productivity Boost
- Key Features of Cursor CLI
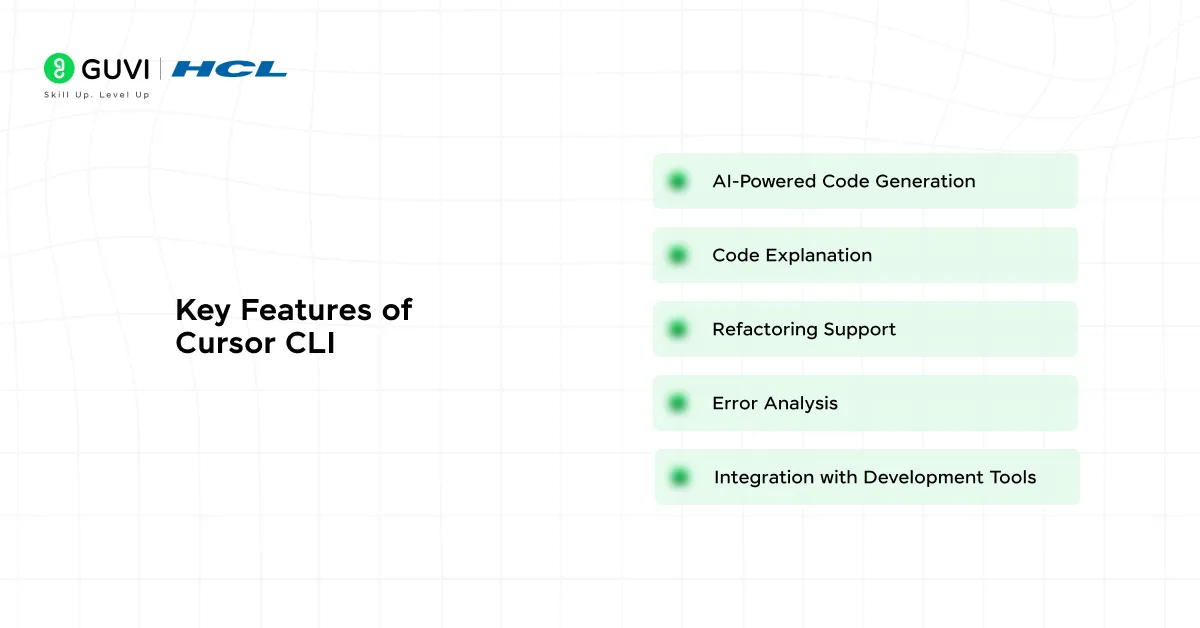
- AI-Powered Code Generation
- Code Explanation
- Refactoring Support
- Error Analysis
- Integration with Development Tools
- System Requirements for Cursor CLI
- How to Install and Set Up Cursor CLI: Step-by-Step Guide
- Step 1: Install Cursor CLI
- Step 2: Configure and log in
- Step 3: Run your first command
- Step 4: Explore the AI features
- Getting Started with Cursor CLI
- Best Cursor CLI commands Every Developer Should Know
- Cursor CLI for AI-Assisted Coding — Practical Examples
- Cursor CLI vs VS Code CLI — Key Differences
- Conclusion
- FAQs
- Is Cursor CLI free to use?
- Does Cursor CLI work on Windows?
- Can I use Cursor CLI without the Cursor editor installed?
- Which AI models can I use in Cursor CLI?
- Is Cursor CLI safe to run on production code?
- Can Cursor CLI run in CI/CD pipelines?
TL;DR Summary
- Cursor CLI is Cursor’s AI coding agent without the editor window, run entirely from your terminal.
- It’s built for moments an IDE doesn’t fit, like working over SSH or running headlessly in CI.
- Setup is four steps: install with a single curl command, log in, run your first
agentcommand, then explore slash commands like/plan,/ask, and/models - Unlike VS Code CLI, which just launches the editor, Cursor CLI actively writes, fixes, and explains code through natural language prompts.
- It handles real tasks like debugging, writing tests, refactoring, and reviewing pull requests in CI, all without leaving the terminal.
What is Cursor CLI?
Cursor CLI is a command-line interface that allows developers to interact with Cursor’s AI coding capabilities directly from the terminal. Rather than relying on exclusive graphical interfaces or IDE extensions, Cursor CLI provides an easy way to access AI-enhanced features via terminal commands.
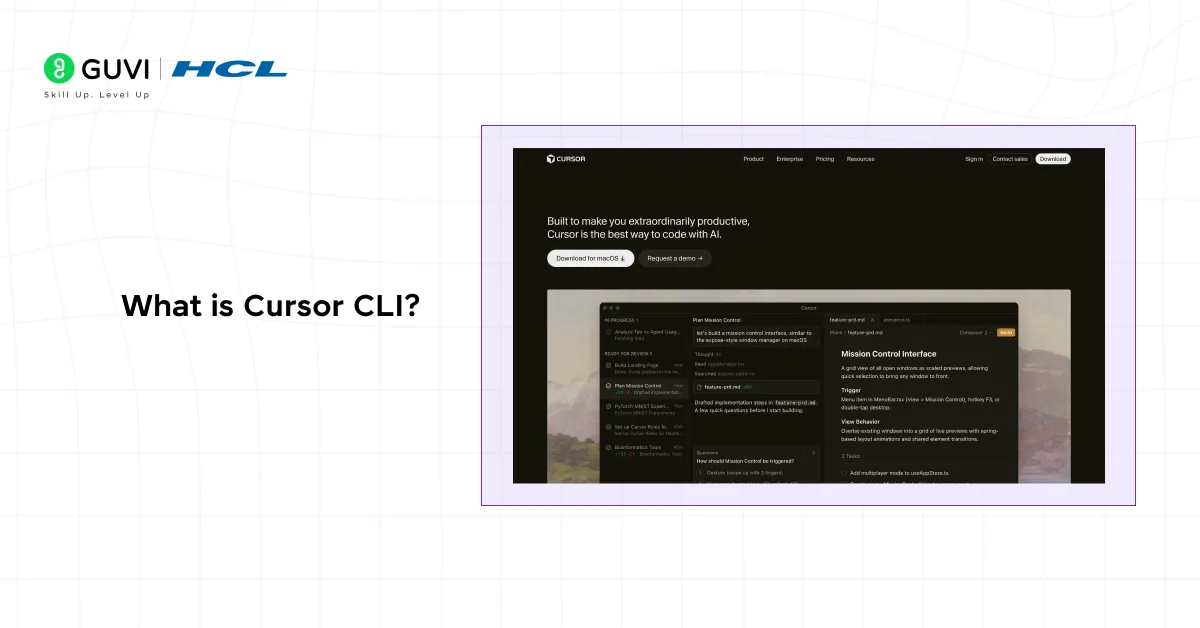
Cursor CLI can be simply described as a coding helper, a coding assistant, which lives in your terminal. You can ask it to generate code snippets, explain complex code, fix bugs, or even create entire files.
The tool is particularly handy for developers who prefer working in the command line or use lightweight editors. Using AI in the terminal also helps developers stay focused, as they do not need to switch between applications when AI is integrated into the terminal itself.
Some key capabilities of Cursor CLI include:
- Generating code from natural language prompts
- Explaining existing code
- Refactoring functions
- Debugging errors
- Automation of repetitive code
- Improving code quality
Since Cursor CLI is terminal-based, it naturally fits current development practices, particularly for developers who use Git, Docker, and other command-line tools.
Ready to build real AI skills instead of just reading about someone else’s tools? HCL GUVI’s Intel & IITM Pravartak Certified AI/ML Course gives you live classes, 20+ hands-on projects, and a joint certification, no prior coding experience needed. With AI jobs opening up fast across every industry, this is your chance to actually get ahead instead of watching from the sidelines. Enroll now and start building a career that’s ready for what’s next!
Why Are Developers Using Cursor CLI?
Modern developers are constantly looking for ways to write better and faster code.The popularity of AI coding tools has increased because they save manual effort and accelerate development.
Cursor CLI provides several advantages that make it attractive for both beginners and experienced developers.
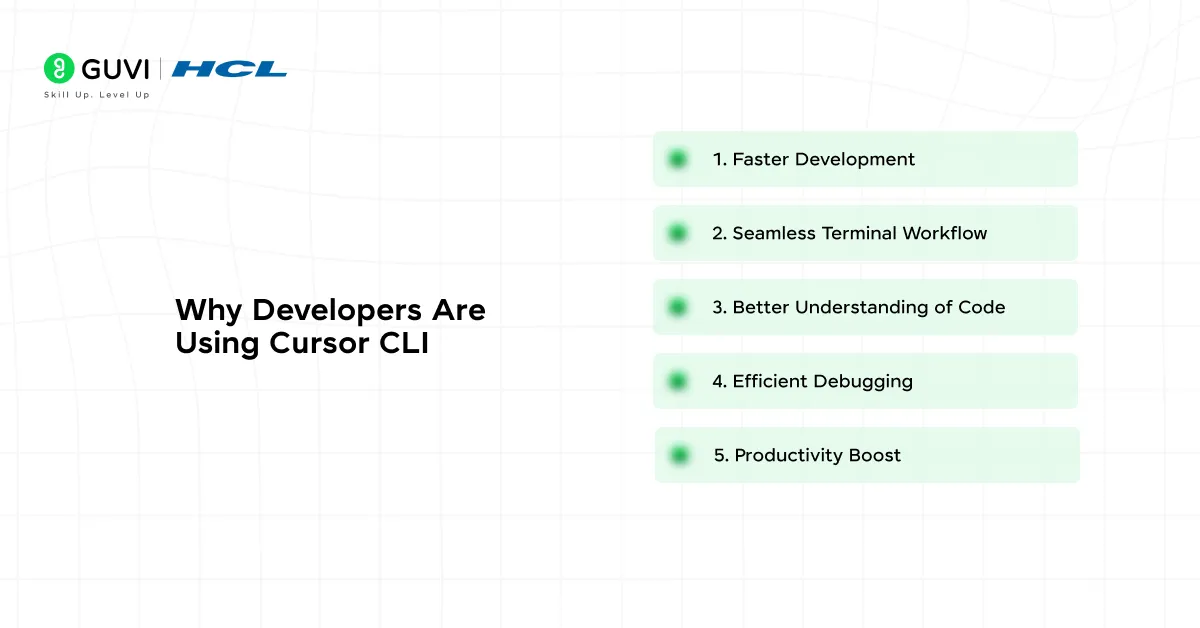
1. Faster Development
Cursor CLI allows developers to generate code in just simple prompts rapidly. You do not need to create everything manually; instead, tell the tool what you want and let it generate the code, which should be the starting point.
2. Seamless Terminal Workflow
Many developers spend most of their time in the terminal. Cursor CLI eliminates the need to switch between tools by bringing AI assistance directly into the command line.
3. Better Understanding of Code
If you are working with unfamiliar code, Cursor CLI can explain what the code does. This reduces the learning curve for new programming and the complexity of other projects for learners.
4. Efficient Debugging
Debugging can sometimes take hours. With Cursor CLI, you can paste an error message or code snippet and ask the AI to identify the issue and suggest possible fixes.
5. Productivity Boost
By automating repetitive tasks like writing boilerplate code or formatting functions, Cursor CLI allows developers to focus on solving real problems rather than handling routine tasks.
Also read: Full Stack Developers: Top Roles, Responsibilities and Salaries 2026
Key Features of Cursor CLI
To understand why Cursor CLI is becoming popular, it is important to look at its core features.
AI-Powered Code Generation
The ability to generate code from natural language prompts is one of its strongest features. For example, you can write a command like the description of functionality you need, and the tool will create the code.
Code Explanation
Cursor CLI can be used to examine a piece of code and explain how it works understandably, in case the code is hard to grasp.
Refactoring Support
Refactoring is needed to enhance the quality and maintainability of the code. Cursor CLI is capable of recommending ways to improve, rationalize logic and rewrite functions to make them clean and efficient.
Error Analysis
When you encounter errors, Cursor CLI can help diagnose the issue. You can provide the error message or code snippet, and the tool will analyze it to suggest potential solutions.
Integration with Development Tools
Cursor CLI works well alongside tools that developers already use, such as Git, package managers, and build systems. This allows it to fit smoothly into existing development environments.
System Requirements for Cursor CLI
To install the Cursor CLI, one should make sure that his system has the required needs.
Most systems that support modern development tools will work with Cursor CLI. Generally, you should have:
- An operating system (Windows, macOS or Linux) that is up to date.
- Node.js or required runtime dependencies installed
- Internet connectivity for AI interactions
- Administrator user access (to install)
With these basic requirements, Cursor CLI should run without any compatibility problems.
Also read: Cursor 2.0: Trending AI Model Explained In-Depth
How to Install and Set Up Cursor CLI: Step-by-Step Guide
Step 1: Install Cursor CLI
Open your terminal and run this single command. It works the same way on macOS and Linux, and on Windows you’ll run it inside WSL:
curl https://cursor.com/install -fsS | bashThis downloads the CLI and drops the binary in place for you. Once it’s done, close and reopen your terminal so it picks up the new command.
Step 2: Configure and log in
Cursor CLI needs a Cursor account to work, it won’t run anonymously. Log in with:
agent loginThis opens your browser, you sign in with your Cursor account, and your credentials get saved locally, so you only need to do this once. To confirm you’re logged in, run:
agent statusStep 3: Run your first command
Now you’re ready to actually use it. Just type:
agentThis opens the interactive agent right inside your terminal, where you can start typing what you want in plain English. If you’d rather run a single one-off task without opening the interactive mode, you can do that too:
agent chat "find one bug in this project and fix it"Step 4: Explore the AI features
Once the agent is running, type / to see the full list of slash commands available. A few worth knowing right away:
/model— switch between models like Composer, GPT, Claude, or Gemini depending on the task/plan— puts the agent in planning mode, so it lays out its approach before touching any code/ask— use this when you just want answers or explanations, not code changes/mcp— connect MCP servers so the agent can pull in outside tools and data
Everything the agent does to your files, running commands, editing code, is shown to you first, so you stay in control of what actually gets applied.
Getting Started with Cursor CLI
After installation of Cursor CLI, you are ready to use it to help in developing your projects.
- Generating Code: The easiest method to operate the Cursor CLI is to create code out of natural language requests. You can say, e.g., develop a function to sort an array or to get information off an API. The tool will decode your request and produce code that matches your request.
- Explaining Code: Cursor CLI can be asked to explain unfamiliar code. Just enter the piece of code and request it to explain. The tool will decode the logic and explain the manner the code operates.
- Fixing Errors: On finding a mistake, you can copy the error message and paste it in Cursor CLI and seek assistance. The tool will examine the issue and recommend potential solutions. This may save much time in the debugging process.
- Refactoring Code: Cursor CLI can also be asked to refine your current code. It can indicate more effective algorithms, a more organised structure or naming.
Also read: Agentic IDE Comparison: Cursor vs Winsurf vs Antigravity [2026]

Best Cursor CLI commands Every Developer Should Know
Once you’re inside the CLI, typing / brings up the full list of slash commands. You don’t need to memorize all of them, but these are the ones you’ll actually reach for on a regular basis:
/models — Lists every model available to you (Composer, GPT, Claude, Gemini, and others) and lets you switch mid-session without restarting.
/plan — Puts the agent into planning mode. It lays out its approach before touching any files, useful when you’re about to make a big or risky change.
/ask — Switches to a read-only mode where the agent answers questions and explains code without editing anything.
/rules — Lets you create or edit project rules directly from the terminal, so the agent follows your team’s conventions instead of guessing.
/mcp enable and /mcp disable — Turns MCP servers on or off on the fly, so the agent can (or can’t) pull in outside tools and data like Jira or internal docs.
/compress — Summarizes the conversation history to free up context, handy in long sessions before you hit a context limit. Keeps you in the same session, just with a shorter history.
/new-chat — Wipes the context completely and starts fresh. Use this when you’re switching to a completely unrelated task, not just running low on context.
/resume — Brings back a previous session, matched by the project folder you’re working in.
/copy-request-id — Copies a precise trace ID for a failed request, useful if you need to report a bug to Cursor’s support or forum.
Please Note:
Press Shift+Tab while typing a prompt to cycle through run modes (agent, plan, ask, and others) without leaving what you’re typing. It’s faster than reaching for the slash command every time.
Cursor CLI for AI-Assisted Coding — Practical Examples
a. Fixing a bug without leaving the terminal
Say your app is throwing an error and you don’t have time to dig through the stack trace yourself. Just point the agent at it:
agent chat "the /login route is returning a 500 error, find the bug and fix it"The agent reads the relevant files, figures out what’s breaking, applies a fix, and shows you exactly what it changed before it’s final.
b. Understanding a codebase you just joined
New to a repo and don’t want to spend your first day clicking through files? Ask it directly:
agent chat "explain how authentication works in this project"It’ll walk you through the flow in plain English, pointing to the actual files involved, so you get oriented in minutes instead of hours.
c. Writing tests for existing code
Instead of writing test cases from scratch, hand off the boring part:
agent chat "write unit tests for the calculateDiscount function in pricing.js"You still review what it writes, but you’re starting from something instead of a blank file.
d. Refactoring safely, with a plan first
For anything bigger, it’s worth switching to plan mode before letting the agent touch code:
/plan
refactor the UserService class to remove duplicate database calls
The agent lays out its approach first, so you can catch anything you disagree with before a single file changes.
e. Automating a task in CI
Cursor CLI also runs headlessly, so it fits right into a pipeline. A common example is running it as a step in GitHub Actions to review a pull request automatically:
agent chat "review this PR for security issues" --headlessNo terminal window, no manual step, just a check that runs on its own every time code gets pushed.
f. Getting an explanation without any changes made
Sometimes you just want an answer, not an edit. Switch to ask mode so nothing gets touched:
/ask
why is this API call so slow?
It’ll investigate and explain, but won’t modify anything; optimal for when you’re still deciding what to do.
Cursor CLI vs VS Code CLI — Key Differences
Cursor CLI is an AI agent that happens to live in your terminal.
VS Code CLI is just a terminal shortcut for opening the editor; it was never built to write code for you in the first place.
Here’s how the two actually compare:
| Basis | Cursor CLI | VS Code CLI |
|---|---|---|
| What it is | An AI coding agent you run from the terminal | The code command that ships with VS Code, used to open files or folders from the terminal |
| Core purpose | Reads your codebase, writes code, and fixes bugs using natural language prompts | Launches the VS Code editor, opens files, and manages extensions from the command line |
| AI capability | Built around AI agents by default; that’s its entire reason to exist | None on its own; AI comes only through installing Copilot inside the editor itself |
| Where AI runs | Directly in the terminal, no editor window needed | Inside the VS Code editor window, not in the terminal |
| Models available | Supports multiple models like GPT, Claude, Gemini, and Cursor’s own Composer | Depends entirely on which Copilot plan or extension is installed |
| Automation / CI use | Works headlessly, so you can run it in scripts, CI pipelines, or over SSH | Not built for automation; it’s a launcher, not an agent |
| Best suited for | Developers who want AI to actively write and fix code from the shell | Developers who just want a quick way to open VS Code or manage it from the terminal |
Conclusion
That’s really all there is to it. Cursor CLI is just Cursor’s agent, minus the editor window, sitting in your terminal waiting for a prompt. Install it, log in, and it fits right into however you already work, whether that’s a quick fix, a refactor, or a script running in CI. Give it a real task today and see if it earns a permanent spot in your workflow.
FAQs
1. Is Cursor CLI free to use?
It requires an active Cursor subscription; there’s no separate free CLI-only plan.
2. Does Cursor CLI work on Windows?
Yes, through WSL (Windows Subsystem for Linux).
3. Can I use Cursor CLI without the Cursor editor installed?
Yes, it runs independently from your terminal and doesn’t need the editor open.
4. Which AI models can I use in Cursor CLI?
You can switch between models like GPT, Claude, Gemini, and Cursor’s own Composer using /models.
5. Is Cursor CLI safe to run on production code?
It’s safe if you review changes before applying them; always work in a version-controlled environment.
6. Can Cursor CLI run in CI/CD pipelines?
Yes, it supports headless mode for automation in tools like GitHub Actions.
Success Stories













Did you enjoy this article?