


Project Articles
Automated Resume Screener: NLP-Based Python Project with Source Code
Business Analysis in Digital Transformation Projects - Best Guide
Build No-Code AI Agents with Flowise AI: Step-by-Step Beginner Guide


Get In Touch For Details! Request More Information

Electronic Projects for Engineering Students: 9 Ideas With Source Code
Aug 21, 2026 6 Min Read 13453 Views
(Last Updated)
Electronic projects for engineering students are hands-on builds that combine microcontrollers, sensors, and circuit design to solve a real-world problem. They range from a beginner-friendly solar charger to an advanced sun-tracking solar panel.
Here’s what you need to know before picking one:
- Best suited for ECE, EEE, and mechatronics students working on mini or final-year submissions
- Skill range spans beginner circuits to advanced closed-loop automation
- Typical build time runs from 2 to 10 days depending on complexity
- Core tools include Arduino, a breadboard, sensors, and basic soldering equipment
Table of contents
- TL;DR Summary
- Top 9 Electronic Projects for Engineering Students
- Circuit Breaker Using Password
- RFID-Based Door Access Control
- Solar Mobile Phone Charger
- Robotic Arm
- Power Generation Through Footstep
- Fingerprint-Based Security System
- PC-Based Home Automation System
- Wireless Lock System Through OTP
- Automatic Solar Tracker
- How to Choose the Right Project for Your Branch and Year
- Conclusion
- FAQs
- How do I choose the right electronic project for my final year?
- What are some cost-effective electronic projects for students on a budget?
- Which electronic project is best for beginners with no prior experience?
- How can I ensure the safety of my electronic project?
- How can I troubleshoot a non-functioning electronic circuit?
TL;DR Summary
- Electronic projects turn classroom theory into resume-ready, practical skills.
- This guide covers 9 tested projects, from a solar mobile charger to a fingerprint security system.
- A comparison table shows difficulty, duration, and branch fit for each one.
- Choose your project based on your branch and timeline, not just popularity.
- Every project includes the components list and a reference code link.
Top 9 Electronic Projects for Engineering Students
| Project | Branch Fit | Difficulty | Duration | Core Skill You Gain |
|---|---|---|---|---|
| Circuit Breaker Using Password | EEE, ECE | Intermediate | 5 to 7 days | Microcontroller and relay control |
| RFID-Based Door Access Control | ECE, CSE | Beginner to Intermediate | 4 to 6 days | RFID and access logic |
| Solar Mobile Phone Charger | EEE, Mechanical | Beginner | 2 to 4 days | Solar power and voltage regulation |
| Robotic Arm | ECE, Mechatronics | Intermediate to Advanced | 7 to 10 days | Servo control and kinematics |
| Power Generation Through Footstep | EEE | Intermediate | 5 to 8 days | Piezoelectric energy harvesting |
| Fingerprint-Based Security System | ECE, CSE | Intermediate | 4 to 6 days | Biometric interfacing |
| PC-Based Home Automation System | ECE, CSE | Intermediate to Advanced | 7 to 10 days | Wireless RF communication |
| Wireless Lock System Through OTP | ECE, CSE | Intermediate | 5 to 7 days | Bluetooth and app integration |
| Automatic Solar Tracker | EEE, Mechanical | Advanced | 7 to 10 days | Closed-loop sensor automation |
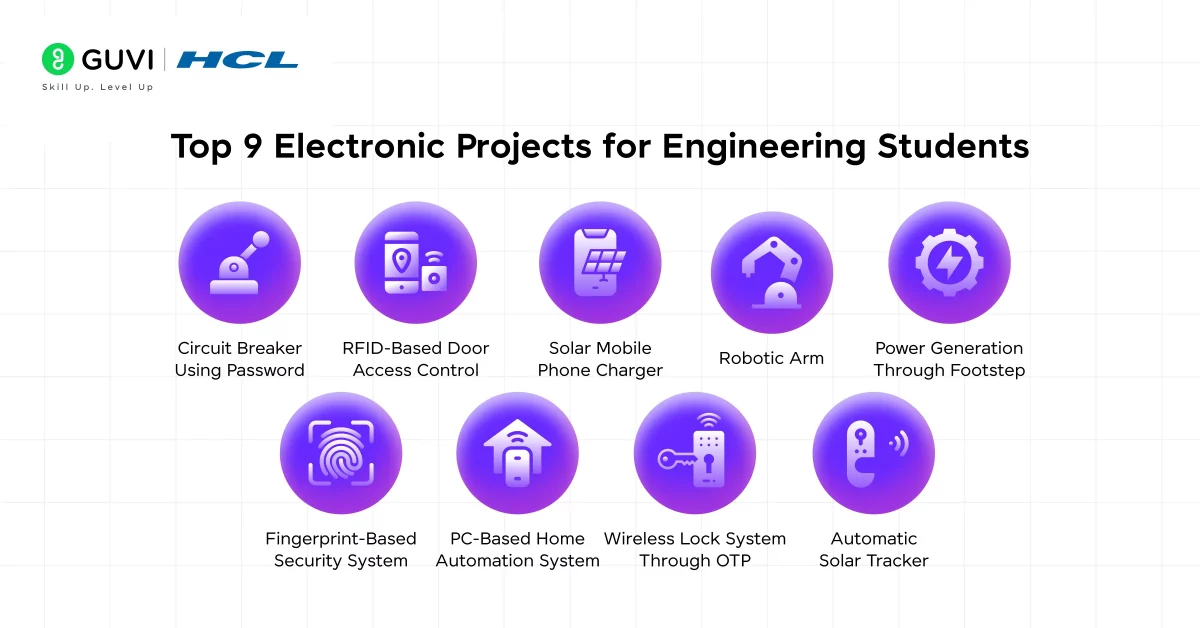
Let’s explore 9 cutting-edge electronic projects (complete with source code) that will help you bridge theory and practice like a pro.
1. Circuit Breaker Using Password

The Circuit Breaker Using Password project is an intelligent electrical protection system that prevents unauthorized access to power lines. It acts as a safety lock for critical circuits and ensures that only people with the correct password can turn them on or off.
This system is particularly useful in residential, industrial, and commercial setups where circuit misuse or accidental switching can be dangerous.
Features of the Project:
- Microcontroller-Based: Uses the AT89C52 (8051 family) for handling logic and controls.
- Secure Input Mechanism: A 4×4 keypad allows users to input a numeric password.
- Status Display: A 16×2 LCD screen displays the current status (ON/OFF) of the electrical line.
- Password Matching Logic: The entered password is verified against a stored password in memory before allowing switching.
- Multi-Load Control: Can be upgraded to handle different circuits with unique passwords.
Technical Setup:
- Relay System: A 4-channel relay controls the circuit ON/OFF status.
- EEPROM Integration: Passwords can be stored in EEPROM for persistent memory.
- Optional Timer Circuit: A 555 Timer can be added to monitor for circuit anomalies.
- GSM Alert Feature (Optional): Sends SMS alerts in case of unauthorized access or power failures.
Components Needed:
- AT89C52 Microcontroller (or Arduino as an alternative)
- 4×4 Matrix Keypad
- 16×2 LCD Display
- Relay Module (4-channel)
- EEPROM IC (if required)
- Potentiometer, Resistors, Transistors
- Loads (bulbs/fans), Breadboard, Wires
Reference Link: Circuit Breaker Using Password
Discover: What is IoT? A Comprehensive Guide [2025]

2. RFID-Based Door Access Control
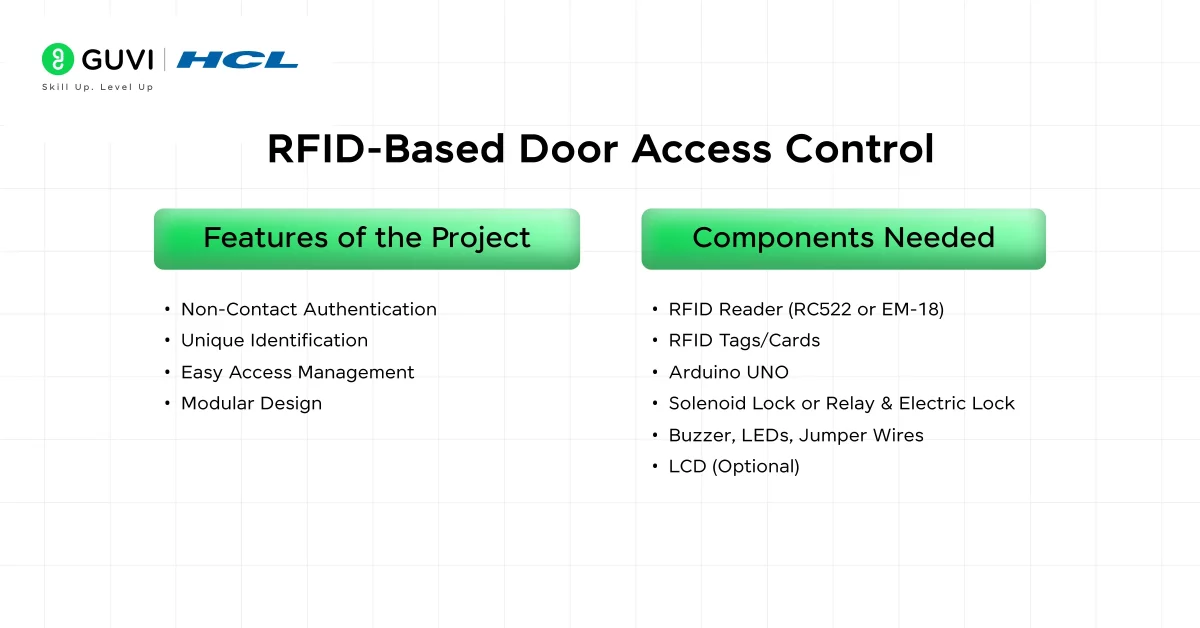
This project showcases a modern security system that uses RFID (Radio Frequency Identification) technology to control access.
Users with registered RFID tags can unlock a door, making it suitable for offices, labs, libraries, and other secure spaces. The system checks the scanned tag against a database and opens the door only if it matches.
Features of the Project:
- Non-Contact Authentication: RFID tags are scanned wirelessly.
- Unique Identification: Each tag has a globally unique ID, ensuring secure access.
- Easy Access Management: Tags can be easily added or revoked.
- Modular Design: Easily upgradeable to include fingerprint or GSM modules.
Technical Setup:
- RFID Module: Operates at 125 kHz and reads tag IDs.
- Arduino UNO: Processes the data and compares it to stored values.
- Solenoid Lock: Opens upon successful authentication.
- LCD Display (Optional): Shows status messages like “Access Granted” or “Access Denied.”
- Database (Optional for Advanced Use): An External database to manage multiple users and log access events.
Components Needed:
- RFID Reader (RC522 or EM-18)
- RFID Tags/Cards
- Arduino UNO
- Solenoid Lock or Relay & Electric Lock
- Buzzer, LEDs, Jumper Wires
- LCD (Optional)
Reference Link: RFID-Based Door Access Control
Explore: Top 17 Best IoT Project Ideas
3. Solar Mobile Phone Charger
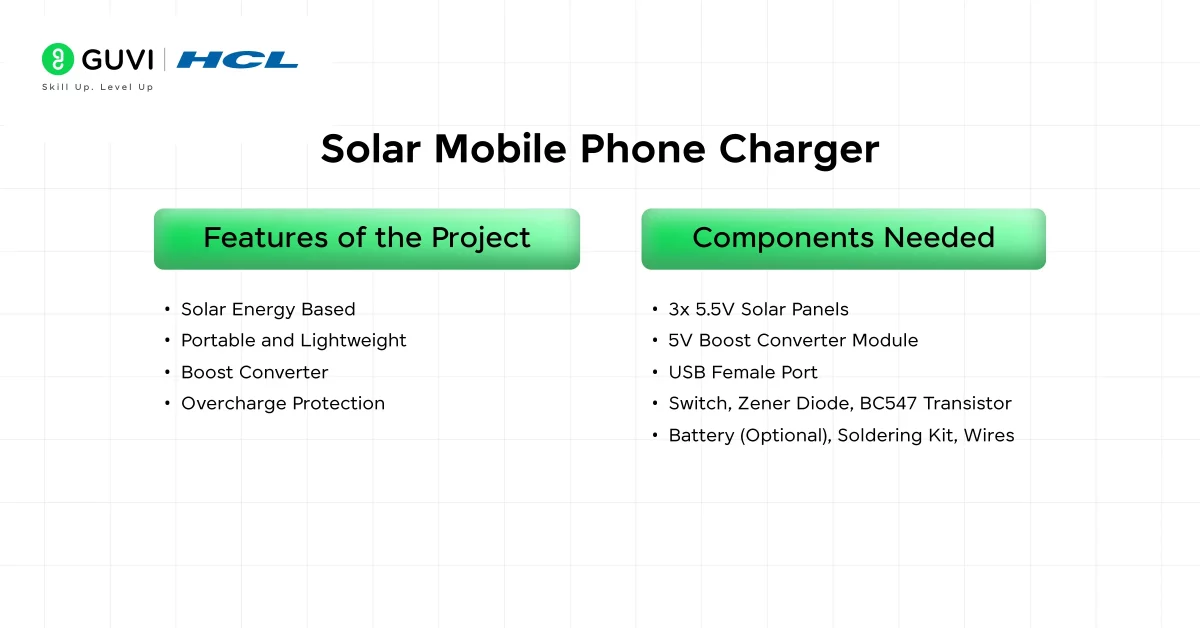
This is a green energy project that uses solar power to charge mobile phones. It’s a simple and eco-friendly solution, perfect for rural areas, camping, or emergencies where conventional power sources are unavailable. You’ll learn how to work with solar panels, boost converters, and USB output systems.
Complexity Level: Beginner
Features of the Project:
- Solar Energy Based: Uses monocrystalline solar panels.
- Portable and Lightweight: Ideal for outdoor and emergency use.
- Boost Converter: Ensures constant 5V USB output.
- Overcharge Protection: Prevents voltage surges using diodes and transistors.
Technical Setup:
- Solar Panels: 3 panels (5.5V, 245mA each) connected in parallel.
- Boost Converter Module: Increases and regulates the output voltage to 5V.
- USB Output: Charges mobile phones or USB-powered devices.
- Zener Diode + BC547 Transistor: Acts as a voltage cut-off system for battery and device protection.
Components Needed:
- 3x 5.5V Solar Panels
- 5V Boost Converter Module
- USB Female Port
- Switch, Zener Diode, BC547 Transistor
- Battery (Optional), Soldering Kit, Wires
Reference Link: Solar Mobile Phone Charger
Suggested Read: The Rise of Edge Computing in Web Development [2025]
4. Robotic Arm
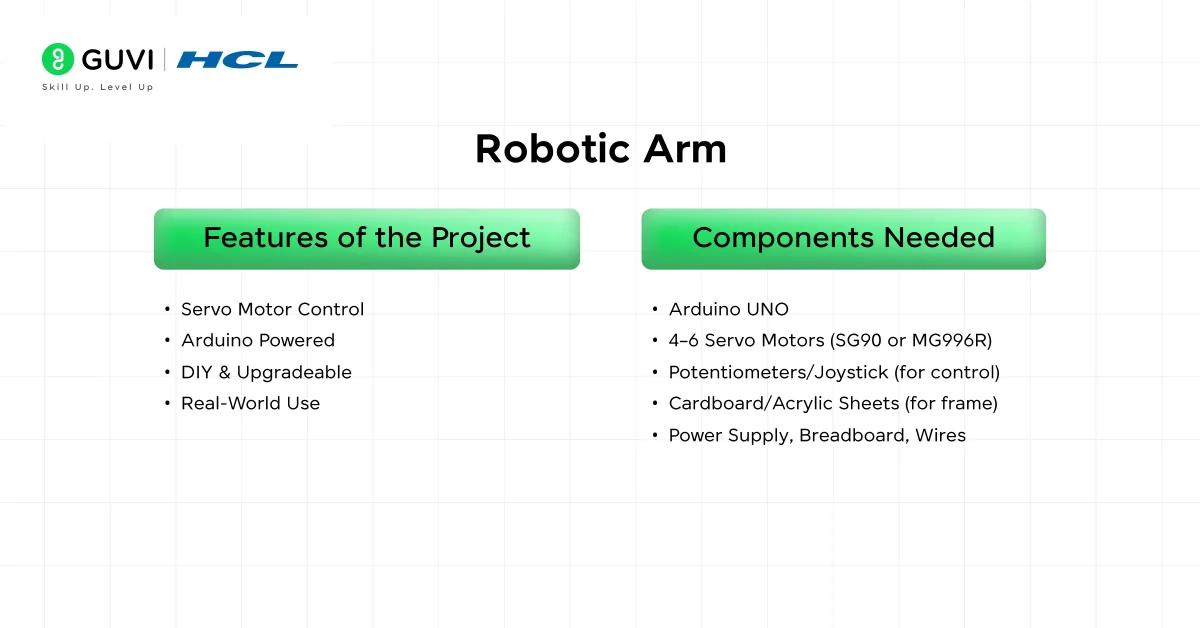
This project helps you build a robotic arm capable of mimicking human-like movements using servo motors and Arduino. It’s perfect for learning motion control, mechanical assembly, and automation. Ideal for students interested in robotics and mechatronics.
Complexity Level: Intermediate–Advanced
Features of the Project:
- Servo Motor Control: Simulates joint movement using servos.
- Arduino Powered: Easily programmable with custom angles.
- DIY & Upgradeable: Basic version with cardboard or advanced version using acrylic/plastic.
- Real-World Use: Can pick and place objects, sort items, or simulate industrial robots.
Technical Setup:
- Design the robotic arm with rotational joints.
- Connect each servo motor to the corresponding pin on the Arduino.
- Use buttons, potentiometers, or a joystick for input control.
- Program movement logic in Arduino IDE.
Components Needed:
- Arduino UNO
- 4–6 Servo Motors (SG90 or MG996R)
- Potentiometers/Joystick (for control)
- Cardboard/Acrylic Sheets (for frame)
- Power Supply, Breadboard, Wires
Reference Link: Robotic Arm
In case you want to learn more about Robotics and how it is developed, read – 4 Best Programming Languages For Robotics You Should Know
5. Power Generation Through Footstep
A unique and eco-conscious energy harvesting project that converts foot pressure into electricity using piezoelectric sensors. It’s especially useful for public areas with high foot traffic, such as malls, stations, or campuses. Great for exploring real-world sustainable solutions.
Complexity Level: Intermediate
Features of the Project:
- Piezoelectric Energy Harvesting: Converts pressure into voltage.
- LCD Monitoring: Displays generated voltage or energy stored.
- Battery Charging & Mobile Power: Stores generated electricity in a battery for later use.
- RFID Access (Optional): Restricts system interaction to authorized users.
Technical Setup:
- Piezoelectric discs are installed on the floor.
- Each step produces mechanical stress, generating electric pulses.
- These pulses are fed to a charging circuit that stores energy in a 4V battery.
- The battery can then power small devices like a USB charger.
Components Needed:
- Piezoelectric Sensors
- Arduino or Battery Management Circuit
- LCD Display
- 4V Battery, Diodes, Capacitors
- USB Output Module, Voltage Regulator
Reference Link: Power Generation Through Footstep
Discover: 7 Real-World Cloud Computing Engineering Applications
6. Fingerprint-Based Security System

This project allows you to create a secure fingerprint-based access control system using the R307 fingerprint sensor and Arduino UNO. It’s a great introduction to biometrics and is highly applicable in real-world scenarios like smart door locks, office entry systems, or lab security.
Complexity Level: Intermediate
Features of the Project:
- Biometric Authentication: Uses unique fingerprints for access.
- High Accuracy: R307 sensor captures and matches prints in under a second.
- LCD Status Display: Notifies the user of successful or failed access.
- Programmable Security Levels: Supports different levels of fingerprint verification.
Technical Setup:
- The R307 fingerprint sensor connects to the Arduino UNO via serial communication.
- Arduino compares the input with the stored fingerprint template.
- If verified, it triggers a solenoid lock or servo to open the door.
- The system can enroll, delete, and identify users using a set of pre-defined commands.
Components Needed:
- Arduino UNO
- R307 Fingerprint Module
- 16×2 LCD Display
- Servo Motor or Electronic Lock
- Jumper Wires, Breadboard, Power Supply
Reference Link: Fingerprint Security System
7. PC-Based Home Automation System

This project teaches you how to create a home automation system that allows you to control household devices like lights and fans directly from your PC.
It uses Arduino and an RF transmitter-receiver pair for wireless control and can be expanded to include WiFi/Bluetooth capabilities.
Complexity Level: Intermediate–Advanced
Features of the Project:
- Wireless RF Control: Uses 433MHz RF modules for PC-to-device communication.
- Desktop Control App: Custom software interface allows toggling appliances from a computer.
- Multi-Device Control: Can control multiple devices like lights, fans, and alarms.
- Modular Architecture: Easily expandable using WiFi or ESP8266 for IoT features.
Technical Setup:
- The transmitter unit is connected to a PC and sends commands using RF signals.
- The receiver unit includes an Arduino UNO that decodes these signals and controls the relays for switching devices.
- An HT12E encoder and HT12D decoder IC pair handle communication encoding and decoding.
Components Needed:
- Arduino UNO (2 Units)
- 433MHz RF Transmitter and Receiver Modules
- HT12E Encoder and HT12D Decoder ICs
- Relays, Resistors, Bulb Holders
- PC/Laptop for Software Control Interface
Reference Link: PC-Based Home Automation System
8. Wireless Lock System Through OTP
This project integrates OTP (One-Time Password) verification with wireless communication for a secure digital locking mechanism. It’s built using Arduino and a Bluetooth module and communicates with a custom smartphone app (made using MIT App Inventor) for OTP generation.
Complexity Level: Intermediate
Features of the Project:
- Dynamic OTP Generation: App-generated time-based codes enhance security.
- Bluetooth-Enabled: Connects with Arduino via HC-05 module.
- Manual and Remote Entry: Enter password through keypad or mobile app.
- Custom Mobile App: Built using MIT App Inventor for OTP and lock control.
Technical Setup:
- HC-05 module receives OTP from the mobile app and passes it to Arduino.
- Arduino compares OTP with stored/generated code and activates the lock mechanism.
- A micro servo motor opens the lock when the OTP is correct.
- The keypad is used as a backup manual input system.
Components Needed:
- Arduino UNO
- HC-05 Bluetooth Module
- SG90 Servo Motor
- 4×4 Keypad
- Power Supply, Jumper Wires
- MIT App Inventor Account (for App)
Reference Link: Wireless Lock System Through OTP
9. Automatic Solar Tracker
This project creates an automatic solar panel tracking system that aligns with the sun’s movement to maximize power output. It uses light-dependent resistors (LDRs) to detect sunlight direction and moves the panel accordingly using a servo motor.
Complexity Level: Advanced
Features of the Project:
- Dynamic Sun Tracking: Adjusts solar panel angle in real-time using LDR feedback.
- Dual Axis Option: Can be upgraded to follow both horizontal and vertical sun paths.
- Arduino Controlled: Processes LDR values and controls servo position.
- Efficiency Boost: Increases energy generation by 25–40% compared to static panels.
Technical Setup:
- Two LDRs are mounted on either side of the panel to detect light intensity.
- The Arduino calculates the difference between the LDR readings and moves the servo to tilt the panel toward stronger sunlight.
- A rotating base holds the panel and is powered by a servo or DC motor.
Components Needed:
- Arduino UNO
- 2x LDRs (Light Dependent Resistors)
- Solar Panel (small-scale for testing)
- Servo Motor (or geared DC motor)
- Rotating Mount, Battery, Voltage Regulator
Reference Link: Automatic Solar Tracker
This electronic project not only significantly boosts the energy output of solar installations but also serves as a practical application of automation and renewable energy principles in a real-world setting.
How to Choose the Right Project for Your Branch and Year
Not every project suits every student. Use these factors to narrow your list:
- Your branch: ECE and EEE students often gravitate toward sensor and power systems, while CSE students may prefer projects with more software logic, like the PC-based automation system.
- Time available: A first or second-year mini project should stay under a week. Save the 7 to 10 day builds for your final year.
- Budget: Solar and RFID-based projects are cheaper to source than robotic arms or dual-axis trackers.
- Learning goal: Pick based on the skill you want on your resume, such as embedded programming, wireless communication, or renewable energy systems.
If you want to learn more about Microcontrollers and how they work from scratch, consider enrolling in HCL GUVI’s Microcontrollers & Microprocessors Course, which lets you explore the fundamentals of microprocessors and microcontrollers, their architecture, evolution, and specific applications through hands-on programming practice!
Conclusion
In conclusion, exploring these electronic projects is more than just a way to complete your coursework, it’s a launchpad for innovation, creativity, and hands-on engineering mastery.
Each of these projects challenges you to apply theoretical knowledge in real-world scenarios, whether you’re building a smart security system, generating power from footsteps, or optimizing solar energy.
Pick a project that resonates with your interests, get your hands dirty, and most importantly, start building. Your journey as an innovator begins with your first circuit.
FAQs
1. How do I choose the right electronic project for my final year?
Match the project to your branch, the time you have, and a skill that’s relevant to the job roles you’re targeting. Advanced builds like the solar tracker work well if you have 7 to 10 days and want a strong final-year showcase.
2. What are some cost-effective electronic projects for students on a budget?
The solar mobile charger and RFID door access system are among the cheapest here, both built mostly from Arduino, basic sensors, and low-cost modules.
3. Which electronic project is best for beginners with no prior experience?
The solar mobile phone charger is the easiest starting point since it needs minimal components and takes just 2 to 4 days to complete.
4. How can I ensure the safety of my electronic project?
Disconnect power before assembling or modifying any circuit, use insulated tools, and double-check voltage ratings against each component’s datasheet before switching it on.
5. How can I troubleshoot a non-functioning electronic circuit?
Check every connection against your circuit diagram first, then use a multimeter to test voltage and continuity at each stage. If the issue persists, isolate and test one module at a time rather than the whole circuit.
Success Stories

About the Author
Jaishree Tomar
A recent CS Graduate with a quirk for writing and coding, a Data Science and Machine Learning enthusiast trying to pave my own way with tech. I have worked as a freelancer with a UK-based Digital Marketing firm writing various tech blogs, articles, and code snippets. Now, working as a Technical Writer at GUVI writing to my heart’s content!
View all posts by Jaishree Tomar
Connect with me @













Did you enjoy this article?