


Python Articles
What Is GUI in Python? A Beginner's Guide
Probability Basics: A Clear Introduction
How to Use Python in Excel: A Step-by-Step Guide for Beginners


Get In Touch For Details! Request More Information
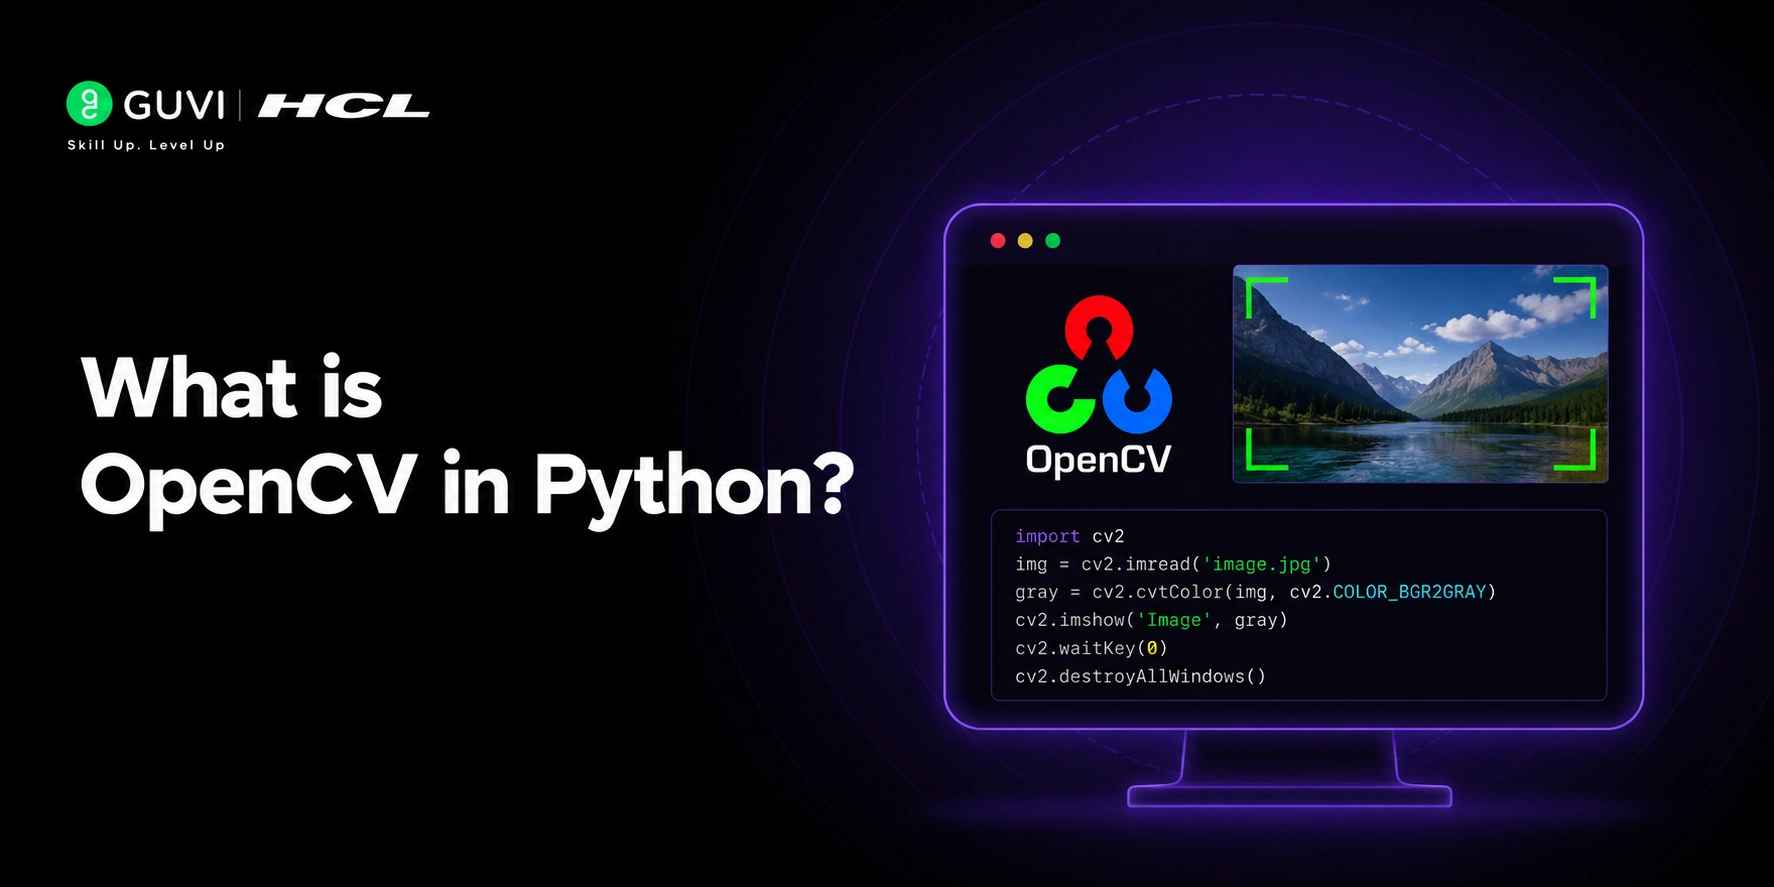
OpenCV in python (cv2) is the foundation of most computer vision projects, providing the tools needed to read images, process pixels, convert colour spaces, and handle real-time video before any machine learning or deep learning is applied. Originally developed in C++ for high-performance computer vision and robotics, its Python bindings made it widely accessible, making OpenCV one of the most widely used libraries for building computer vision applications.
Table of contents
- TL;DR Summary
- What is OpenCV?
- Installing OpenCV
- How OpenCV Sees Images
- Colour Spaces and Conversions
- Core Image Operations
- Resizing and Blurring
- Edge Detection with Canny
- Processing Video and Webcam Feeds
- Common Mistakes Beginners Make with OpenCV
- Conclusion
- FAQs
- What is OpenCV in Python?
- What is OpenCV used for?
- Why does OpenCV use BGR instead of RGB?
- How do I install OpenCV in Python?
- What is cv2.waitKey() and why do I need it?
- What is the difference between cv2.imread() and cv2.VideoCapture()?
- How does Canny edge detection work in OpenCV?
TL;DR Summary
OpenCV (Open Source Computer Vision Library) is the most widely used library for image and video processing in Python. It lets you read, write, and transform images, apply filters, detect edges and faces, process live webcam feeds, and build the preprocessing pipelines that power computer vision and AI models.
Want to go beyond the basics and build real computer vision projects, object detection, face recognition, and deep learning image pipelines with guided mentorship and industry datasets? Check out HCL GUVI’s Python Programming Course; it builds the Python and NumPy foundation you need to make OpenCV feel natural, and takes you all the way through to practical computer vision applications.
What is OpenCV?
OpenCV stands for Open Source Computer Vision Library. It was started at Intel in 1999 by Gary Bradski to make computer vision infrastructure freely available to developers and researchers. Today it has over 2,500 optimised algorithms and is maintained by a community of thousands of contributors.
In Python, you import it as cv2. Do not let that naming inconsistency confuse you; there is no cv1 module you are missing. The library skipped straight from version 1 to version 2 in its Python interface, and the name stuck.
Installing OpenCV
| # Standard installation — includes most common features pip install opencv-python # Headless version — for servers with no display (e.g. cloud VMs) pip install opencv-python-headless # Contrib version — includes extra modules like SIFT, SURF, ArUco pip install opencv-contrib-python # Verify it works python -c “import cv2; print(cv2.__version__)” |
Read More: Top Python Libraries for Data Science in 2026
Want to go beyond the basics and build real computer vision projects object detection, face recognition, and deep learning image pipelines with guided mentorship and industry datasets? Check out HCL GUVI’s Python Programming Course; it builds the Python and NumPy foundation you need to make OpenCV feel natural, and takes you all the way through to practical computer vision applications.
How OpenCV Sees Images
It works with NumPy arrays. When you load an image with cv2.imread(), what you get back is a three-dimensional NumPy array of shape (height, width, channels).
Each pixel is represented by three numbers: blue, green, and red intensity values between 0 and 255.
| import cv2 import numpy as np # Load an image — returns a NumPy array of shape (H, W, 3) img = cv2.imread(‘photo.jpg’) print(img.shape) # e.g. (480, 640, 3) — height x width x channels print(img.dtype) # uint8 — pixel values 0 to 255 # Access a single pixel at row 100, column 200 pixel = img[100, 200] print(pixel) # [B, G, R] — note: NOT RGB like most libraries # Display the image in a window cv2.imshow(‘My Image’, img) cv2.waitKey(0) # wait for any key press cv2.destroyAllWindows() # Save a processed image cv2.imwrite(‘output.jpg’, img) |
The BGR channel order is the single biggest gotcha for OpenCV beginners. Every other image library, PIL, Matplotlib, scikit-image uses RGB. OpenCV uses BGR for historical reasons tied to its C++ origins. When you pass an OpenCV image to Matplotlib or a deep learning model, you almost always need to convert the channel order first.
Colour Spaces and Conversions
Different colour spaces are useful for different tasks. Grayscale reduces a three-channel image to one channel, essential before edge detection or when colour is irrelevant to the problem. HSV (Hue, Saturation, Value) separates colour from brightness, far more useful than BGR for isolating a specific colour in a scene, like detecting a red object under varying lighting.
| import cv2 img = cv2.imread(‘photo.jpg’) # BGR to Grayscale — reduces to single channel gray = cv2.cvtColor(img, cv2.COLOR_BGR2GRAY) # BGR to RGB — required before passing to Matplotlib or PyTorch rgb = cv2.cvtColor(img, cv2.COLOR_BGR2RGB) # BGR to HSV — best for colour-based object detection hsv = cv2.cvtColor(img, cv2.COLOR_BGR2HSV) # Isolate a colour range in HSV — detect green objects lower_green = (36, 50, 50) upper_green = (86, 255, 255) mask = cv2.inRange(hsv, lower_green, upper_green) result = cv2.bitwise_and(img, img, mask=mask) |

Core Image Operations
Resizing and Blurring
| # Resize to a fixed width and height resized = cv2.resize(img, (224, 224)) # standard input size for many CNNs # Resize by scale factor — 50% of original half = cv2.resize(img, None, fx=0.5, fy=0.5) # Gaussian blur — smooths noise before edge detection blurred = cv2.GaussianBlur(img, (5, 5), 0) # Median blur — better for salt-and-pepper noise median = cv2.medianBlur(img, 5) |
Edge Detection with Canny
| import cv2 img = cv2.imread(‘photo.jpg’) gray = cv2.cvtColor(img, cv2.COLOR_BGR2GRAY) # Blur first — edges on noisy images produce garbage output blurred = cv2.GaussianBlur(gray, (5, 5), 0) # Canny edge detector — threshold1 and threshold2 control sensitivity edges = cv2.Canny(blurred, threshold1=50, threshold2=150) cv2.imshow(‘Edges’, edges) cv2.waitKey(0) cv2.destroyAllWindows() |
OpenCV’s Canny Edge Detector, one of the most widely used edge detection algorithms in computer vision, was developed by John Canny in 1986 as part of his PhD research at MIT. The algorithm was designed to be the optimal edge detector by satisfying three key criteria: a low error rate (detecting real edges accurately), good localization (identifying the correct edge position), and minimal response (producing only one detected edge for each real edge). More than three decades later, it remains a fundamental tool in image processing and computer vision applications.
Processing Video and Webcam Feeds
OpenCV treats a video file and a live webcam identically; both are accessed through cv2.VideoCapture(). Pass 0 to open the default webcam, pass a file path to open a video file. From there, you call .read() in a loop and process each frame exactly as you would a still image.
| import cv2 # 0 = default webcam, or pass a file path: ‘video.mp4’ cap = cv2.VideoCapture(0) while True: ret, frame = cap.read() # ret = False if no frame available if not ret: break # Convert each frame to grayscale gray = cv2.cvtColor(frame, cv2.COLOR_BGR2GRAY) # Draw a rectangle on the frame cv2.rectangle(frame, (50, 50), (200, 200), (0, 255, 0), 2) # Display the live frame cv2.imshow(‘Webcam Feed’, gray) # Press ‘q’ to quit if cv2.waitKey(1) & 0xFF == ord(‘q’): break cap.release() cv2.destroyAllWindows() |
Common Mistakes Beginners Make with OpenCV
1. Forgetting the BGR channel order: Passing an OpenCV image directly to Matplotlib or a PyTorch/TensorFlow model without converting BGR to RGB first is the most common source of ‘why do my colours look wrong’ confusion. Always call cv2.cvtColor(img, cv2.COLOR_BGR2RGB) before handing the image to any other library.
2. Not calling cv2.waitKey() after imshow(): cv2.imshow() alone will open a blank or flickering window and immediately crash. cv2.waitKey(0) tells OpenCV to hold the window open until a key is pressed. In video loops, cv2.waitKey(1) processes one millisecond of events per frame; without it, your window will not respond.
3. Using imread() on a path that does not exist: cv2.imread() does not raise an exception when the file path is wrong; it silently returns None. Any subsequent operation on None causes a confusing AttributeError. Always check if img is None right after reading.
4. Skipping the blur before Canny: Running cv2.Canny() on a raw image without blurring first produces a mess of false edges from sensor noise. A GaussianBlur with a 5×5 kernel before Canny is not optional; it is part of the algorithm’s intended pipeline.
Conclusion
OpenCV is one of those libraries that you start using for a small task, resizing an image, maybe, and then find yourself reaching for it constantly. Once you understand that every image is just a NumPy array, that BGR is not a bug but a design choice, and that most computer vision pipelines are just a chain of simple transformations applied frame by frame, the rest comes naturally. Read an image, convert its colour space, apply a filter, detect edges or faces, draw on it, write it back.
FAQs
What is OpenCV in Python?
OpenCV (Open Source Computer Vision Library) is a Python library imported as cv2 for image and video processing. It provides functions for reading and writing images, transforming colour spaces, applying filters, detecting edges and shapes, recognising faces, and processing live video feeds.
What is OpenCV used for?
OpenCV is used for image preprocessing in machine learning pipelines, real-time video analysis, face and object detection, edge and contour detection, augmented reality marker tracking, medical image processing, quality control in manufacturing, and the frame capture and processing layer in self-driving car systems.
Why does OpenCV use BGR instead of RGB?
OpenCV uses BGR because when the library was written in the early 2000s, BGR was the default byte order used by camera hardware and display drivers on Windows — the primary development platform at the time.
How do I install OpenCV in Python?
Run pip install opencv-python for the standard version. Use pip install opencv-python-headless for server environments without a display. Use pip install opencv-contrib-python if you need extra modules like SIFT, SURF, or ArUco marker detection. Verify with python -c “import cv2; print(cv2.__version__)”.
What is cv2.waitKey() and why do I need it?
cv2.waitKey(n) pauses execution ,for n milliseconds and listens for a keyboard event. Passing 0 waits indefinitel;y use this after cv2.imshow() on still images to keep the window open.
What is the difference between cv2.imread() and cv2.VideoCapture()?
cv2.imread() loads a single image file from disk and returns it as a NumPy array. cv2.VideoCapture() opens a video stream either a file or a live camera and lets you read frames one at a time using .read() in a loop.
How does Canny edge detection work in OpenCV?
cv2.Canny() applies the Canny edge detection algorithm: it first computes the image gradient using Sobel filters to find areas of rapid intensity change, then applies non-maximum suppression to thin the detected edges to single-pixel width,
Success Stories

About the Author
Vishalini Devarajan
An Aerospace Engineer turned content writer, I focus on making complex concepts easy to understand through well-structured, reader-friendly blogs. Whether it’s a technical topic or a non-technical one, I love creating content that is clear, engaging, and impactful.
View all posts by Vishalini Devarajan
Connect with me @


Did you enjoy this article?