Understanding the JUnit Framework: The Backbone of Java Unit Testing
Aug 19, 2025 2 Min Read 942 Views
(Last Updated)
How do you know your Java code really works the way it should? Writing the code is only half the job—making sure it behaves correctly is the other. That’s where the JUnit Framework comes in.
If you’re a Java developer or just getting started, understanding JUnit isn’t optional; it’s your gateway to writing reliable, maintainable, and bug-resistant code. But what makes JUnit so widely trusted, and how can you use it effectively?
It’s lightweight, open-source, and seamlessly integrates with most IDEs and build tools. Let’s dive into what JUnit is, how it works, and why it’s crucial in test-driven development (TDD).
Table of contents
- What is JUnit?
- Why Use JUnit?
- Core Annotations in JUnit 5
- Sample JUnit Test
- JUnit with Maven
- Best Practices
- Conclusion
What is JUnit?

JUnit is a unit testing framework for the Java programming language. It helps developers write and run repeatable tests, ensuring that individual units (typically methods) of a program work as expected. Created by Kent Beck and Erich Gamma, JUnit is a key part of the xUnit family of frameworks.
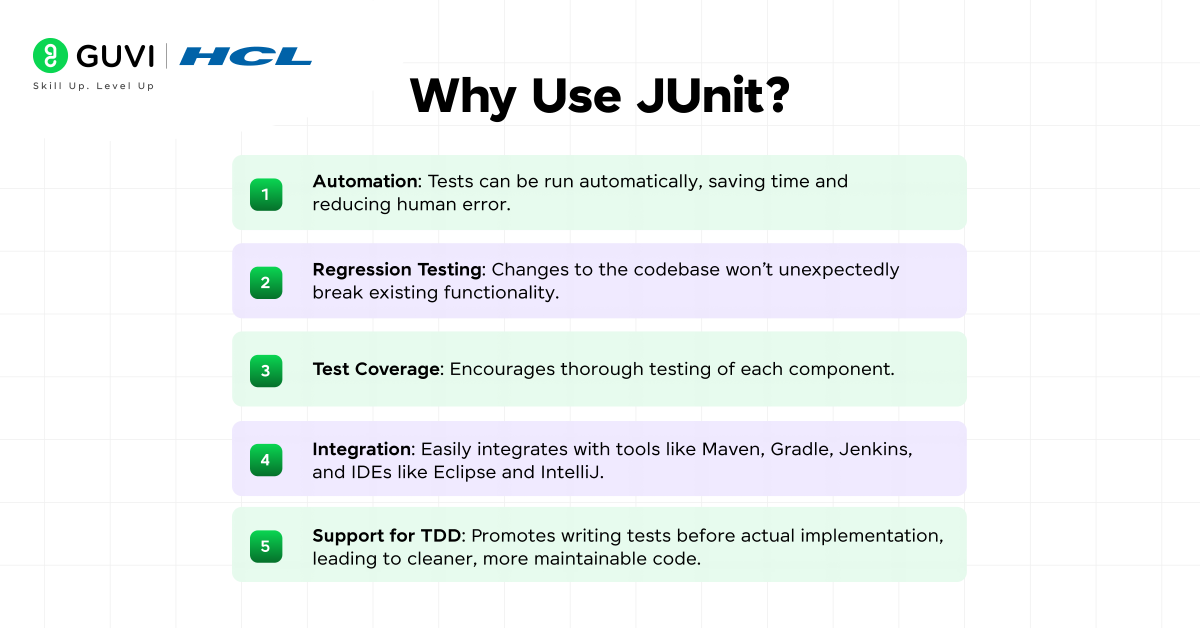
Why Use JUnit?

- Automation: Tests can be run automatically, saving time and reducing human error.
- Regression Testing: Changes to the codebase won’t unexpectedly break existing functionality.
- Test Coverage: Encourages thorough testing of each component.
- Integration: Easily integrates with tools like Maven, Gradle, Jenkins, and IDEs like Eclipse and IntelliJ.
- Support for TDD: Promotes writing tests before actual implementation, leading to cleaner, more maintainable code.
Core Annotations in JUnit 5

JUnit 5 (a.k.a. Jupiter) introduces modern and flexible APIs. Key annotations include:
- @Test: Marks a method as a test case.
- @BeforeEach: Runs before each test.
- @AfterEach: Runs after each test.
- @BeforeAll: Runs once before all tests.
- @AfterAll: Runs once after all tests.
- @Disabled: Temporarily disables a test.
- @DisplayName: Provides a custom name for the test method.
Sample JUnit Test
import org.junit.jupiter.api.*;

class CalculatorTest {

    Calculator calc;

    @BeforeEach
    void setup() {
        calc = new Calculator();
    }

    @Test
    @DisplayName("Addition Test")
    void testAdd() {
        Assertions.assertEquals(5, calc.add(2, 3));
    }

    @Test
    @DisplayName("Division by Zero")
    void testDivideByZero() {
        Assertions.assertThrows(ArithmeticException.class, () -> calc.divide(5, 0));
    }
}
JUnit with Maven
To use JUnit 5 with Maven, include the following in your pom.xml:
<dependency>
    <groupId>org.junit.jupiter</groupId>
    <artifactId>junit-jupiter</artifactId>
    <version>5.9.3</version>
    <scope>test</scope>
</dependency>
Best Practices
- Name tests clearly (testAdditionShouldReturnSum).
- Keep tests independent of each other.
- Test one condition per test.
- Use assertions wisely (assertEquals, assertTrue, assertThrows, etc.).
- Use mocks (e.g., Mockito) for dependencies.
Begin your career journey with GUVI’s Java Full Stack Development Course, providing placement assistance. Master essential technologies including Java, Maven, Eclipse, HTML, CSS, MongoDB, and more while working on practical, real-world projects to enhance your expertise.
Conclusion
In conclusion, JUnit is more than just a testing tool, it’s a philosophy that encourages clean, testable, and reliable code.
Whether you’re building small utilities or large enterprise applications, incorporating JUnit into your workflow significantly enhances code quality and team confidence. As Java continues to evolve, JUnit remains a cornerstone of robust software development.


Did you enjoy this article?