Fine-Tuning LLMs with Unsloth and Ollama: A Step-by-Step Guide
Aug 16, 2025 3 Min Read 6809 Views
(Last Updated)
Ever wished you could make a language model work exactly the way your application demands, without relying on expensive cloud APIs or off-the-shelf limitations? That’s where fine-tuning LLMs comes in.
In this step-by-step guide, we’ll walk through how to fine-tune a large language model using Unslotted, then run it locally using Ollama. Whether you’re working with structured outputs or domain-specific data, this hands-on approach gives you full control over your LLM’s behavior.
Table of contents
- I. Introduction to Fine-Tuning LLMs
- Key Differences
- II. When Should You Fine-Tune?
- III. Practical Implementation with Unsloth
- Step-by-Step Setup Using Google Colab
- Import datasets and Install Unsloth
- Verify GPU Access
- Load Model Using Unsloth
- Format the Dataset
- Apply LoRA Adapters
- Train the Model
- Run Inference
- Export in GGUF Format for Ollama
- IV. Running the Fine-Tuned Model with Ollama
- Steps:
- Conclusion
I. Introduction to Fine-Tuning LLMs
Fine-tuning is the process of adapting a pre-trained language model to perform better on a specific task by retraining it on task-relevant data. Think of it like training a skilled chef on your restaurant’s specific menu rather than teaching someone to cook from scratch.
Key Differences
- Fine-tuning retrains the model using new data.
- Parameter tuning adjusts behavior (e.g., temperature, top_k) without altering the model’s weights.
II. When Should You Fine-Tune?
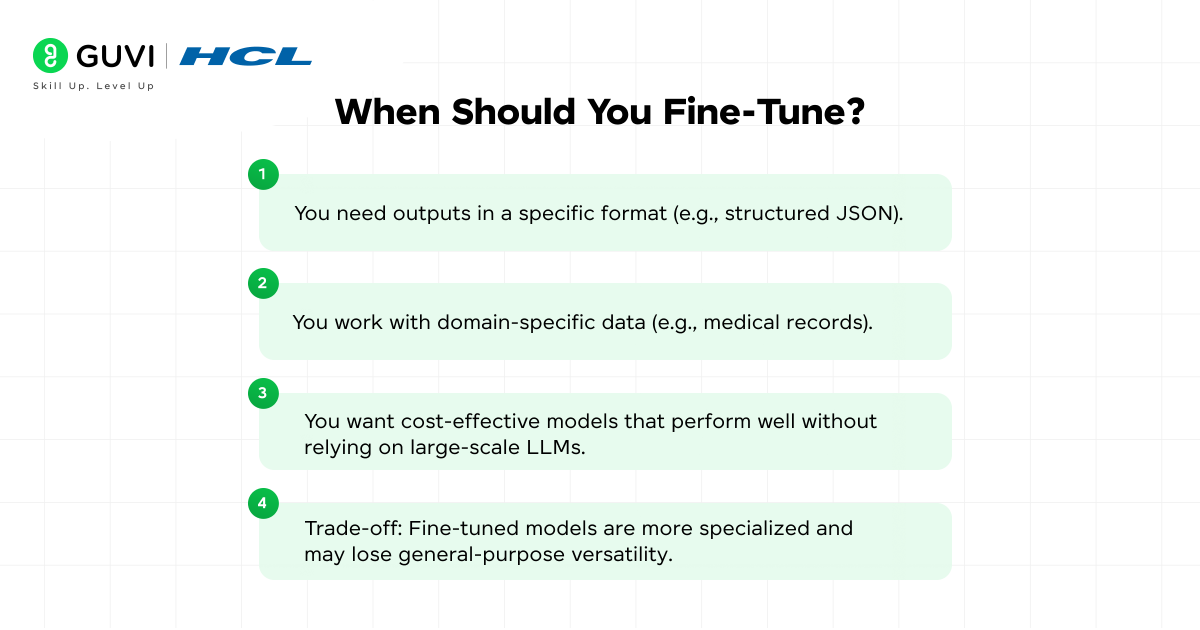
Fine-tuning becomes valuable when:
- You need outputs in a specific format (e.g., structured JSON).
- You work with domain-specific data (e.g., medical records).
- You want cost-effective models that perform well without relying on large-scale LLMs.
- Trade-off: Fine-tuned models are more specialized and may lose general-purpose versatility.
III. Practical Implementation with Unsloth

Step-by-Step Setup Using Google Colab
Complete code and datasets are available at https://github.com/BASILAHAMED/LLM-Fine-Tuning.git
1. Import datasets and Install Unsloth
import json

file = json.load(open("json_extraction_dataset_500.json", "r"))

print(file[1])

# install unsloth and other dependencies

!pip install unsloth trl peft accelerate bitsandbytes
2. Verify GPU Access
import torch

print(f"CUDA available: {torch.cuda.is_available()}")

print(f"GPU: {torch.cuda.get_device_name(0) if torch.cuda.is_available() else 'None'}")
3. Load Model Using Unsloth
from unsloth import FastLanguageModel

model_name = "unsloth/Phi-3-mini-4k-instruct-bnb-4bit"

max_seq_length = 2048

dtype = None

model, tokenizer = FastLanguageModel.from_pretrained(

    model_name=model_name,

    max_seq_length=max_seq_length,

    dtype=dtype,

    load_in_4bit=True,

)
4. Format the Dataset
from datasets import Dataset

def format_prompt(example):

 return f"### Input: {example['input']}\n### Output: {json.dumps(example['output'])}<|endoftext|>"

formatted_data = [format_prompt(item) for item in file]

dataset = Dataset.from_dict({"text": formatted_data})
5. Apply LoRA Adapters
model = FastLanguageModel.get_peft_model(

    model,

    r=64,

    target_modules=["q_proj", "k_proj", "v_proj", "o_proj", "gate_proj", "up_proj", "down_proj"],

    lora_alpha=128,

    lora_dropout=0,

    bias="none",

    use_gradient_checkpointing="unsloth",

    random_state=3407,

    use_rslora=False,

    loftq_config=None,

)
6. Train the Model
from trl import SFTTrainer

from transformers import TrainingArguments

trainer = SFTTrainer(

    model=model,

    tokenizer=tokenizer,

    train_dataset=dataset,

    dataset_text_field="text",

    max_seq_length=max_seq_length,

    dataset_num_proc=2,

    args=TrainingArguments(

        per_device_train_batch_size=2,

        gradient_accumulation_steps=4,

        warmup_steps=10,

        num_train_epochs=3,

        learning_rate=2e-4,

        fp16=not torch.cuda.is_bf16_supported(),

        bf16=torch.cuda.is_bf16_supported(),

        logging_steps=25,

        optim="adamw_8bit",

        weight_decay=0.01,

        lr_scheduler_type="linear",

        seed=3407,

        output_dir="outputs",

        save_strategy="epoch",

        save_total_limit=2,

        dataloader_pin_memory=False,

    ),

)

trainer_stats = trainer.train()
7. Run Inference
FastLanguageModel.for_inference(model)

messages = [

    {"role": "user", "content": "Extract the product information:\n<div class='product'><h2>iPad Air</h2><span class='price'>$1344</span><span class='category'>audio</span><span class='brand'>Dell</span></div>"},

]

inputs = tokenizer.apply_chat_template(

    messages,

    tokenize=True,

    add_generation_prompt=True,

    return_tensors="pt",

).to("cuda")

outputs = model.generate(

    input_ids=inputs,

    max_new_tokens=256,

    use_cache=True,

    temperature=0.7,

    do_sample=True,

    top_p=0.9,

)

response = tokenizer.batch_decode(outputs)[0]

print(response)
8. Export in GGUF Format for Ollama
model.save_pretrained_gguf("gguf_model", tokenizer, quantization_method="q4_k_m")

import os

from google.colab import files

gguf_files = [f for f in os.listdir("gguf_model") if f.endswith(".gguf")]

if gguf_files:

    gguf_file = os.path.join("gguf_model", gguf_files[0])

    print(f"Downloading: {gguf_file}")

    files.download(gguf_file)
IV. Running the Fine-Tuned Model with Ollama
Steps:
- Create a new directory and move the .gguf file into it.
- Inside that directory, create a file named Model file.
- Add the following to the file (replace <model_name>.gguf):
from ./<model_name>.gguf

param_top_p 0.9

param_temperature 0.2

stop user

stop end_of_text

template "<|im_start|>user\n{{.Prompt}}<|im_end|>\n<|im_start|>assistant\n{{.Response}}<|im_end|>\n"

system "You are a helpful AI assistant."- Run the model
ollama create <model_name> -f Model file

ollama run <model_name>
In case you want to explore more on Artificial Intelligence and Machine Learning, consider enrolling for GUVI’s Artificial Intelligence and Machine Learning Course, which teaches everything related to it with an industry-grade certificate!
Conclusion
In conclusion, fine-tuning with Unsloth and deploying via Ollama isn’t just a cost-saving move—it’s a power move. You get a lightweight, task-optimized model running securely on your own machine. From structured JSON extraction to domain-specific reasoning, this setup lets you push your LLM workflows further, faster, and without the vendor lock-in.








Did you enjoy this article?