


Python Articles
Freelancing as a Python Developer: Getting Your First Client
Common Python Mistakes Beginners Make And How to Fix Them
Python Best Practices: Writing Clean, Maintainable Code Like a Pro
How to Build a Python Developer Portfolio That Gets You Hired


Get In Touch For Details! Request More Information
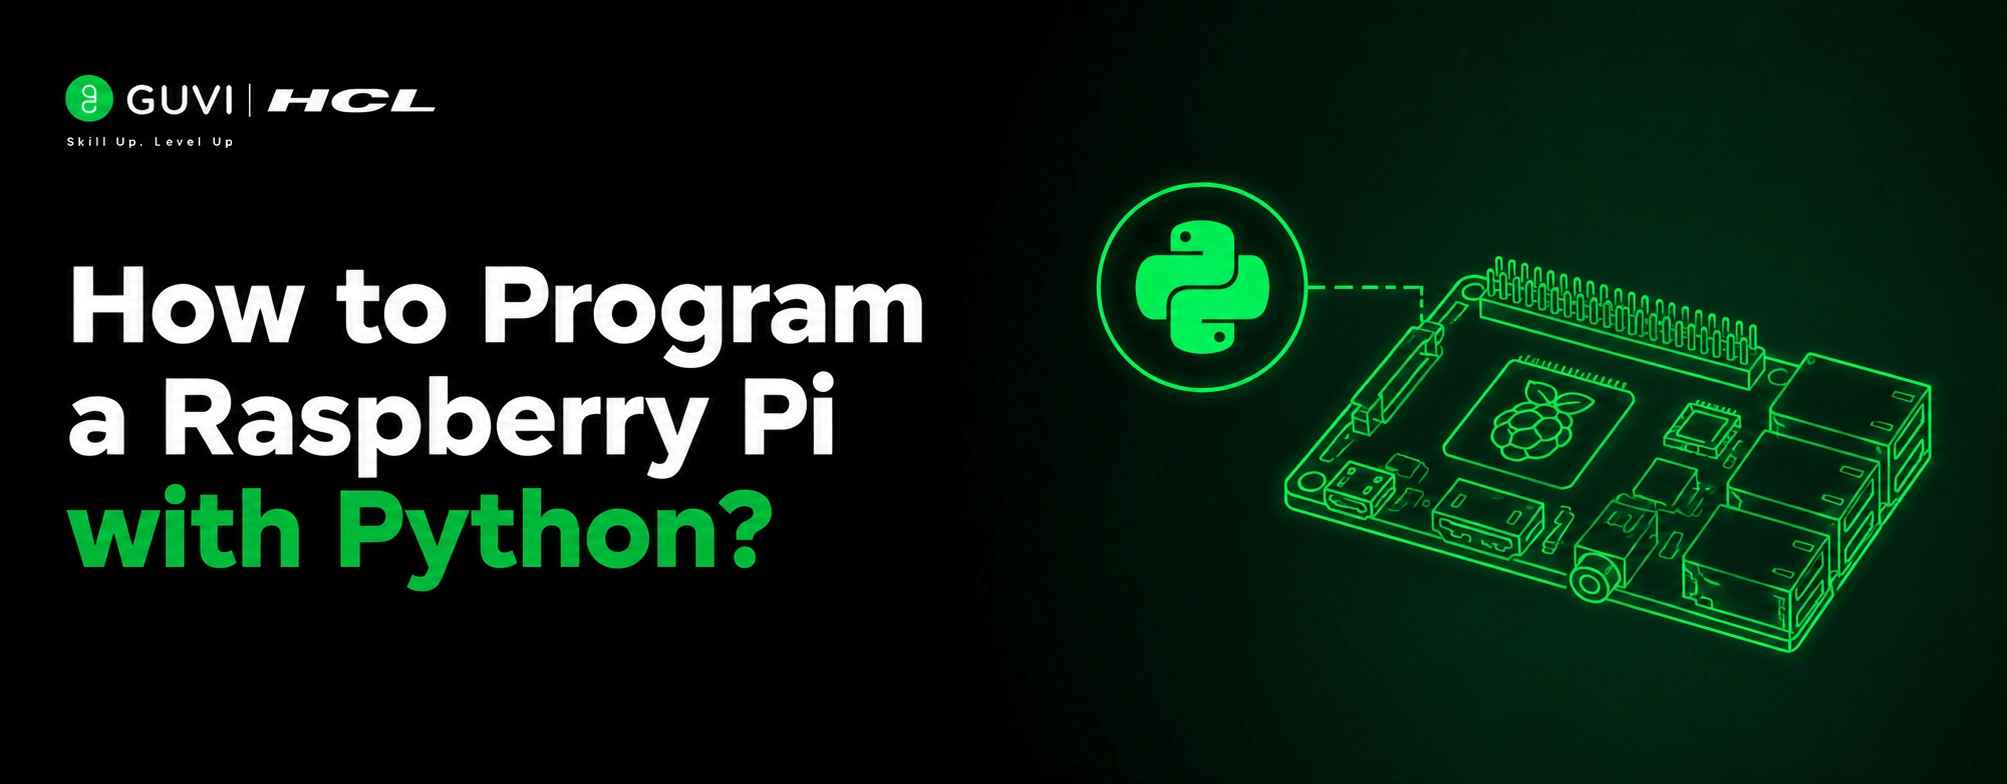
The Raspberry Pi has transformed how beginners learn programming, electronics, and computer science. Its affordability, versatility, and strong community support make it a popular single-board computer. Combined with Python, it powers automation, IoT, robotics, and software projects. Learning how to program a Raspberry Pi with Python builds practical coding skills, while HCL GUVI’s Python Course helps strengthen programming fundamentals.
Table of contents
- TL;DR Summary
- What Is a Raspberry Pi?
- Why Use Python on Raspberry Pi?
- Key Benefits:
- Setting Up Raspberry Pi for Python Programming
- Requirements
- Step 1: Install Raspberry Pi OS
- What Is Thonny IDE?
- Key Features of Thonny
- Opening Thonny
- Simple Python Example
- Writing Your First Python Program
- Example Program
- What This Program Does
- Understanding GPIO with Python
- Common GPIO Applications
- Simple LED Example
- Example Feature Projects
- Raspberry Pi Programming Workflow with Python
- Step 1: Write Code
- Step 2: Run the Program
- Step 3: Test Hardware Connections
- Step 4: Debug Issues
- Step 5: Improve Functionality
- Essential Python Commands for Raspberry Pi
- Common Mistakes Beginners Make
- Best Python Libraries for Raspberry Pi
- Which Raspberry Pi Should You Choose in 2026?
- A Quick Decision
- Conclusion
- FAQs
- Do I need programming experience to learn Raspberry Pi with Python?
- Is Python pre-installed on Raspberry Pi?
- Which Raspberry Pi model is best for beginners?
- Can I build IoT projects using Python and Raspberry Pi?
- What IDE should I use for Raspberry Pi programming?
- Can Raspberry Pi run machine learning projects?
- Is Raspberry Pi better than Arduino for Python programming?
TL;DR Summary
- Raspberry Pi and Python provide an accessible way to learn programming, electronics, and automation.
- Python comes pre-installed on Raspberry Pi OS, making it one of the easiest programming languages for beginners to learn and use.
- Build practical projects such as home automation systems, IoT devices, robotics applications, and smart monitoring solutions.
- Use GPIO pins with Python to control LEDs, sensors, motors, and other electronic components.
- Develop real-world programming skills while learning Raspberry Pi automation, hardware integration, and Python development.
What Is a Raspberry Pi?
A Raspberry Pi is a small and affordable single-board computer created to promote education in computer science and experimentation.
Even though it’s compact, a Raspberry Pi can perform many tasks normally done by desktop computers. It can run operating systems, browse the internet, run software applications, and connect to hardware.
Some common uses of Raspberry Pi include:
- Learning programming
- IoT projects
- Robotics
- Media centers
- Network servers
- Smart monitoring systems
- AI and machine learning
Why Use Python on Raspberry Pi?
Python is the primary programming language used on Raspberry Pi. Its simple syntax, extensive library ecosystem, and beginner-friendly design make it easy to develop automation tools, control hardware components, process data, and create interactive applications.
Key Benefits:
- Easy-to-read syntax
- Beginner-friendly learning curve
- Excellent GPIO support
- Good for automation
- Strong community support
- Pre-installed on Raspberry Pi OS
Python allows users to focus on solving problems and building projects without getting bogged down by complex programming concepts.
Setting Up Raspberry Pi for Python Programming
Before you can write code, you need to prepare your Raspberry Pi environment.
Requirements
- Raspberry Pi board
- MicroSD card
- Raspberry Pi OS
- Power supply
- Keyboard
- Monitor or remote access setup
Step 1: Install Raspberry Pi OS
Download and install Raspberry Pi OS.
After the installation is complete, boot your Raspberry Pi and finish the initial setup.
Open the terminal and run:
sudo apt update
sudo apt upgrade -y
This ensures all packages are updated to their latest versions.
Now run this command:
python3 –version
Example output:
Python 3.12.0
If you see a version number, Python is already installed and ready to use.
What Is Thonny IDE?
Thonny is the default Python editor that comes with Raspberry Pi OS.
It is designed for beginners and offers a simple interface for writing, running, and debugging Python programs.
Key Features of Thonny
- Beginner-friendly
- Built-in debugger
- Syntax highlighting
- Easy execution environment
- Pre-installed
Opening Thonny
Go to:
Menu → Programming → Thonny Python IDE
You can start coding right away without installing extra software.
Simple Python Example
| print(“Hello, Raspberry Pi!”) |
Click Run to run the program.
Thonny is one of the easiest ways to start learning Python on Raspberry Pi.
Writing Your First Python Program
Now let’s create a simple Python program.
Example Program
Using your example:
| name = input(“Enter your name: “) print(f”Welcome to Raspberry Pi, {name}!”) |
Input:
| Harini |
Output:
| Welcome to Raspberry Pi, Harini! |
What This Program Does
- Accepts user input
- Stores the value in a variable
- Displays a personalized message
This simple task introduces variables, input handling, and output operations.
Understanding GPIO with Python
GPIO stands for General Purpose Input Output.
These pins allow the Raspberry Pi to communicate with electronic devices like LEDs, sensors, motors, and switches.
Common GPIO Applications
- LED control
- Motion detection
- Home automation
- Robotics
- Smart security systems
Simple LED Example
| from gpiozero import LED from time import sleep led = LED(17) while True: led.on() sleep(1) led.off() sleep(1) |
This program continuously blinks an LED connected to GPIO pin 17.
GPIO programming is a major reason developers choose Raspberry Pi for hardware projects.
Example Feature Projects
- Slot machines
- Smart Home Controller
- LED Traffic Light System
- Weather Monitoring Station
- Motion Detection Alarm
- Line Following Robot
- AI Image Recognition Device
- Personal Web Server
- Interactive Learning Games
These projects help learners apply programming concepts while building real solutions.
Python has long been the primary programming language for Raspberry Pi, making it the default choice for many educational kits, electronics projects, and beginner-friendly programming courses. Together, Python and Raspberry Pi power countless IoT devices, robotics systems, home automation, and embedded computing projects around the world thanks to Python’s simplicity and Raspberry Pi’s affordable hardware.
Raspberry Pi Programming Workflow with Python
Step 1: Write Code
Create your Python script in Thonny or another editor.
Step 2: Run the Program
Run the script to check its output.
Step 3: Test Hardware Connections
Look over the GPIO components, sensors, and wiring.
Step 4: Debug Issues
Use print statements or debugging tools to find problems.

Step 5: Improve Functionality
Add features, optimize performance, and expand what your project can do.
Following this workflow helps beginners develop structured programming habits.
Once you understand the basics of Python programming on Raspberry Pi, you can start building practical projects that combine software and hardware.
Want to create more advanced Python applications? Download HCL GUVI’s free Python eBook to strengthen programming concepts related to automation, IoT, and Raspberry Pi development.
Essential Python Commands for Raspberry Pi
| Command | Purpose |
| python3 –version | Checks the installed Python version on Raspberry Pi. |
| python3 filename.py | Runs a Python script from the terminal. |
| pip3 install package_name | Installs a Python package or library. |
| pip3 list | Displays all installed Python packages. |
| sudo apt update | Updates the package list on Raspberry Pi OS. |
| sudo apt upgrade -y | Upgrades installed packages to the latest versions. |
| mkdir project_name | Creates a new project directory. |
| cd project_name | Navigates to a project folder. |
| ls | Lists files and folders in the current directory. |
| pip3 install gpiozero | Installs the GPIO Zero library used to control LEDs, sensors, and motors with Python. |
These commands help beginners set up Python, manage projects, install libraries, and interact with Raspberry Pi hardware efficiently.
Common Mistakes Beginners Make
Mistake 1: Skipping Updates
Old software can cause compatibility issues.
Mistake 2: Incorrect GPIO Connections
Wrong connections can lead to malfunctions.
Mistake 3: Ignoring Error Messages
Python errors can provide helpful information for fixing issues.
Mistake 4: Using Incorrect Pin Numbers
Always check if you are using GPIO numbering or physical pin numbering.
Mistake 5: Building Complex Projects Too Early
Start with simple programs before tackling advanced IoT or robotics projects.
Avoiding these mistakes can significantly improve your learning experience.
Best Python Libraries for Raspberry Pi
- GPIO Zero helps beginners control LEDs, sensors, and motors with simple, easy-to-understand code.
- RPi.GPIO provides direct access to Raspberry Pi GPIO pins, making it suitable for more advanced hardware projects.
- OpenCV enables image processing, object detection, and computer vision applications.
- NumPy supports scientific computing, mathematical operations, and efficient data processing.
- Flask helps build web applications, dashboards, and interfaces for Raspberry Pi projects.
- Requests simplify communication with APIs and web services, allowing Raspberry Pi applications to exchange data online.
These libraries significantly expand what you can build with Raspberry Pi, from automation tools and IoT devices to robotics projects and AI-powered applications.
Understanding Python libraries is just one part of becoming a skilled developer. Explore HCL GUVI’s Python Course to deepen your programming knowledge and gain hands-on experience with practical projects.
Which Raspberry Pi Should You Choose in 2026?
A Quick Decision
- Learning Python basics → Raspberry Pi Zero 2 W
- IoT and automation projects → Raspberry Pi 4
- AI and computer vision applications → Raspberry Pi 5
- Robotics projects → Raspberry Pi 5
- Budget-friendly experimentation → Raspberry Pi Zero 2 W
For most beginners, Raspberry Pi 4 offers the best balance of affordability, performance, and versatility. Users working on AI, computer vision, or robotics projects may benefit from the additional processing power available in the Raspberry Pi 5.
Conclusion
Learning to program a Raspberry Pi with Python is a practical way to develop skills in programming, automation, and hardware integration. From writing simple scripts to controlling sensors and building IoT systems, Python provides an easy entry into real-world technology projects. By mastering the basics, exploring GPIO programming, and gradually working on more complex applications, learners can confidently create innovative solutions and enhance their overall software development skills.
FAQs
1. Do I need programming experience to learn Raspberry Pi with Python?
No. Python is beginner-friendly, making Raspberry Pi a great platform for new programmers.
2. Is Python pre-installed on Raspberry Pi?
Yes. Raspberry Pi OS includes Python by default.
3. Which Raspberry Pi model is best for beginners?
Raspberry Pi 4 is generally the best choice for most beginners.
4. Can I build IoT projects using Python and Raspberry Pi?
Yes. Raspberry Pi is widely used for IoT applications, automation systems, and smart devices.
5. What IDE should I use for Raspberry Pi programming?
Thonny is the most beginner-friendly option and comes pre-installed with Raspberry Pi OS.
6. Can Raspberry Pi run machine learning projects?
Yes. Raspberry Pi can run lightweight AI and machine learning applications using Python libraries.
7. Is Raspberry Pi better than Arduino for Python programming?
For Python-focused projects, Raspberry Pi is generally the better choice because it offers native Python support.
Success Stories

About the Author
Vishalini Devarajan
An Aerospace Engineer turned content writer, I focus on making complex concepts easy to understand through well-structured, reader-friendly blogs. Whether it’s a technical topic or a non-technical one, I love creating content that is clear, engaging, and impactful.
View all posts by Vishalini Devarajan
Connect with me @






Did you enjoy this article?