
Pre-requisites and Tech Stack
Tools and Technologies for Building the App
Before diving into development, it's important to know what tools and technologies you'll be working with. This lesson covers the basic requirements, the tech stack, and what kind of input and output you can expect from this project.
Basic Requirements
Before starting, make sure you have the following in place:
- Node.js and npm: Install Node.js (which comes with npm, the Node Package Manager) on your computer. Node/npm is required to use Create React App and run the development server. You can download Node from the official website and follow the instructions.
- A Code Editor like VS Code or Command Prompt
- Basic Web Development Knowledge
- Modern Web Browser
Tech Stack Used
Let’s review the technologies and libraries we will use in this project:
- React JS: The core library for building the user interface of our app. We’ll use Create React App to quickly bootstrap a React project without worrying about build configuration.
- JavaScript (ES6+): The programming language for logic. We’ll write modern JavaScript code (including JSX, which lets us write HTML-like syntax in our React components).
- HTML5 & CSS3: The app’s structure and styling. React uses JSX to generate HTML, and we’ll use CSS to style our components (no CSS frameworks, just simple, clean CSS).
- Fetch API: Rather than using an additional library for HTTP requests, we’ll use the built-in Fetch API in the browser to request data from the Quotable API. (Fetch returns a promise and allows us to get JSON data easily – more on this later.)
- Node & npm: Node.js will run our development server and build tool. npm will manage our project’s dependencies (though in this simple project, React itself and its default packages are our main dependencies).
- Git & GitHub: For version control and code sharing. We will initialize a Git repository for our project and push the code to GitHub. This isn’t required to build the app, but we include it to practice good developer habits and to facilitate deployment.
- Netlify: A hosting platform for deploying the finished app. Netlify will allow us to host our React app as a static site.
This tech stack covers everything from development to deployment. By using this stack, we ensure the project remains beginner-friendly yet mimics a real-world scenario (develop locally, use source control, fetch real data, and deploy to the web).
Input
For a Quote Generator app, the concept of “input” isn’t about text fields or forms (since the user isn’t typing anything), but rather user actions that trigger changes:
- User Action (Button Click): The primary input to our app is the user clicking the “New Quote” button. Each click is an event that tells the app to fetch a new quote.
- Initial Load (Component Mount): Another implicit “input” is when the application first loads. When the React component mounts (i.e., appears on screen for the first time), we want to fetch a quote automatically so that the user sees a quote without having to click anything initially.
Other than the button click, there’s no direct user input like text or form data. The user’s role is simply to request new quotes by clicking the button. The data itself (the quote text and author) comes from the external API. To summarize:
Output
The “output” of the app is what the user sees and experiences. In our Quote Generator, the outputs are straightforward:
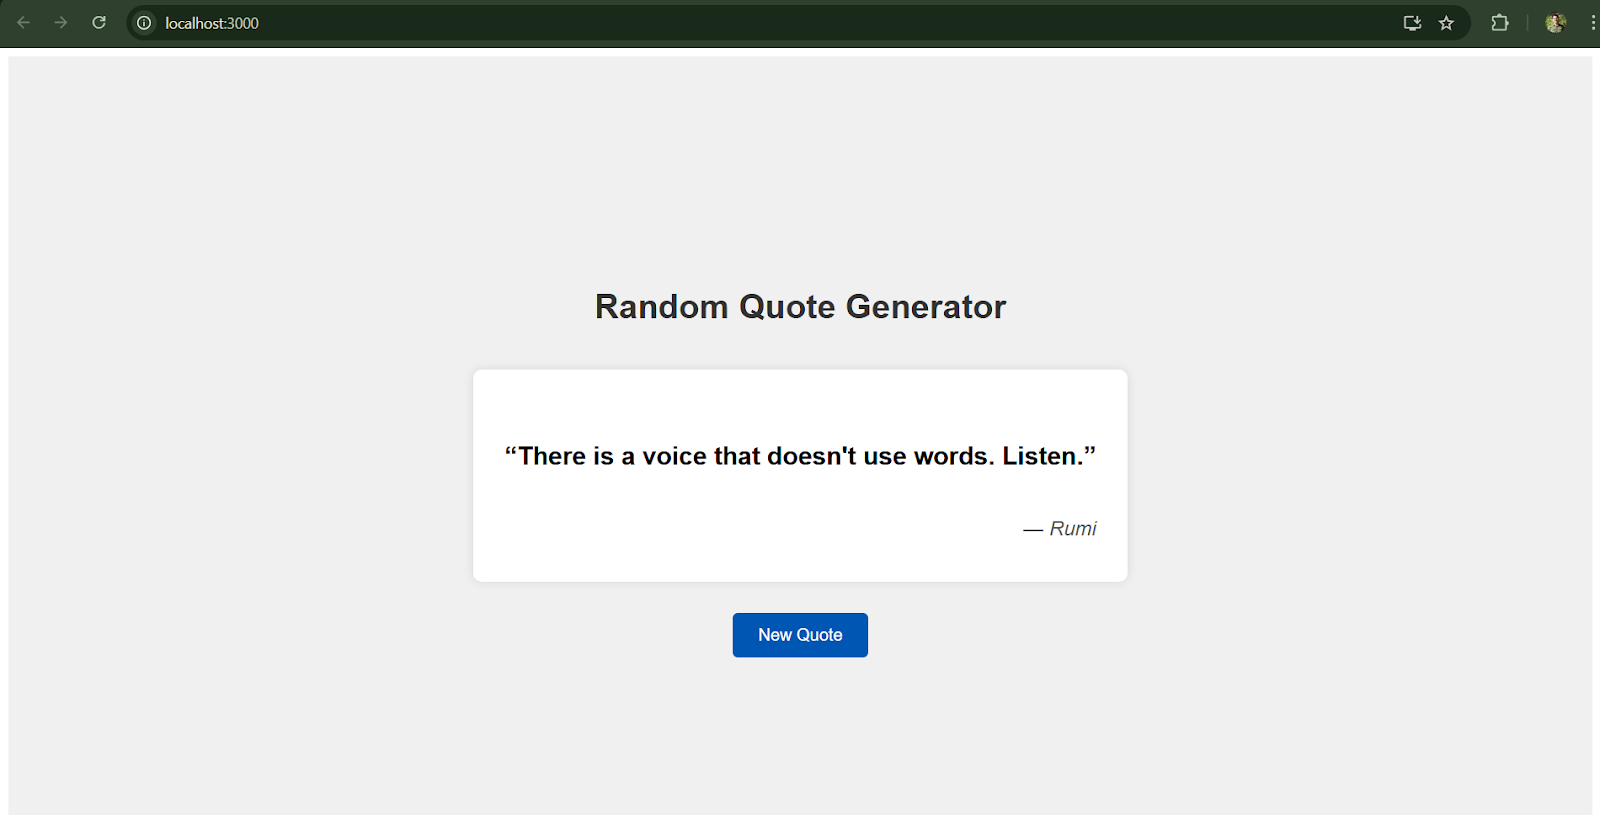
- Random Quote Text: The main output is a piece of text – a quote fetched from the API. Every time the app fetches data, it will output the quote content to the screen.
- Quote Author: Along with the quote text, we typically show the author of the quote (e.g., “– John Lennon”). This gives credit and context to the quote.
- Dynamic Update: The output changes dynamically whenever a new quote is fetched. Initially, on page load, the output will be one random quote. Each click of “New Quote” replaces the current quote (and author) with a new one.
ReactJS Projects